Salta al contenuto principale
Unisciti alla Community delle riparazioni - Crea un account

Onda V701 Front- Facing Camera Replacement

Cosa ti serve

    1. Onda V701 Front- Facing Camera Replacement, Back Panel: passo 1, immagine 1 di 3 Onda V701 Front- Facing Camera Replacement, Back Panel: passo 1, immagine 2 di 3 Onda V701 Front- Facing Camera Replacement, Back Panel: passo 1, immagine 3 di 3
      • Ensure device is powered off before disassembly.

      • Remove the 4 rubber screw plugs using a spudger.

      Chiedi a FixBot
      Aggiungi Commento

    2. Onda V701 Front- Facing Camera Replacement: passo 2, immagine 1 di 3 Onda V701 Front- Facing Camera Replacement: passo 2, immagine 2 di 3 Onda V701 Front- Facing Camera Replacement: passo 2, immagine 3 di 3
      • Remove the four 4.8mm mounting screws using a PH00 screwdriver.

      Chiedi a FixBot

      Aggiungi Commento

    3. Onda V701 Front- Facing Camera Replacement: passo 3, immagine 1 di 2 Onda V701 Front- Facing Camera Replacement: passo 3, immagine 2 di 2
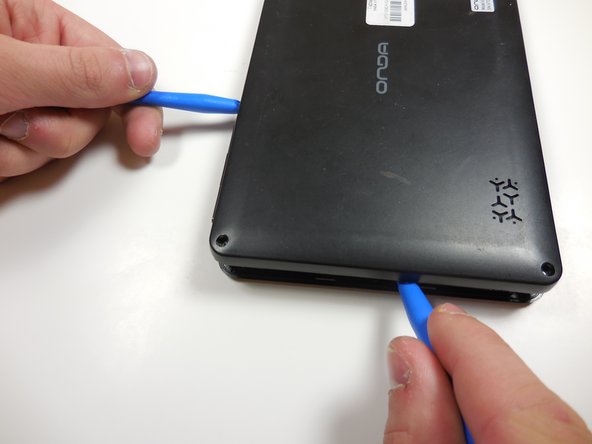
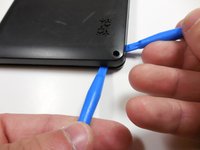
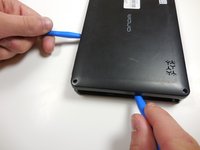
      • Starting at one corner, gently pry the back panel assembly from the screen assembly using two plastic opening tools.

      • Slide the opening tools around the perimeter of the device to separate the back panel assembly from the screen assembly.

      Chiedi a FixBot
      Aggiungi Commento

    4. Onda V701 Front- Facing Camera Replacement: passo 4, immagine 1 di 2 Onda V701 Front- Facing Camera Replacement: passo 4, immagine 2 di 2
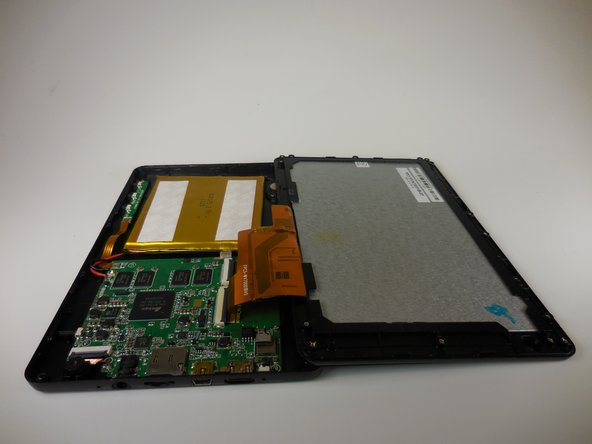
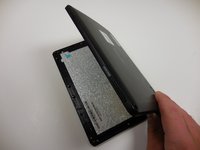
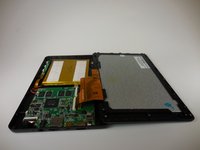
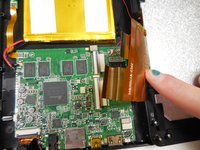
      • Gently lift the screen assembly away from the back cover assembly.

      • Be careful when separating the two pieces as the screen assembly is still connected to the mother board by two ribbon cables.

      Chiedi a FixBot
      Aggiungi Commento

    5. Onda V701 Front- Facing Camera Replacement: passo 5, immagine 1 di 3 Onda V701 Front- Facing Camera Replacement: passo 5, immagine 2 di 3 Onda V701 Front- Facing Camera Replacement: passo 5, immagine 3 di 3
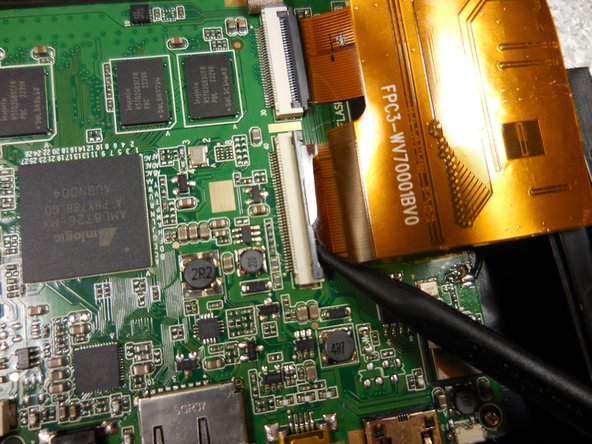
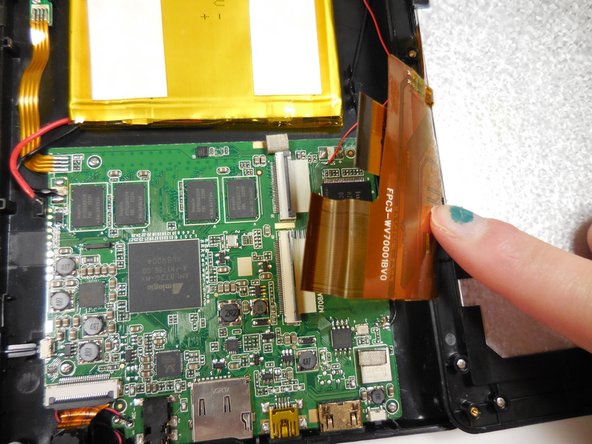
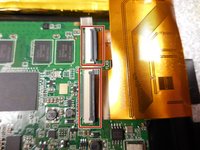
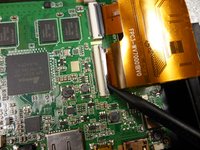
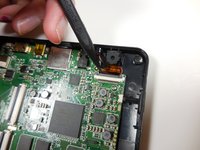
      • Disconnect the two ribbon connectors by flipping the gray tabs up with a fingernail or a spudger.

      • Remove the ribbon cables.

      Chiedi a FixBot
      Aggiungi Commento

    1. Onda V701 Front- Facing Camera Replacement, Front- Facing Camera: passo 6, immagine 1 di 2 Onda V701 Front- Facing Camera Replacement, Front- Facing Camera: passo 6, immagine 2 di 2
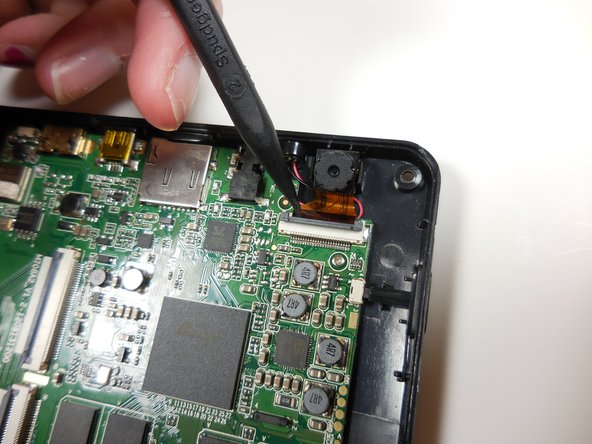
      • Gently pry the front-facing camera away from the back panel using a spudger.

      Chiedi a FixBot

      Aggiungi Commento

    2. Onda V701 Front- Facing Camera Replacement: passo 7, immagine 1 di 2 Onda V701 Front- Facing Camera Replacement: passo 7, immagine 2 di 2
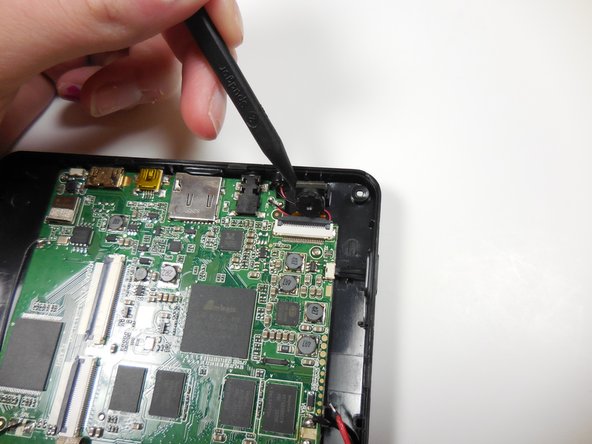
      • Flip the gray locking tab of the ribbon connector up using a spudger.

      • Remove the ribbon cable from the connector.

      Chiedi a FixBot

      Aggiungi Commento

    3. Onda V701 Front- Facing Camera Replacement: passo 8, immagine 1 di 1
      • Remove the front-facing camera assembly.

      Chiedi a FixBot

      Aggiungi Commento

Conclusione

To reassemble your device, follow these instructions in reverse order.

Annulla: non ho completato questa guida.

0Commenti sulla guida

Aggiungi Commento

Visualizza statistiche:

Ultime 24 ore: 2

Ultimi 7 giorni: 7

Ultimi 30 giorni: 24

Tutti i Tempi: 505