Salta al contenuto principale
Unisciti alla Community delle riparazioni - Crea un account

Omaker M4 Motherboard Replacement

Cosa ti serve

  1. Omaker M4 Motherboard Replacement, Back Case: passo 1, immagine 1 di 1
    • Flip the device over so the front of the speaker is facing down. Make sure to place the speaker on a flat surface

    Chiedi a FixBot

    Aggiungi Commento

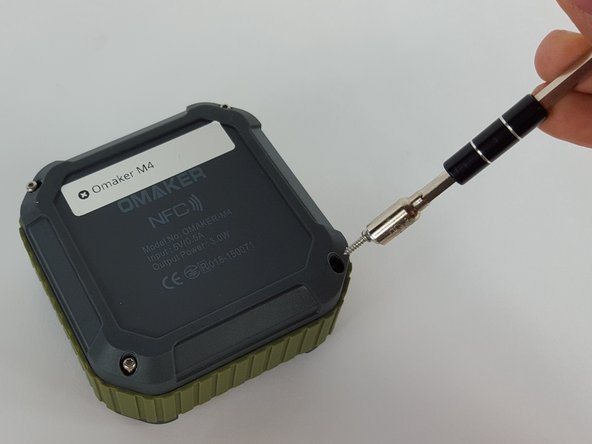
  2. Omaker M4 Motherboard Replacement: passo 2, immagine 1 di 2 Omaker M4 Motherboard Replacement: passo 2, immagine 2 di 2
    • Use a T6 Torx screwdriver to remove the four 9mm screws from the back of the device.

    Chiedi a FixBot

    Aggiungi Commento

  3. Omaker M4 Motherboard Replacement: passo 3, immagine 1 di 2 Omaker M4 Motherboard Replacement: passo 3, immagine 2 di 2
    • Use a magnet to remove the screws after unscrewing them and place them aside.

    Chiedi a FixBot

    Aggiungi Commento

  4. Omaker M4 Motherboard Replacement: passo 4, immagine 1 di 1
    • Carefully remove the back cover without breaking the battery wire.

    Chiedi a FixBot

    Aggiungi Commento

  5. Omaker M4 Motherboard Replacement: passo 5, immagine 1 di 2 Omaker M4 Motherboard Replacement: passo 5, immagine 2 di 2
    Strumento utilizzato in questo passaggio:
    Tweezers
    $4.99
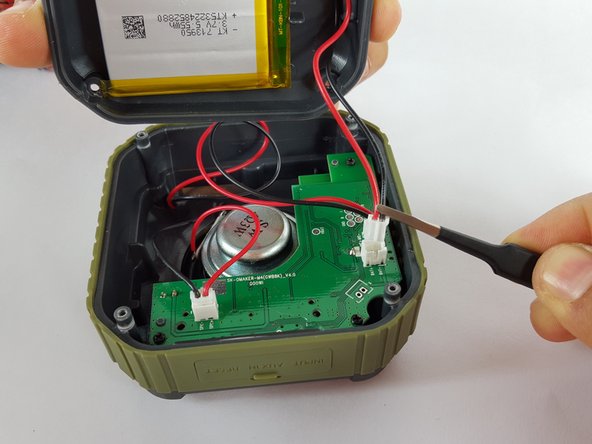
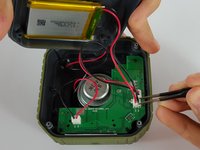
    • Remove the end of the battery connection from the motherboard by holding the end of the wire and carefully pulling it out of the socket using tweezers.

    • The battery is still attached to the back cover.

    Chiedi a FixBot

    Aggiungi Commento

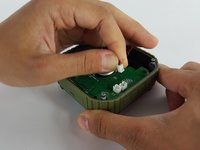
  6. Omaker M4 Motherboard Replacement, Motherboard: passo 6, immagine 1 di 2 Omaker M4 Motherboard Replacement, Motherboard: passo 6, immagine 2 di 2
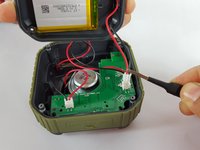
    • Remove the mic wire by carefully pulling the plug out of the socket.

    Chiedi a FixBot

    Aggiungi Commento

  7. Omaker M4 Motherboard Replacement: passo 7, immagine 1 di 1
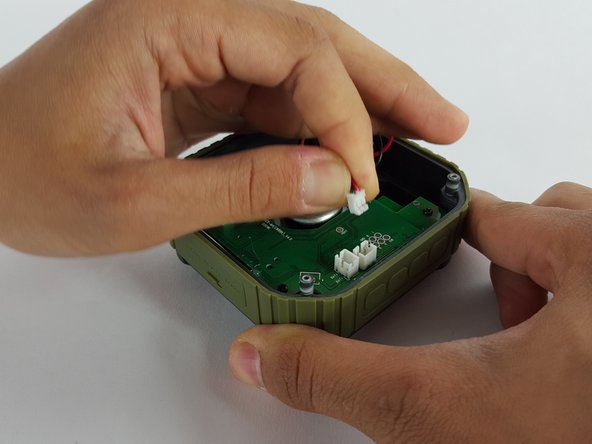
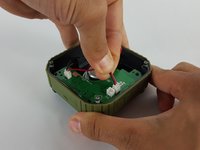
    • Remove the speaker wire by carefully pulling the plug out of the socket on the motherboard.

    Chiedi a FixBot

    Aggiungi Commento

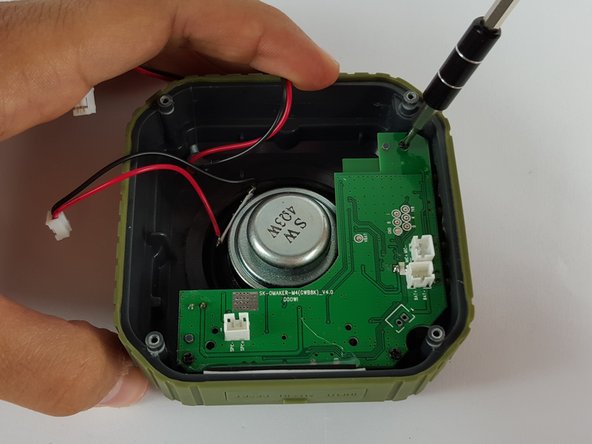
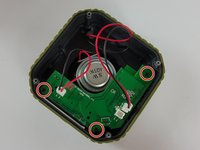
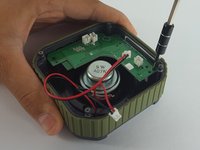
  8. Omaker M4 Motherboard Replacement: passo 8, immagine 1 di 2 Omaker M4 Motherboard Replacement: passo 8, immagine 2 di 2
    • Use Phillips PH00 screwdriver to remove the three screws holding the motherboard in place.

    Chiedi a FixBot

    Aggiungi Commento

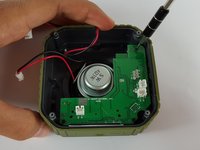
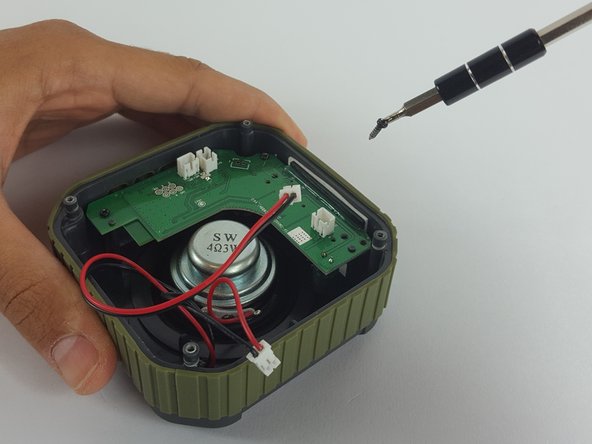
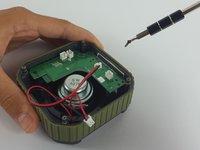
  9. Omaker M4 Motherboard Replacement: passo 9, immagine 1 di 2 Omaker M4 Motherboard Replacement: passo 9, immagine 2 di 2
    • Remove the screws using the screwdriver.

    • Since the screws that hold the motherboard in place are smaller, the screwdriver is able to pick them up.

    Chiedi a FixBot

    Aggiungi Commento

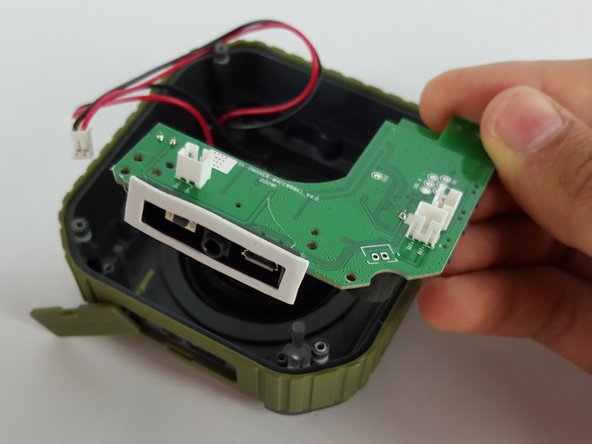
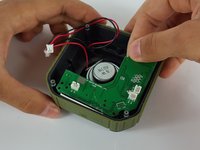
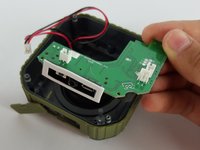
  10. Omaker M4 Motherboard Replacement: passo 10, immagine 1 di 2 Omaker M4 Motherboard Replacement: passo 10, immagine 2 di 2
    • Carefully remove the motherboard with your hand by lifting it from the device.

    Chiedi a FixBot

    Aggiungi Commento

Conclusione

To reassemble your device, follow these instructions in reverse order.

Annulla: non ho completato questa guida.

Altre 2 persone hanno completato questa guida.

[deleted]

Membro da: 02/17/16

679 Reputazione

4 guide realizzate

0Commenti sulla guida

Aggiungi Commento

Visualizza statistiche:

Ultime 24 ore: 3

Ultimi 7 giorni: 13

Ultimi 30 giorni: 48

Tutti i Tempi: 1,656