Introduzione
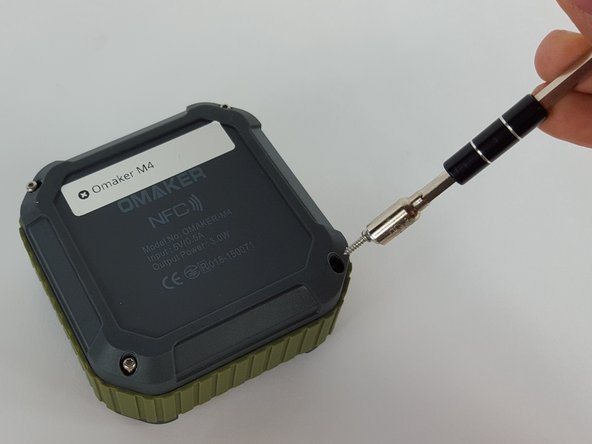
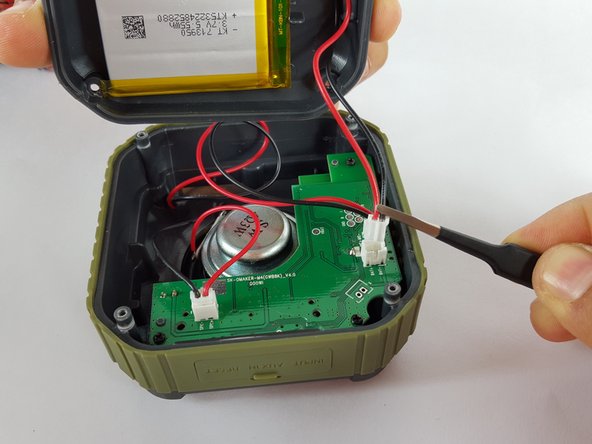
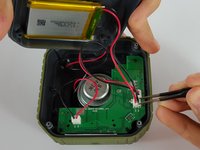
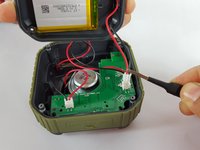
Removing the back case from the speaker is relatively easy. Once you unscrew the four back screws, there is a wire that is attached to the back case. Before pulling the back case completely off, disconnect the wire from the back case by carefully pulling it out with tweezers. This will allow the back case to be completely removed from the device.
Cosa ti serve
-
-
-
Flip the device over so the front of the speaker is facing down. Make sure to place the speaker on a flat surface
 Chiedi a FixBot
-
-
-
Use a T6 Torx screwdriver to remove the four 9mm screws from the back of the device.
-
-
-
-
Use a magnet to remove the screws after unscrewing them and place them aside.
-
-
Strumento utilizzato in questo passaggio:Tweezers$4.99
-
Remove the end of the battery connection from the motherboard by holding the end of the wire and carefully pulling it out of the socket using tweezers.
-
-





To reassemble your device, follow these instructions in reverse order.
Annulla: non ho completato questa guida.
Altre 3 persone hanno completato questa guida.

