Salta al contenuto principale
Unisciti alla Community delle riparazioni - Crea un account

Olympus Stylus 725 SW Lens Replacement

Cosa ti serve

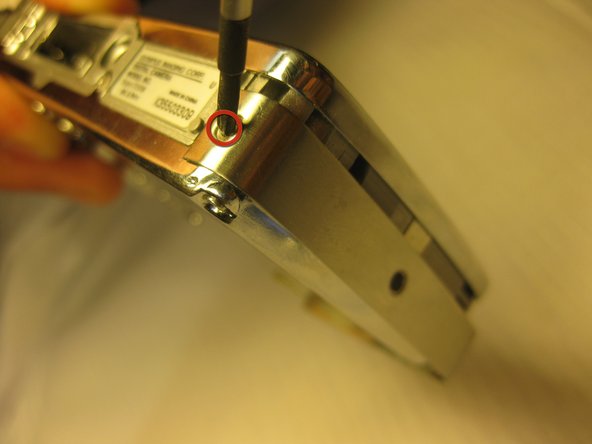
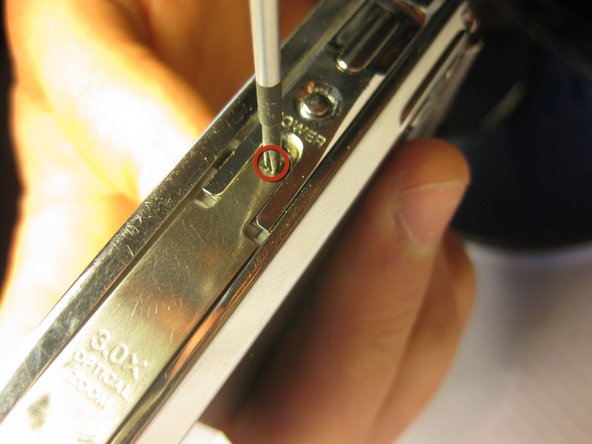
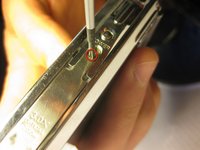
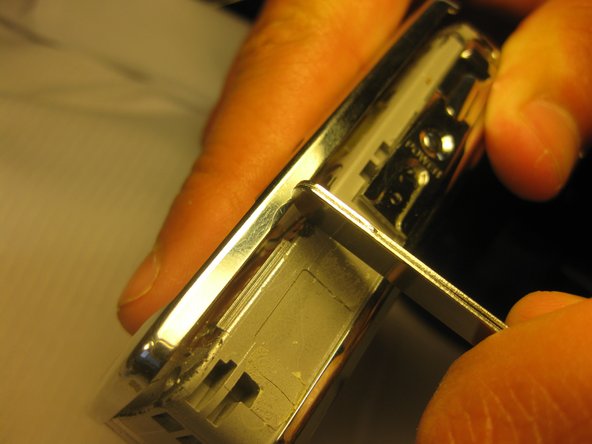
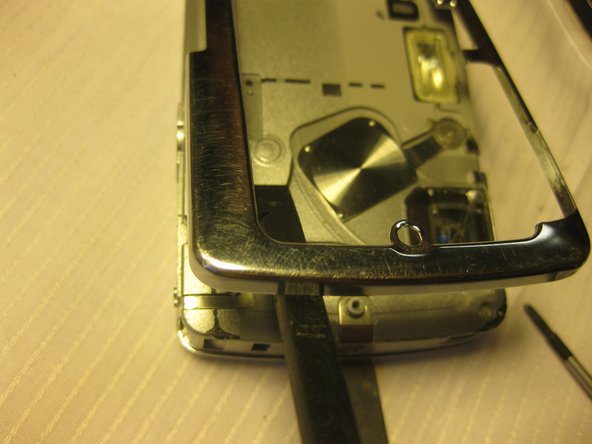
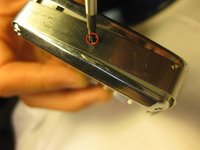
  1. Olympus Stylus 725 SW Lens Replacement, Disassembling Olympus Stylus 725 SW Back Panel: passo 1, immagine 1 di 3 Olympus Stylus 725 SW Lens Replacement, Disassembling Olympus Stylus 725 SW Back Panel: passo 1, immagine 2 di 3 Olympus Stylus 725 SW Lens Replacement, Disassembling Olympus Stylus 725 SW Back Panel: passo 1, immagine 3 di 3
    • Remove the four 3 mm long cover screws at the corners of the camera using a Phillips #00 screwdriver.

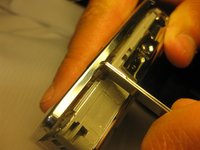
    • Remove the 2 mm long screws securing the sides of the camera which holds the back panel using a Phillips #00 screwdriver.

    Chiedi a FixBot

    Aggiungi Commento

  2. Olympus Stylus 725 SW Lens Replacement: passo 2, immagine 1 di 2 Olympus Stylus 725 SW Lens Replacement: passo 2, immagine 2 di 2
    Strumento utilizzato in questo passaggio:
    Tweezers
    $4.99
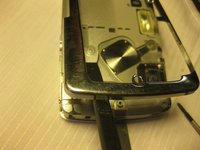
    • Be careful when removing the back cover; you will need to detach the connecting ribbons. Use tweezers if necessary.

    • Detach the ribbons using your thumb, sliding them out of their slots.

    • Set the back panel face up to keep the ribbons from touching anything.

    Chiedi a FixBot

    Aggiungi Commento

  3. Olympus Stylus 725 SW Lens Replacement, Front Panel: passo 3, immagine 1 di 3 Olympus Stylus 725 SW Lens Replacement, Front Panel: passo 3, immagine 2 di 3 Olympus Stylus 725 SW Lens Replacement, Front Panel: passo 3, immagine 3 di 3
    • Remove the top screws using a 1.5 mm screwdriver.

    • Remove the single side screw located on the side of the camera where the tab is, using a #00 screwdriver.

    Chiedi a FixBot

    Aggiungi Commento

  4. Olympus Stylus 725 SW Lens Replacement, Side Panels: passo 4, immagine 1 di 3 Olympus Stylus 725 SW Lens Replacement, Side Panels: passo 4, immagine 2 di 3 Olympus Stylus 725 SW Lens Replacement, Side Panels: passo 4, immagine 3 di 3
    • Using a #00 Philips Head Screwdriver, remove the screws located on all four sides of the camera.

    Chiedi a FixBot

    Aggiungi Commento

  5. Olympus Stylus 725 SW Lens Replacement: passo 5, immagine 1 di 3 Olympus Stylus 725 SW Lens Replacement: passo 5, immagine 2 di 3 Olympus Stylus 725 SW Lens Replacement: passo 5, immagine 3 di 3
    • After removing all four of the screws, pry the side covers off of the camera.

    Chiedi a FixBot

    Aggiungi Commento

  6. Olympus Stylus 725 SW Lens Replacement, Lens: passo 6, immagine 1 di 3 Olympus Stylus 725 SW Lens Replacement, Lens: passo 6, immagine 2 di 3 Olympus Stylus 725 SW Lens Replacement, Lens: passo 6, immagine 3 di 3
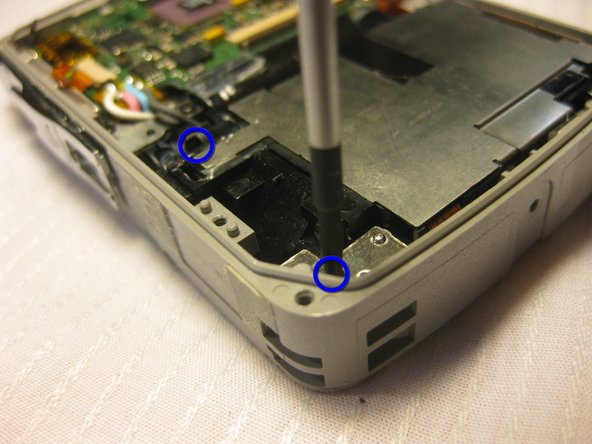
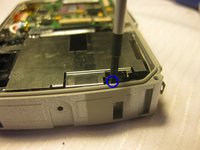
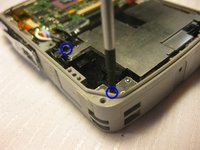
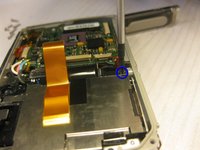
    • Unscrew four 2mm long screws using the #00 Phillips screwdriver.

    Chiedi a FixBot

    Aggiungi Commento

  7. Olympus Stylus 725 SW Lens Replacement: passo 7, immagine 1 di 3 Olympus Stylus 725 SW Lens Replacement: passo 7, immagine 2 di 3 Olympus Stylus 725 SW Lens Replacement: passo 7, immagine 3 di 3
    Strumento utilizzato in questo passaggio:
    Tweezers
    $4.99
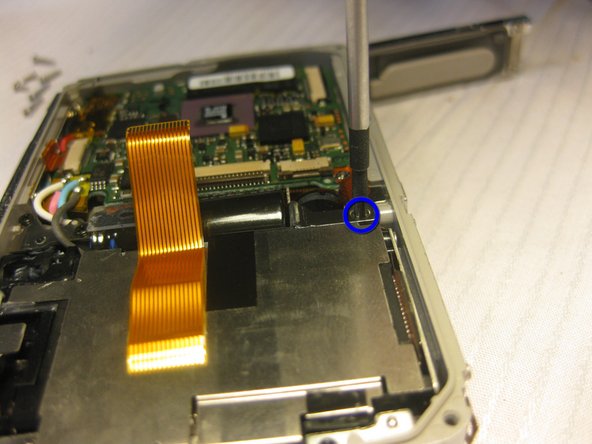
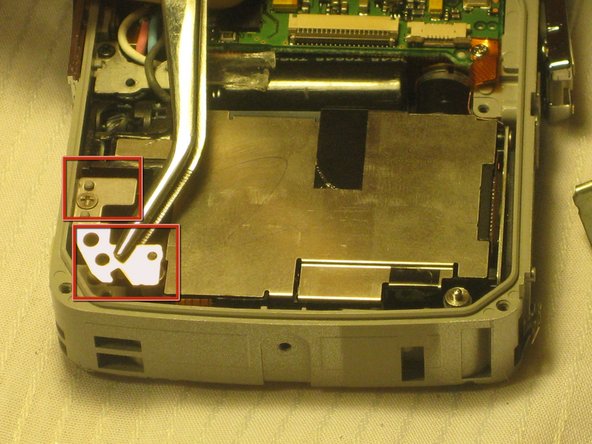
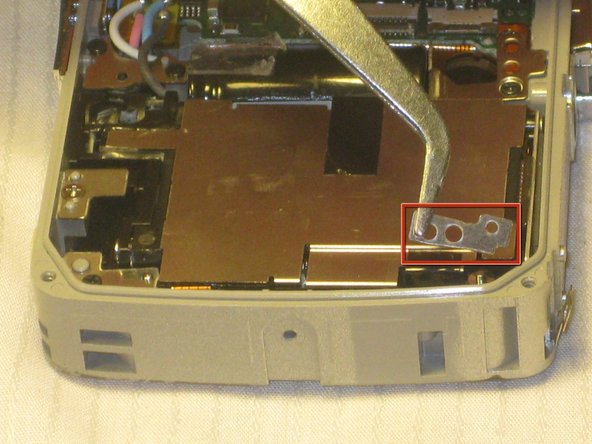
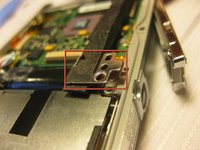
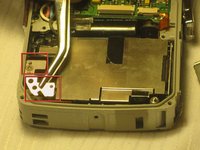
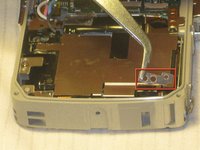
    • Remove four metal tabs from corners where the 2mm long screws were attached using tweezers.

    Chiedi a FixBot

    Aggiungi Commento

  8. Olympus Stylus 725 SW Lens Replacement: passo 8, immagine 1 di 2 Olympus Stylus 725 SW Lens Replacement: passo 8, immagine 2 di 2
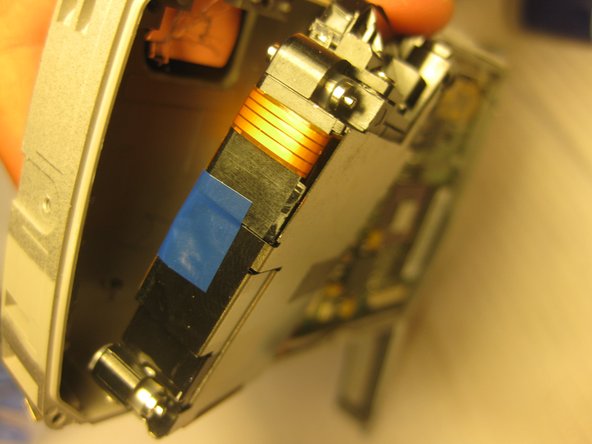
    • Remove the viewfinder lens using a prying device.

    • There will be two ribbons attached to the viewfinder. Remove the ribbons by sliding them off the viewfinder with your thumb.

    Chiedi a FixBot

    Aggiungi Commento

Conclusione

To reassemble your device, follow these instructions in reverse order.

Annulla: non ho completato questa guida.

Team

Cal Poly, Team 33-71, Johann Spring 2010 Membro di Cal Poly, Team 33-71, Johann Spring 2010

CPSU-JOHANN-S10S33G71

4 Membri

6 guide realizzate

0Commenti sulla guida

Aggiungi Commento

Visualizza statistiche:

Ultime 24 ore: 0

Ultimi 7 giorni: 4

Ultimi 30 giorni: 42

Tutti i Tempi: 5,053