Salta al contenuto principale
Unisciti alla Community delle riparazioni - Crea un account

Olympus D590 Lens Replacement

Cosa ti serve

    1. Olympus D590 Lens Replacement, Face Plate: passo 1, immagine 1 di 1
      • Remove five baseplate screws using a Phillips #00 screwdriver.

      Chiedi a FixBot

      Aggiungi Commento

    2. Olympus D590 Lens Replacement: passo 2, immagine 1 di 1
      Strumento utilizzato in questo passaggio:
      Tweezers
      $4.99
      • Press and slide the battery cover retainer clip to the left. Use tweezers to lift the battery cover away.

      Chiedi a FixBot

      Aggiungi Commento

    3. Olympus D590 Lens Replacement: passo 3, immagine 1 di 1
      • Remove the single screw from the battery housing using a Phillips #00 screwdriver.

      Chiedi a FixBot

      Aggiungi Commento

    4. Olympus D590 Lens Replacement: passo 4, immagine 1 di 1
      • Using tweezers, lift the rubber plate to expose the ports.

      Chiedi a FixBot

      Aggiungi Commento

    5. Olympus D590 Lens Replacement: passo 5, immagine 1 di 1
      • Remove two screws from the ports using a Phillips #00 screwdriver.

      Chiedi a FixBot

      Aggiungi Commento

    6. Olympus D590 Lens Replacement: passo 6, immagine 1 di 1
      • Use a spudger to pry the faceplate away from the rest of the camera.

      Chiedi a FixBot

      Aggiungi Commento

    7. Olympus D590 Lens Replacement: passo 7, immagine 1 di 1
      • To avoid disconnection of the connector line to the motherboard, use caution when pulling faceplate away from camera case.

      • Damage to the connector line will prevent the on/off power switch's operational function.

      Chiedi a FixBot

      Aggiungi Commento

    1. Olympus D590 Lens Replacement, Backplate: passo 8, immagine 1 di 1
      • Using a Phillips #00 screwdriver, remove three screws fastened to the camera backplate edge.

      Chiedi a FixBot

      Aggiungi Commento

    2. Olympus D590 Lens Replacement: passo 9, immagine 1 di 1
      • Using a Phillips #00 screwdriver, remove the two camera flash screws secured to either side of bulb housing component.

      Chiedi a FixBot

      Aggiungi Commento

    3. Olympus D590 Lens Replacement: passo 10, immagine 1 di 1
      • Using an iFixit opening tool, pry the backplate from the camera internal housing component.

      Chiedi a FixBot

      Aggiungi Commento

    4. Olympus D590 Lens Replacement: passo 11, immagine 1 di 1
      • Pull the backplate away from the camera internal housing component.

      Chiedi a FixBot

      Aggiungi Commento

    1. Olympus D590 Lens Replacement, LCD Screen: passo 12, immagine 1 di 1
      • Remove one screw Phillips #00 from the right side of the LCD screen camera internal housing component.

      Chiedi a FixBot

      Aggiungi Commento

    2. Olympus D590 Lens Replacement: passo 13, immagine 1 di 2 Olympus D590 Lens Replacement: passo 13, immagine 2 di 2
      • To check that all screws are removed from the exterior side panel, gradually slide and lift no more than 3cm away from the camera internal component body.

      Chiedi a FixBot

      Aggiungi Commento

    3. Olympus D590 Lens Replacement: passo 14, immagine 1 di 2 Olympus D590 Lens Replacement: passo 14, immagine 2 di 2
      Strumento utilizzato in questo passaggio:
      Tweezers
      $4.99
      • View the front of the camera internal housing component.

      • Using tweezers, detach the gray connector and blue wiring tape.

      • Be cautious to gently wiggle and pull blue wiring tape and gray wire connector during detachment.

      Chiedi a FixBot

      Aggiungi Commento

    4. Olympus D590 Lens Replacement: passo 15, immagine 1 di 2 Olympus D590 Lens Replacement: passo 15, immagine 2 di 2
      • View the top of the camera internal housing component.

      • Using tweezers, gently lift the black tape exposing all connector wires.

      Chiedi a FixBot

      Aggiungi Commento

    5. Olympus D590 Lens Replacement: passo 16, immagine 1 di 1
      • View the bottom of the camera internal housing component.

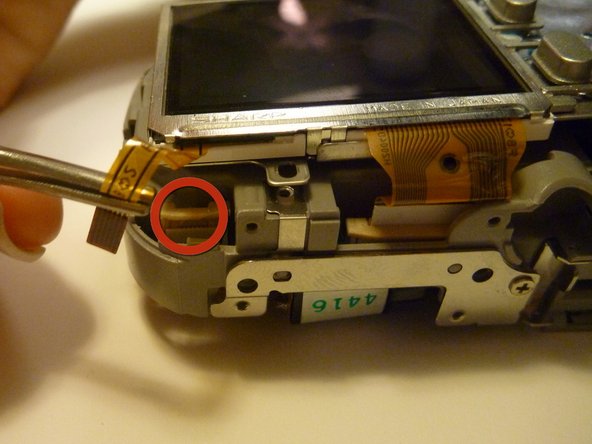
      • Caution: Keep yellow taped wire attached to the LCD screen.

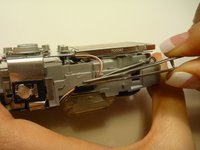
      • Use tweezers to gently wiggle, pull, and detach tape from the surface of the camera internal housing component.

      Chiedi a FixBot

      Aggiungi Commento

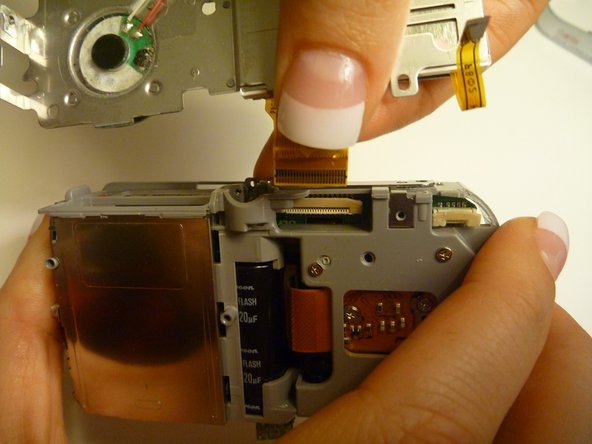
    6. Olympus D590 Lens Replacement: passo 17, immagine 1 di 3 Olympus D590 Lens Replacement: passo 17, immagine 2 di 3 Olympus D590 Lens Replacement: passo 17, immagine 3 di 3
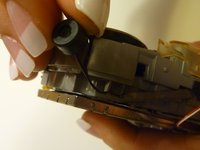
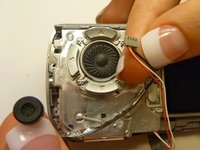
      • View the front of the camera internal housing component.

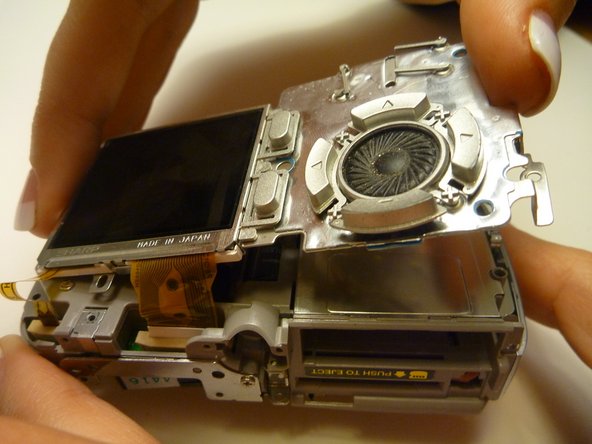
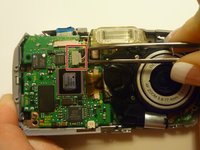
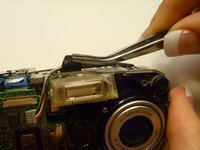
      • Using tweezers, gently lift the speaker, cautiously maneuvering the wire away from the side of the internal housing component toward the front of the camera internal housing component.

      Chiedi a FixBot

      Aggiungi Commento

    7. Olympus D590 Lens Replacement: passo 18, immagine 1 di 2 Olympus D590 Lens Replacement: passo 18, immagine 2 di 2
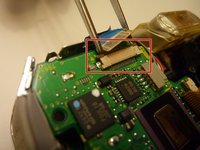
      • Gently lift the LCD screen away from the camera internal housing component hinging the thick yellow wiring tape attached to the camera internal housing component.

      • Use a forefinger and thumb to gently pull the thick yellow wiring tape out of the camera internal housing component.

      Chiedi a FixBot

      Aggiungi Commento

    1. Olympus D590 Lens Replacement, Lens: passo 19, immagine 1 di 1
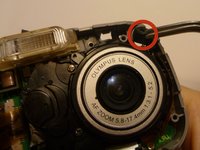
      • Flip the camera so you are looking at the back.

      • Looking at the back of the camera, remove the 3 screws behind the camera lens.

      Chiedi a FixBot

      Aggiungi Commento

    2. Olympus D590 Lens Replacement: passo 20, immagine 1 di 1
      • Flip the camera so that the front lens is facing up.

      • Disconnect the lens from the logic board.

      Chiedi a FixBot

      Aggiungi Commento

    3. Olympus D590 Lens Replacement: passo 21, immagine 1 di 1
      • Flip the camera back over so that the back of the camera is facing you, and the lens in facing away.

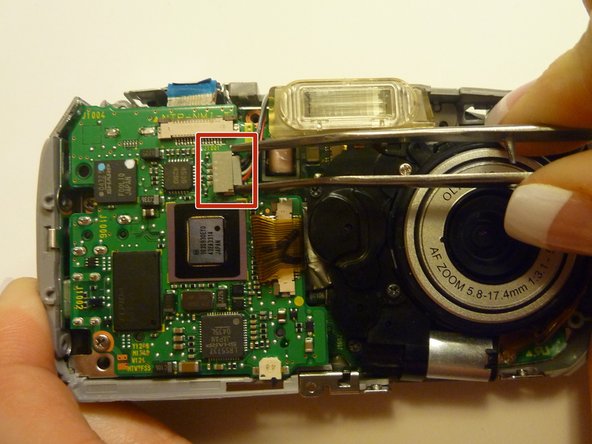
      • Disconnect the wire that connects the logic board to the lens assembly.

      • Gently pull back on the wire to disconnect it safely.

      Chiedi a FixBot

      Aggiungi Commento

    4. Olympus D590 Lens Replacement: passo 22, immagine 1 di 1
      • Flip the camera back around so that the front is facing you.

      • Carefully lift the lens assembly out of the camera.

      Chiedi a FixBot

      Aggiungi Commento

Conclusione

To reassemble your device, follow these instructions in reverse order.

Annulla: non ho completato questa guida.

Joshua

Membro da: 04/15/10

7 Reputazione

2 guide realizzate

Team

Cal Poly, Team 28-23, Regan Spring 2010 Membro di Cal Poly, Team 28-23, Regan Spring 2010

CPSU-REGAN-S10S28G23

4 Membri

14 guide realizzate

0Commenti sulla guida

Aggiungi Commento

Visualizza statistiche:

Ultime 24 ore: 1

Ultimi 7 giorni: 7

Ultimi 30 giorni: 37

Tutti i Tempi: 2,982