Salta al contenuto principale
Unisciti alla Community delle riparazioni - Crea un account

Nortel Networks i2004 IP Buttons Replacement

Cosa ti serve

  1. Nortel Networks i2004 IP Buttons Replacement, Back Cover: passo 1, immagine 1 di 3 Nortel Networks i2004 IP Buttons Replacement, Back Cover: passo 1, immagine 2 di 3 Nortel Networks i2004 IP Buttons Replacement, Back Cover: passo 1, immagine 3 di 3
    • Flip the phone over to view the back.

    • Remove the power and phone cords.

    Chiedi a FixBot

    Aggiungi Commento

  2. Nortel Networks i2004 IP Buttons Replacement: passo 2, immagine 1 di 1
    • Remove the seven 8mm Phillips #2 screws.

    Chiedi a FixBot

    Aggiungi Commento

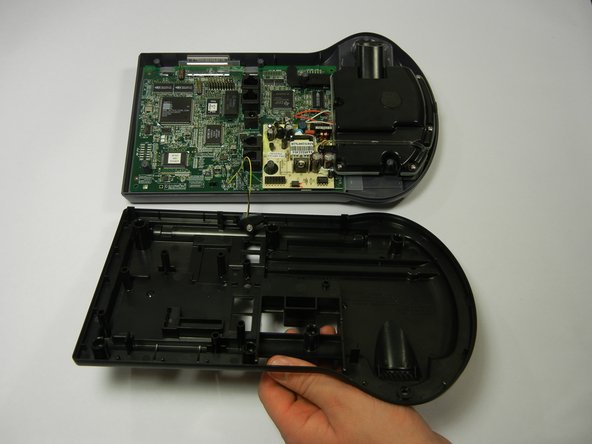
  3. Nortel Networks i2004 IP Buttons Replacement: passo 3, immagine 1 di 2 Nortel Networks i2004 IP Buttons Replacement: passo 3, immagine 2 di 2
    • Lift up the back cover slowly because there are still wires attached to the circuit board.

    • Lifting the back cover should not require a lot of force; simply lift with your fingertips.

    Chiedi a FixBot

    Aggiungi Commento

  4. Nortel Networks i2004 IP Buttons Replacement: passo 4, immagine 1 di 1
    • Disconnect the rubber piece by pulling it out of the slot, freeing the back cover completely.

    Chiedi a FixBot

    Aggiungi Commento

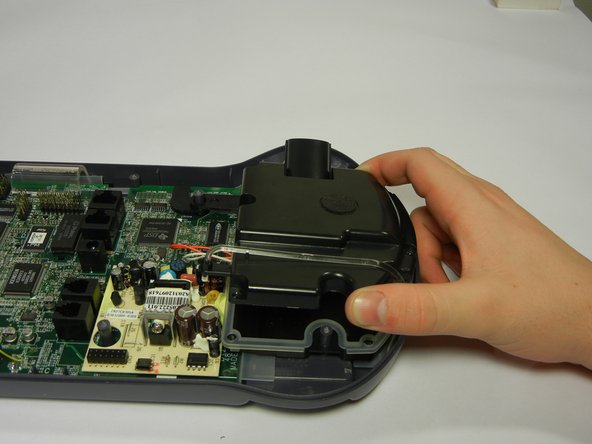
  5. Nortel Networks i2004 IP Buttons Replacement: passo 5, immagine 1 di 2 Nortel Networks i2004 IP Buttons Replacement: passo 5, immagine 2 di 2
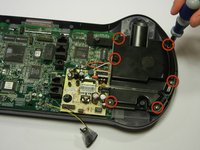
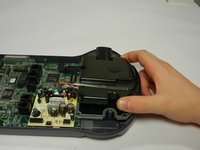
    • Remove the six 8mm Phillips #2 screws.

    • Pull the speaker phone cover straight up.

    Chiedi a FixBot

    Aggiungi Commento

  6. Nortel Networks i2004 IP Buttons Replacement, Circuit Board: passo 6, immagine 1 di 1
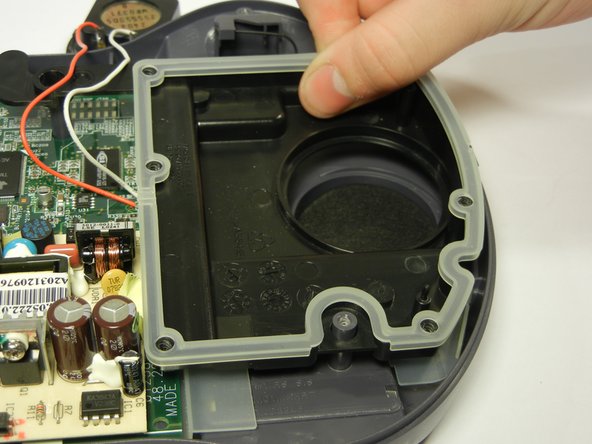
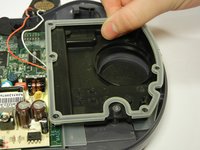
    • Remove the red and white wires from the rubber casing rim.

    Chiedi a FixBot

    Aggiungi Commento

  7. Nortel Networks i2004 IP Buttons Replacement: passo 7, immagine 1 di 2 Nortel Networks i2004 IP Buttons Replacement: passo 7, immagine 2 di 2
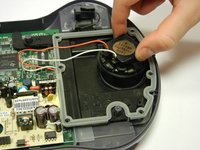
    • Lift out the speaker and set it away from the tray that holds it.

    • Then remove the black plastic tray at the bottom by lifting it straight up.

    Chiedi a FixBot

    Aggiungi Commento

  8. Nortel Networks i2004 IP Buttons Replacement: passo 8, immagine 1 di 1
    • Remove the two 8mm Phillips #2 screws.

    Chiedi a FixBot

    Aggiungi Commento

  9. Nortel Networks i2004 IP Buttons Replacement: passo 9, immagine 1 di 2 Nortel Networks i2004 IP Buttons Replacement: passo 9, immagine 2 di 2
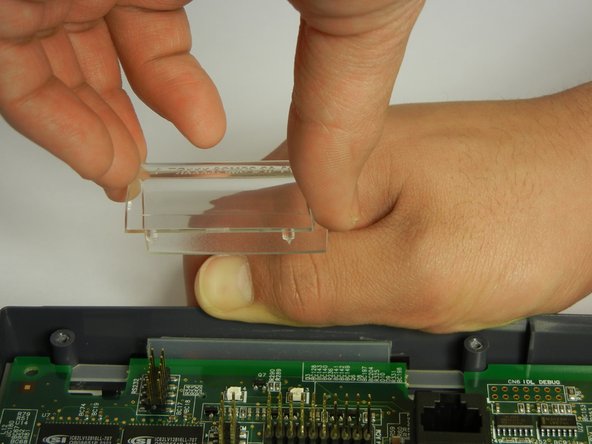
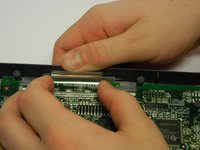
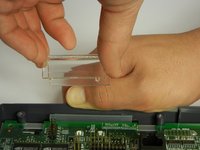
    • Pull the gray plastic casing away from the circuit board as you remove the clear, curved, plastic piece straight up.

    Chiedi a FixBot

    Aggiungi Commento

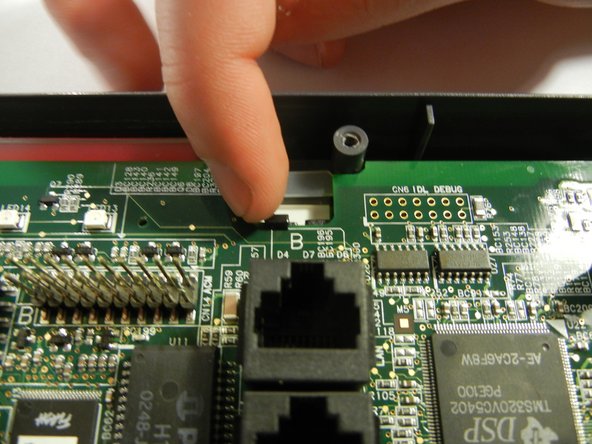
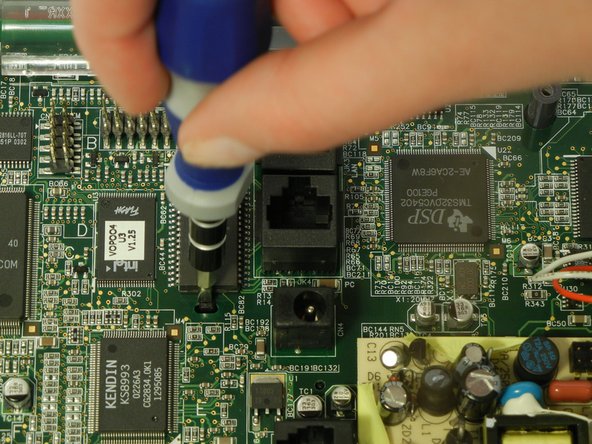
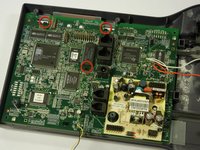
  10. Nortel Networks i2004 IP Buttons Replacement: passo 10, immagine 1 di 3 Nortel Networks i2004 IP Buttons Replacement: passo 10, immagine 2 di 3 Nortel Networks i2004 IP Buttons Replacement: passo 10, immagine 3 di 3
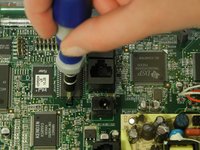
    • There are three clips on the circuit board to un-clip.

    • Unclip both back black clips with your fingertips.

    • Push the middle black clip towards the bottom of the picture with a flathead screwdriver.

    Chiedi a FixBot

    Aggiungi Commento

  11. Nortel Networks i2004 IP Buttons Replacement: passo 11, immagine 1 di 2 Nortel Networks i2004 IP Buttons Replacement: passo 11, immagine 2 di 2
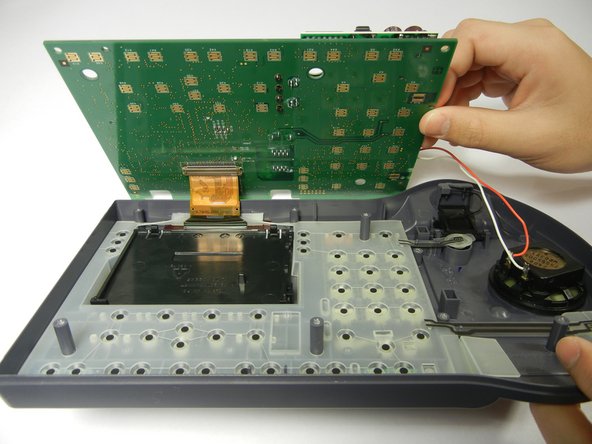
    • There's a brown ribbon still attached to the circuit board and phone case, so don't pull the circuit board completely off just yet.

    • Lift the edge of the circuit board over the phone case and slightly up, so the bottom of circuit board can be viewed.

    Chiedi a FixBot

    Aggiungi Commento

  12. Nortel Networks i2004 IP Buttons Replacement: passo 12, immagine 1 di 1
    • Push down each brown clip on either side of the brown metal strip using your fingertip.

    • Detach the circuit board from the brown ribbon.

    Chiedi a FixBot

    Aggiungi Commento

  13. Nortel Networks i2004 IP Buttons Replacement: passo 13, immagine 1 di 1
    • Remove the clear rubber casing.

    • Be careful not to flip over the front phone casing or all of the buttons will fall out.

    Chiedi a FixBot

    Aggiungi Commento

  14. Nortel Networks i2004 IP Buttons Replacement, Buttons: passo 14, immagine 1 di 1
    • Press the broken button from the front of the phone.

    • Remove the broken button through the back.

    Chiedi a FixBot

    Aggiungi Commento

Conclusione

To reassemble your device, follow these instructions in reverse order.

Annulla: non ho completato questa guida.

Un'altra persona ha completato questa guida.

Andrew Wang

Membro da: 01/19/12

9 Reputazione

Una guida realizzata

Team

Cal Poly, Team 10-35, Amido Winter 2012 Membro di Cal Poly, Team 10-35, Amido Winter 2012

CPSU-AMIDO-W12S10G35

4 Membri

10 guide realizzate

0Commenti sulla guida

Aggiungi Commento

Visualizza statistiche:

Ultime 24 ore: 0

Ultimi 7 giorni: 1

Ultimi 30 giorni: 16

Tutti i Tempi: 1,306