Salta al contenuto principale

Nook Simple Touch with GlowLight Charging Port Replacement

Cosa ti serve

  1. Nook Simple Touch with GlowLight Charging Port Replacement, Power Button: passo 1, immagine 1 di 1
    • Place the Nook with the screen facing down.

  2. Nook Simple Touch with GlowLight Charging Port Replacement: passo 2, immagine 1 di 1
    • Wedge the opening tool between the power button and the upper edge of the device.

    • Push the opening tool down to pry the power button up.

  3. Nook Simple Touch with GlowLight Charging Port Replacement: passo 3, immagine 1 di 1
    • Using your fingers, gently remove the power button.

  4. Nook Simple Touch with GlowLight Charging Port Replacement, Back Cover: passo 4, immagine 1 di 1
    • Remove the single screw using a T4 Torx screwdriver.

  5. Nook Simple Touch with GlowLight Charging Port Replacement: passo 5, immagine 1 di 1
    • Slide the back cover down towards you in the direction of the charging port.

  6. Nook Simple Touch with GlowLight Charging Port Replacement, Battery: passo 6, immagine 1 di 2 Nook Simple Touch with GlowLight Charging Port Replacement, Battery: passo 6, immagine 2 di 2
    • Detach the white cable connector from the motherboard.

    • Remove the battery from the device.

  7. Nook Simple Touch with GlowLight Charging Port Replacement, Motherboard: passo 7, immagine 1 di 1
    • Remove eleven screws from the motherboard using the T4 screwdriver.

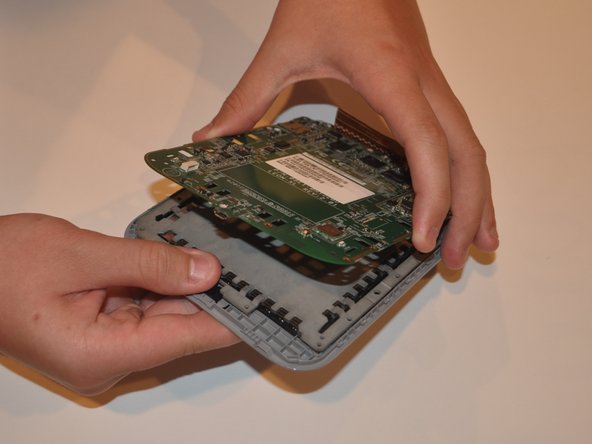
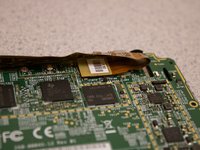
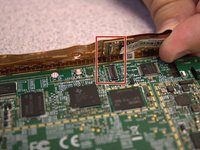
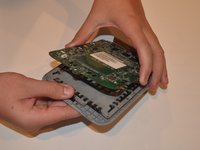
  8. Nook Simple Touch with GlowLight Charging Port Replacement: passo 8, immagine 1 di 3 Nook Simple Touch with GlowLight Charging Port Replacement: passo 8, immagine 2 di 3 Nook Simple Touch with GlowLight Charging Port Replacement: passo 8, immagine 3 di 3
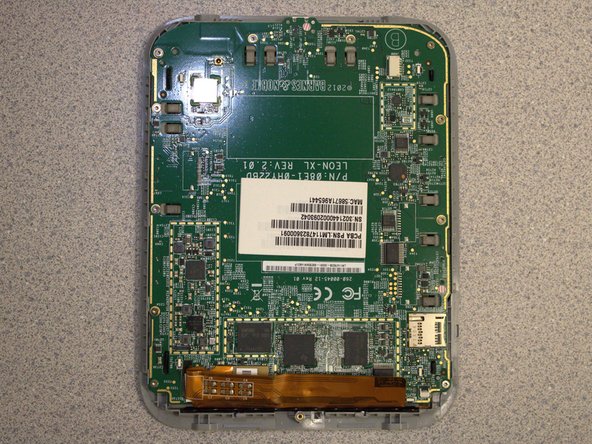
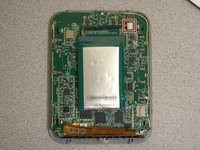
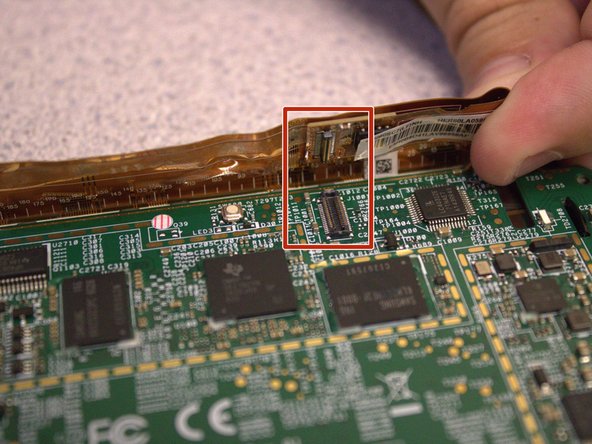
    • Disconnect the orange ribbon cable from the motherboard.

    • Using your fingers, gently lift the motherboard from the display.

  9. Nook Simple Touch with GlowLight Charging Port Replacement, Charging Port: passo 9, immagine 1 di 1
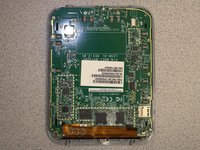
    • Flip the motherboard over and locate the charging port.

  10. Nook Simple Touch with GlowLight Charging Port Replacement: passo 10, immagine 1 di 1
    • Using a soldering iron, disconnect the charging port from the motherboard.

    • Use the soldering iron to attach the new charging port to the motherboard.

    • Be careful with the soldering iron - it is very hot and can damage your hands or the device.

Conclusione

To reassemble your device, follow these instructions in reverse order.

0 Commenti

Aggiungi Commento

Visualizza Statistiche:

Ultime 24 Ore: 0

Ultimi 7 Giorni: 1

Ultimi 30 Giorni: 6

Tutti i Tempi: 115