Salta al contenuto principale

Questa guida ha delle modifiche più recenti. Passa all'ultima versione non verificata.

Nobis NB07 Battery Replacement

Cosa ti serve

  1. Nobis NB07 Battery Replacement, Opening the case: passo 1, immagine 1 di 1
    • Look towards the topside of the tablet, where the power button is located.

    • Insert a plastic opening tool in the crack between the two parts of the case.

    • Move it gently back and forth to open the case.

  2. Nobis NB07 Battery Replacement: passo 2, immagine 1 di 3 Nobis NB07 Battery Replacement: passo 2, immagine 2 di 3 Nobis NB07 Battery Replacement: passo 2, immagine 3 di 3
    • With the plastic opening tool in the opening between the two sides of the case, slide the tool along the tablet's border to separate the two sides completely.

    • Be careful when you separate the two halves. Open the case from the opposite side of the camera, there is a cable connecting both halves of the case.

  3. Nobis NB07 Battery Replacement, Replacing the battery: passo 3, immagine 1 di 3 Nobis NB07 Battery Replacement, Replacing the battery: passo 3, immagine 2 di 3 Nobis NB07 Battery Replacement, Replacing the battery: passo 3, immagine 3 di 3
    • Remove the tape holding the battery in place.

  4. Nobis NB07 Battery Replacement: passo 4, immagine 1 di 3 Nobis NB07 Battery Replacement: passo 4, immagine 2 di 3 Nobis NB07 Battery Replacement: passo 4, immagine 3 di 3
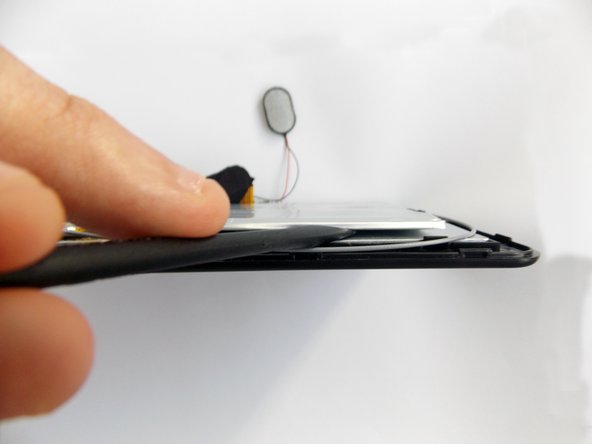
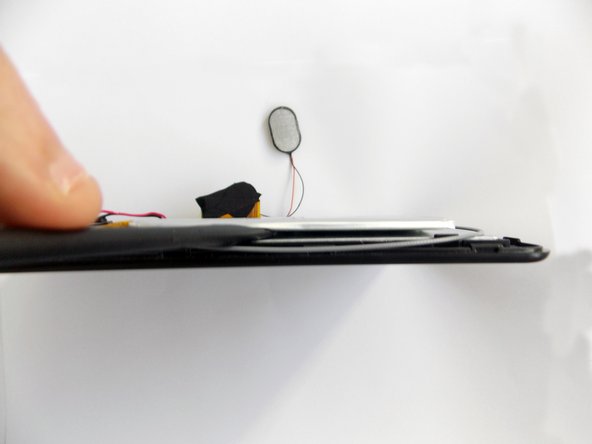
    • Insert the flat end of the spudger tool in the crack beneath the battery.

    • Move the spudger tool carefully side to side to remove the glue that is holding the battery in place.

    • This is a soft battery, so a little bending is expected.

  5. Nobis NB07 Battery Replacement: passo 5, immagine 1 di 1
    • After the battery is unglued, locate the cables that connect it to the motherboard.

    • Annotate where each color goes to make the reassembly easier.

  6. Nobis NB07 Battery Replacement: passo 6, immagine 1 di 2 Nobis NB07 Battery Replacement: passo 6, immagine 2 di 2
    • Desolder the cables with a soldering iron and use a desoldering braid to remove the solder.

    • Review the Ifixit soldering guide if you need help soldering.

    • You can now remove the battery.

Conclusione

To reassemble your device, follow these instructions in reverse order.

Altre 3 persone hanno completato questa guida.

Team

USF Tampa, Team 5-5, Brown Winter 2015 Membro di USF Tampa, Team 5-5, Brown Winter 2015

USFT-BROWN-W15S5G5

3 Membri

10 Guide realizzate

Un commento

where do you find that battery? tried searching by the numbers on it and nothing

Scott Tuttle - Replica

Aggiungi Commento

Visualizza Statistiche:

Ultime 24 Ore: 0

Ultimi 7 Giorni: 0

Ultimi 30 Giorni: 1

Tutti i Tempi: 3,253