Salta al contenuto principale
Unisciti alla Community delle riparazioni - Crea un account

Nikon D90 Rear Display Buttons Replacement

Cosa ti serve

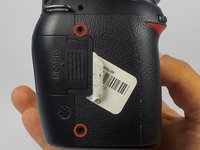
    1. Nikon D90 Rear Display Buttons Replacement, Removing Casing Screws: passo 1, immagine 1 di 2 Nikon D90 Rear Display Buttons Replacement, Removing Casing Screws: passo 1, immagine 2 di 2
      • Locate the screws on both sides of the camera.

      • Remove the four 6.3 mm Phillips screws using a PH00 screwdriver.

      • Be careful not to strip the screws.

      Chiedi a FixBot

      Aggiungi Commento

    2. Nikon D90 Rear Display Buttons Replacement, Removing the Rear Casing: passo 2, immagine 1 di 3 Nikon D90 Rear Display Buttons Replacement, Removing the Rear Casing: passo 2, immagine 2 di 3 Nikon D90 Rear Display Buttons Replacement, Removing the Rear Casing: passo 2, immagine 3 di 3
      • Use a plastic opening tool to separate the rear case from the camera.

      Chiedi a FixBot

      Aggiungi Commento

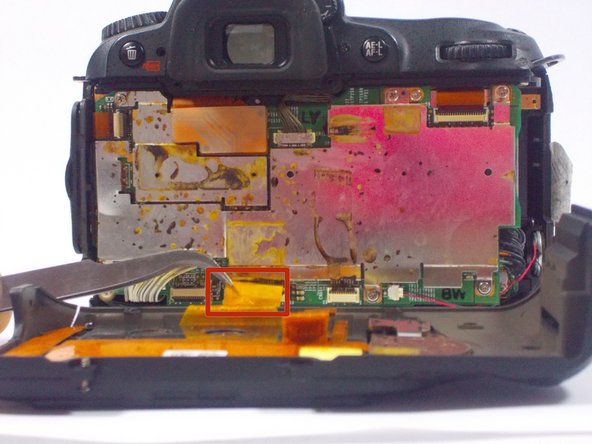
    3. Nikon D90 Rear Display Buttons Replacement, Disconnecting the Ribbon Cables: passo 3, immagine 1 di 2 Nikon D90 Rear Display Buttons Replacement, Disconnecting the Ribbon Cables: passo 3, immagine 2 di 2
      Strumento utilizzato in questo passaggio:
      Tweezers
      $4.99
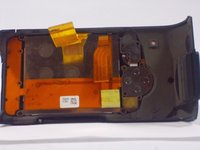
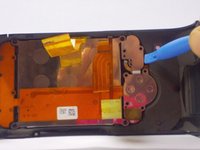
      • After, remove the two orange ribbon connectors attached to the interior of the camera with tweezers.

      • Make sure to remove the ribbon cables carefully from the connectors to avoid damaging the camera.

      Chiedi a FixBot

      Aggiungi Commento

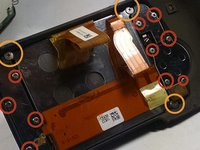
    4. Nikon D90 Rear Display Buttons Replacement, Removing the Screws from the Rear Casing: passo 4, immagine 1 di 2 Nikon D90 Rear Display Buttons Replacement, Removing the Screws from the Rear Casing: passo 4, immagine 2 di 2
      • Remove the screws from the back assembly with a Phillips (PH00) head screwdriver.

      • Remove the ten 5.3 mm Phillips screws.

      • Remove the three 4.3 mm Phillips screws.

      Chiedi a FixBot

      Aggiungi Commento

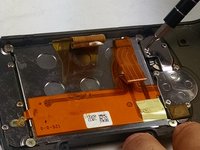
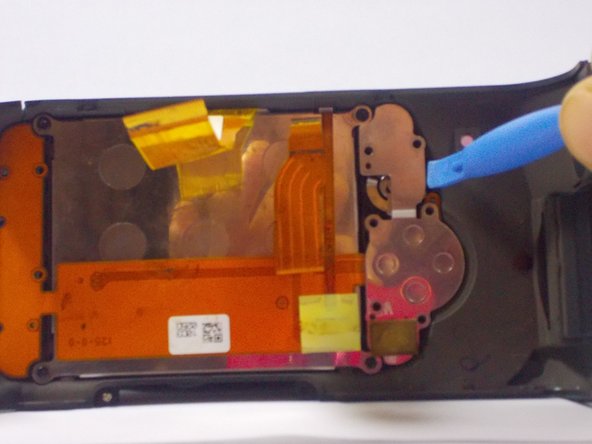
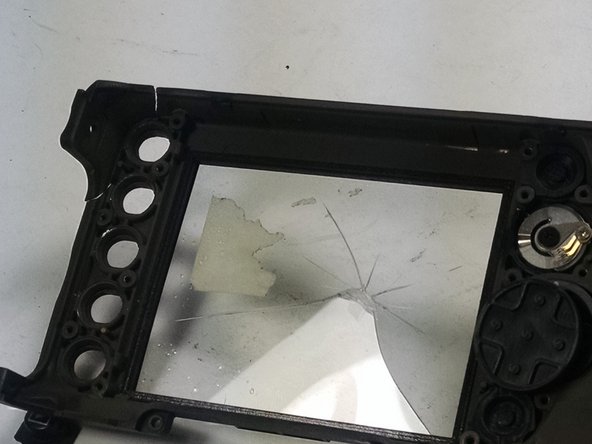
    5. Nikon D90 Rear Display Buttons Replacement, Removing the LCD and other components: passo 5, immagine 1 di 3 Nikon D90 Rear Display Buttons Replacement, Removing the LCD and other components: passo 5, immagine 2 di 3 Nikon D90 Rear Display Buttons Replacement, Removing the LCD and other components: passo 5, immagine 3 di 3
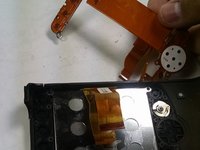
      • Use a plastic opening tool to separate the LCD and metal plates from the casing.

      Chiedi a FixBot

      Aggiungi Commento

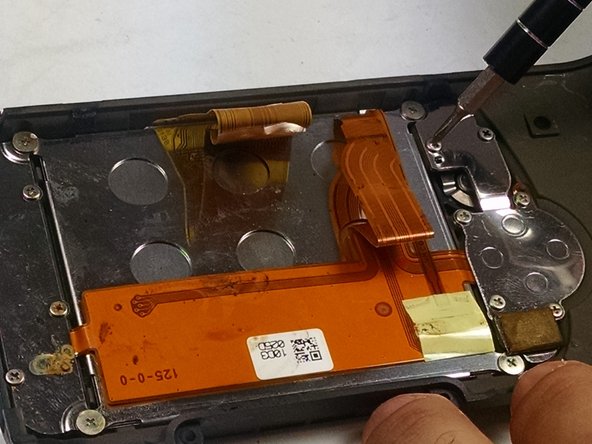
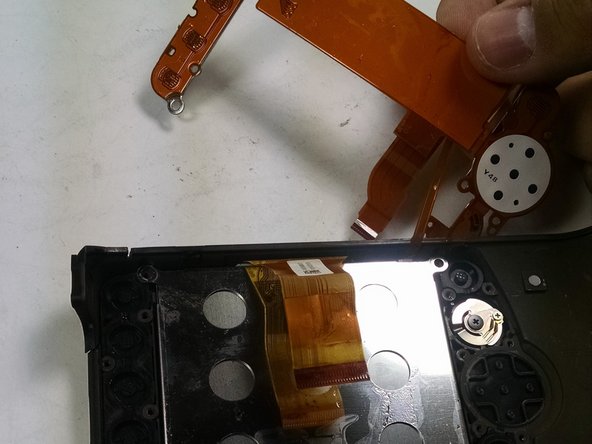
    6. Nikon D90 Rear Display Buttons Replacement, Removing the Display Buttons: passo 6, immagine 1 di 3 Nikon D90 Rear Display Buttons Replacement, Removing the Display Buttons: passo 6, immagine 2 di 3 Nikon D90 Rear Display Buttons Replacement, Removing the Display Buttons: passo 6, immagine 3 di 3
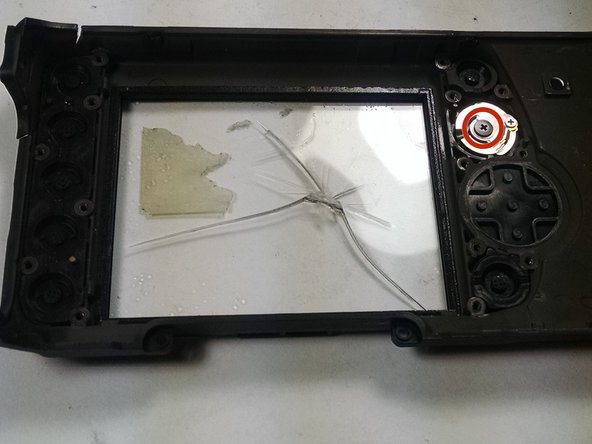
      • Use a plastic opening tool to separate the buttons from the casing.

      • Remove the 4.3 mm Phillips screw from the knob using a PH00 screwdriver.

      Chiedi a FixBot

      Aggiungi Commento

Conclusione

To reassemble your device, follow these instructions in reverse order.

Annulla: non ho completato questa guida.

Un'altra persona ha completato questa guida.

Team

UMass Dartmouth, Team 1-7, Duarte Fall 2014 Membro di UMass Dartmouth, Team 1-7, Duarte Fall 2014

UMASSD-DUARTE-F14S1G7

3 Membri

6 guide realizzate

0Commenti sulla guida

Aggiungi Commento

Visualizza statistiche:

Ultime 24 ore: 1

Ultimi 7 giorni: 9

Ultimi 30 giorni: 41

Tutti i Tempi: 3,268