Questa traduzione è stata generata automaticamente e non è stata ancora revisionata da una persona. Parli questa lingua? Dai un’occhiata.
Introduzione
Devi sostituire uno schermo incrinato o semplicemente pulire sotto la protezione schermo? Questa guida mostra come accedere al monitor LCD.
Cosa ti serve
-
-
-
Apri lo schermo. Ci sono quattro viti a croce Phillips #00 che fissano la scocca in plastica nera.
-
Dettaglio di una vite laterale da 2x2,5 mm.
-
Dettaglio delle due viti inferiori da 3x4 mm.
 Chiedi a FixBot
-
-
-
Utilizzando strumenti di apertura in plastica, sgancia la cover posteriore. Inizia dalla parte inferiore della custodia, vicino alla cerniera.
-
-
-
Strumento utilizzato in questo passaggio:Tweezers$4.99
-
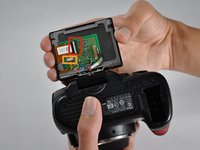
Fai scorrere il gruppo dello schermo in avanti e rimuovilo dal supporto della cerniera.
-
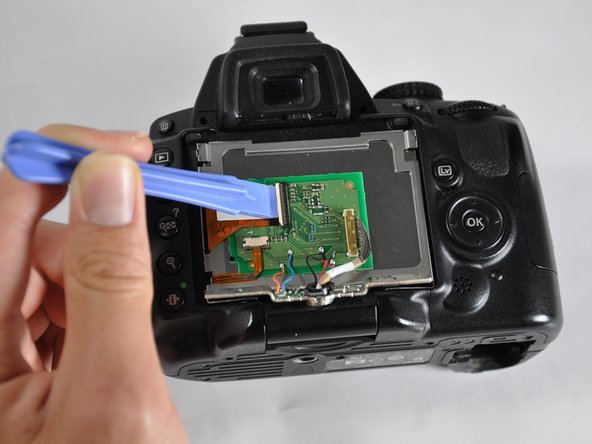
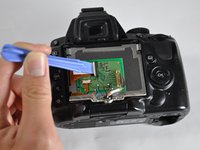
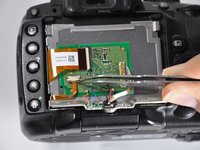
Con uno spudger, uno strumento di apertura o un’unghia, sgancia la clip sul cavo a nastro largo.
-
Utilizzando le pinzette, fai scorrere verso il basso la parte marrone scuro del connettore. Questo sbloccherà il cavo a nastro inferiore.
-
Fai scorrere entrambi i cavi fuori dai loro connettori.
-
-
-
Fai leva sul circuito stampato per staccarlo dall'adesivo sul retro dello schermo. Usa uno spudger o uno strumento di apertura.
-
-






Per rimontare il dispositivo, segui queste istruzioni in ordine inverso.
Annulla: non ho completato questa guida.
Altre 14 persone hanno completato questa guida.

Team

Cal Poly, Team 13-28, Maness Spring 2014 Membro di Cal Poly, Team 13-28, Maness Spring 2014
CPSU-MANESS-S14S13G28
4 Membri
72 guide realizzate
6Commenti sulla guida
Great guide. Very thorough and the images were most helpful. Worked for me! THANKS.
When I open my D5000 i found out that the Blue and Orange wire on the board was disconnected and had no Idea where it goes (until i saw in the picture then I figured it out). But Overall I managed to assesmble the LCD and was feeling great. Although everytime I change the LCD view upsidedown, it doesnt respond to it unlike putting the view left or right (that works..i wonder why?). Thanks for the guide
Hi, I also have the blue wire disconnected. Despite this, my screen appears fully functional. Anyone knows what this wire is supposed to do..?
Thanks, the guide is perfect!
Menu buttons are not working or all buttons. I can take pictures,LV button is not working. How can I repair? Thank you very much!!!
the pin lock to the wide ribbon cable is brittle already, is there another way to reattach the cable?