Salta al contenuto principale
Unisciti alla Community delle riparazioni - Crea un account

Nikon Coolpix L830 Shutter Button Replacement

Cosa ti serve

    1. Nikon Coolpix L830 Shutter Button Replacement, Back Casing: passo 1, immagine 1 di 1
      • Use a Phillips #000 screwdriver to unscrew the two 3.0mm Phillips screws located on the side of the camera with the HDMI port.

      • The HDMI port side will be on the left if you are looking at the back of the camera with the LCD monitor.

      • One screw is located under the gray flap.

      Chiedi a FixBot

      Aggiungi Commento

    2. Nikon Coolpix L830 Shutter Button Replacement: passo 2, immagine 1 di 1
      • Unscrew the five 3.0mm Phillips #000 screws that are located on the bottom side of the camera.

      Chiedi a FixBot

      Aggiungi Commento

    3. Nikon Coolpix L830 Shutter Button Replacement: passo 3, immagine 1 di 1
      • Unscrew the 4.0mm Phillips #000 screw located underneath the grey flap on the side of the camera with the "DC IN 5.0 V" marker.

      • This will be on the right if you are looking at the back LCD monitor side.

      • Unscrew the exposed 3.0mm Phillips #000 screw on the same side.

      Chiedi a FixBot

      Aggiungi Commento

    4. Nikon Coolpix L830 Shutter Button Replacement: passo 4, immagine 1 di 1
      • Press the flash button to open the flash component.

      • Remove the 3.0mm Phillips #000 screw located directly in-between the two arms.

      Chiedi a FixBot

      Aggiungi Commento

    5. Nikon Coolpix L830 Shutter Button Replacement: passo 5, immagine 1 di 1
      • Open the LCD monitor to reveal two 2.0mm Phillips screws.

      • Remove the 2.0mm Phillips #000 screws.

      Chiedi a FixBot

      Aggiungi Commento

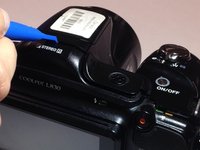
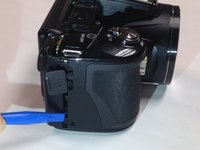
    6. Nikon Coolpix L830 Shutter Button Replacement: passo 6, immagine 1 di 2 Nikon Coolpix L830 Shutter Button Replacement: passo 6, immagine 2 di 2
      • Make sure to open the plastic grey flaps on either side of the camera before proceeding with this step.

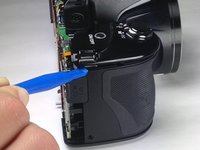
      • Insert a plastic opening tool between the back and front surface components of the camera.

      • Wiggle the plastic opening tool backwards and forwards along the top edge until the back surface comes off.

      • Remove the back casing gently to not damage the LCD ribbon connector or inner camera components.

      Chiedi a FixBot

      Aggiungi Commento

    7. Nikon Coolpix L830 Shutter Button Replacement: passo 7, immagine 1 di 2 Nikon Coolpix L830 Shutter Button Replacement: passo 7, immagine 2 di 2
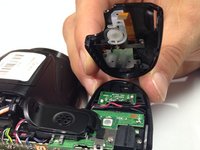
      • Gently pull the LCD ribbon connector up to allow the back casing to be completely removed.

      Chiedi a FixBot

      Aggiungi Commento

    1. Nikon Coolpix L830 Shutter Button Replacement, Shutter Button: passo 8, immagine 1 di 1
      • Open the battery panel on the bottom of the camera by pushing the slider up and tugging the battery panel to the right.

      • Remove the 3.0mm Phillips screw in the top battery panel.

      • The screw is located in the dark recesses at the end of the battery chamber, which will make screw removal difficult. Be gentle to avoid stripping screw.

      Chiedi a FixBot

      Aggiungi Commento

    2. Nikon Coolpix L830 Shutter Button Replacement: passo 9, immagine 1 di 1
      • Remove the 3.0mm Phillips #000 screw located above the grey power flap on the side of the camera.

      Chiedi a FixBot

      Aggiungi Commento

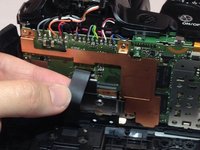
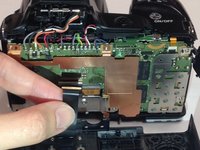
    3. Nikon Coolpix L830 Shutter Button Replacement: passo 10, immagine 1 di 2 Nikon Coolpix L830 Shutter Button Replacement: passo 10, immagine 2 di 2
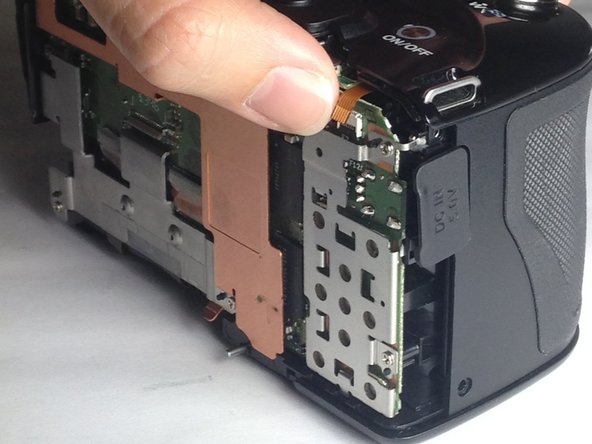
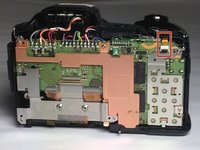
      • Use your finger to gently pull up the wire ribbon which connects the shutter button to the motherboard.

      • The wire ribbon is located at the top right corner of the motherboard.

      Chiedi a FixBot

      Aggiungi Commento

    4. Nikon Coolpix L830 Shutter Button Replacement: passo 11, immagine 1 di 2 Nikon Coolpix L830 Shutter Button Replacement: passo 11, immagine 2 di 2
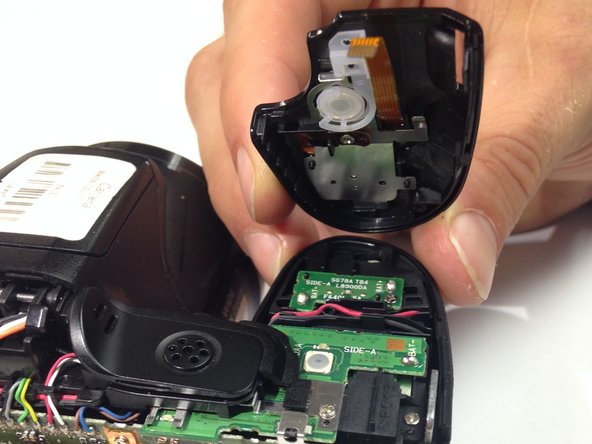
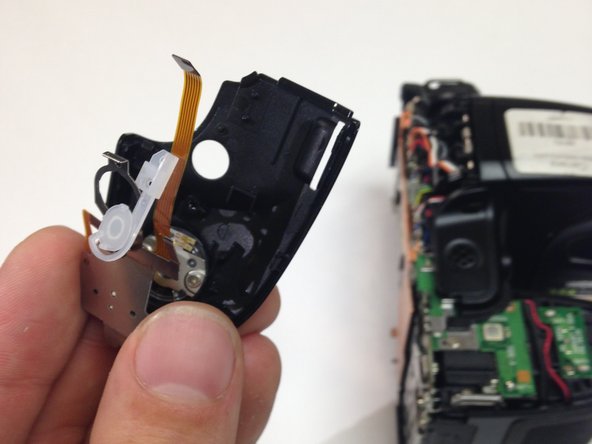
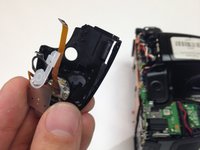
      • Insert the blue plastic opening tool between the main casing and the shutter component.

      • Wiggle the plastic opening tool up and down to pry off the shutter component.

      Chiedi a FixBot

      Aggiungi Commento

    5. Nikon Coolpix L830 Shutter Button Replacement: passo 12, immagine 1 di 2 Nikon Coolpix L830 Shutter Button Replacement: passo 12, immagine 2 di 2
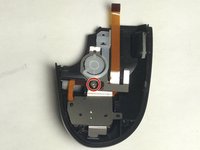
      • Unscrew the single 2.0mm Phillips #000 screw located on the dark brown strip on the back of the shutter button panel.

      • Once the Phillips screw is removed, gently take off the metal component with your hand or a wedge tool.

      • The on/off switch is not connected to the metal component, so be sure to keep track of it when removing.

      • Once the metal component is removed, the shutter button should be the only remaining part connected to the black shutter casing.

      Chiedi a FixBot

      Aggiungi Commento

    6. Nikon Coolpix L830 Shutter Button Replacement: passo 13, immagine 1 di 2 Nikon Coolpix L830 Shutter Button Replacement: passo 13, immagine 2 di 2
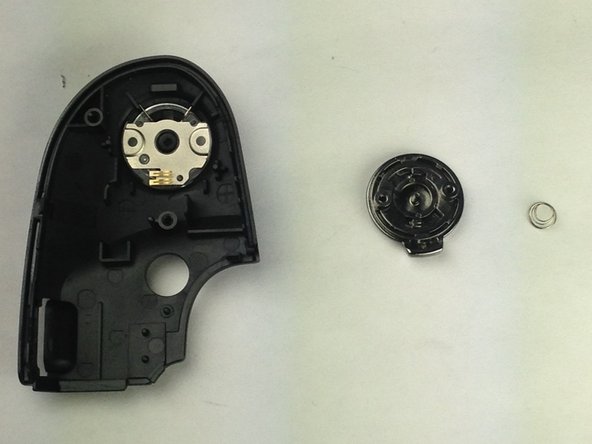
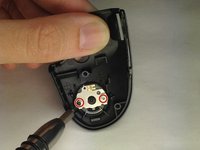
      • Remove the final two 2.0mm Phillips #000 screws, releasing the shutter button.

      • The shutter component has a spring attached. Be sure to carefully remove the shutter button and keep track of the small spring.

      Chiedi a FixBot

      Aggiungi Commento

Conclusione

To reassemble your device, follow these instructions in reverse order.

Annulla: non ho completato questa guida.

Team

Baylor, Team 4-4, Williams Fall 2016 Membro di Baylor, Team 4-4, Williams Fall 2016

BU-WILLIAMS-F16S4G4

3 Membri

10 guide realizzate

0Commenti sulla guida

Aggiungi Commento

Visualizza statistiche:

Ultime 24 ore: 2

Ultimi 7 giorni: 10

Ultimi 30 giorni: 46

Tutti i Tempi: 2,817