Salta al contenuto principale
Unisciti alla Community delle riparazioni - Crea un account

Nest Learning Thermostat 2nd Generation Optical Finger Motion Sensor Replacement

Cosa ti serve

    1. Nest Learning Thermostat 2nd Generation Optical Finger Motion Sensor  Replacement, Removal from Wall: passo 1, immagine 1 di 2 Nest Learning Thermostat 2nd Generation Optical Finger Motion Sensor  Replacement, Removal from Wall: passo 1, immagine 2 di 2
      • Grasp the display's metal outer ring with your fingers and pull directly away from the wall.

      Chiedi a FixBot

      Aggiungi Commento

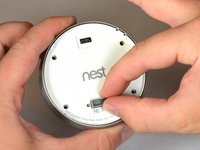
    2. Nest Learning Thermostat 2nd Generation Optical Finger Motion Sensor  Replacement, Open Display: passo 2, immagine 1 di 1
      • Turn the display over.

      • Remove the four 6 mm screws from the back of the display using a Phillips #0 screwdriver.

      Chiedi a FixBot

      Aggiungi Commento

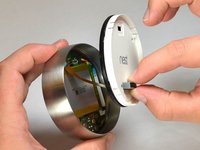
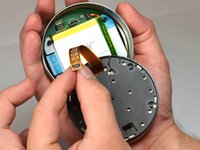
    3. Nest Learning Thermostat 2nd Generation Optical Finger Motion Sensor  Replacement, Remove the back of the display: passo 3, immagine 1 di 2 Nest Learning Thermostat 2nd Generation Optical Finger Motion Sensor  Replacement, Remove the back of the display: passo 3, immagine 2 di 2
      • Pinch the gray 20-pin connector with your fingers and pull directly away from the display.

      • Do NOT pull too far as there is a ribbon on the back panel connecting the 20-pin connector to the display.

      Chiedi a FixBot

      Aggiungi Commento

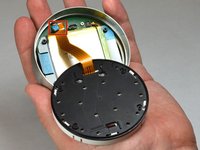
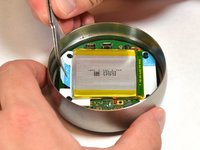
    4. Nest Learning Thermostat 2nd Generation Optical Finger Motion Sensor  Replacement, Disconnect the base connection ribbon cable.: passo 4, immagine 1 di 3 Nest Learning Thermostat 2nd Generation Optical Finger Motion Sensor  Replacement, Disconnect the base connection ribbon cable.: passo 4, immagine 2 di 3 Nest Learning Thermostat 2nd Generation Optical Finger Motion Sensor  Replacement, Disconnect the base connection ribbon cable.: passo 4, immagine 3 di 3
      • Locate the blue pull tab at the end of the ribbon which says, "1. Pull".

      • Grasp the tab with your fingers and pull directly away from the motherboard.

      Chiedi a FixBot

      Aggiungi Commento

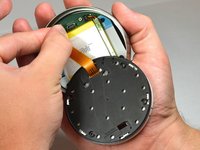
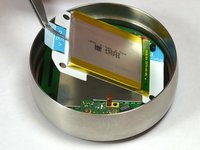
    5. Nest Learning Thermostat 2nd Generation Optical Finger Motion Sensor  Replacement, Lift battery from the base: passo 5, immagine 1 di 2 Nest Learning Thermostat 2nd Generation Optical Finger Motion Sensor  Replacement, Lift battery from the base: passo 5, immagine 2 di 2
      Strumento utilizzato in questo passaggio:
      Tweezers
      $4.99
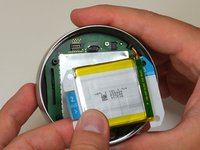
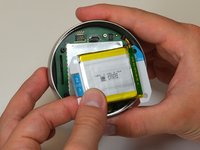
      • Locate the blue tab which says, "2. Pull".

      • Use tweezers to pull the battery up and away from the display.

      • Do NOT pull too far, as the battery is still connected to the motherboard and must be unplugged.

      Chiedi a FixBot

      Aggiungi Commento

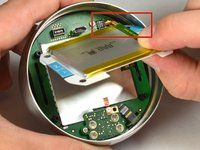
    6. Nest Learning Thermostat 2nd Generation Optical Finger Motion Sensor  Replacement, Disconnect the battery from the motherboard: passo 6, immagine 1 di 2 Nest Learning Thermostat 2nd Generation Optical Finger Motion Sensor  Replacement, Disconnect the battery from the motherboard: passo 6, immagine 2 di 2
      • Locate the blue tab which says "3 unplug".

      • Grasp the battery with your fingers. Pull gently directly away from the display to unplug the battery from the motherboard.

      Chiedi a FixBot

      Aggiungi Commento

    7. Nest Learning Thermostat 2nd Generation Optical Finger Motion Sensor  Replacement, Remove battery from the display: passo 7, immagine 1 di 3 Nest Learning Thermostat 2nd Generation Optical Finger Motion Sensor  Replacement, Remove battery from the display: passo 7, immagine 2 di 3 Nest Learning Thermostat 2nd Generation Optical Finger Motion Sensor  Replacement, Remove battery from the display: passo 7, immagine 3 di 3
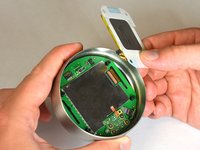
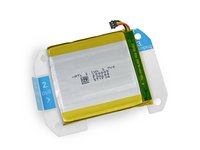
      • Grasp the battery with your fingers and pull directly away from motherboard to separate the battery from the display.

      Chiedi a FixBot

      Aggiungi Commento

    1. Nest Learning Thermostat 2nd Generation Optical Finger Motion Sensor  Replacement, Locate auto-away sensor: passo 8, immagine 1 di 1
      • Locate the auto-away sensor.

      Chiedi a FixBot

      Aggiungi Commento

    2. Nest Learning Thermostat 2nd Generation Optical Finger Motion Sensor  Replacement, Remove screws: passo 9, immagine 1 di 2 Nest Learning Thermostat 2nd Generation Optical Finger Motion Sensor  Replacement, Remove screws: passo 9, immagine 2 di 2
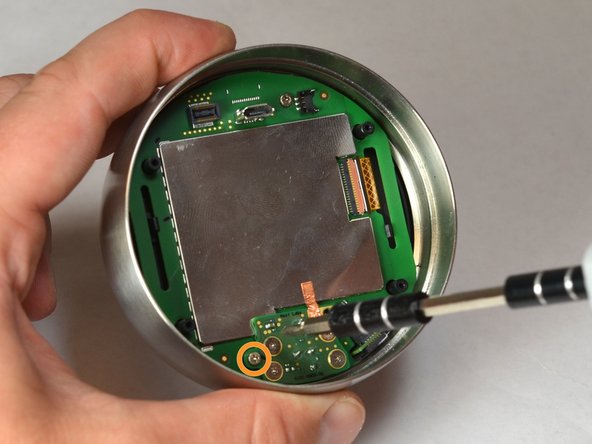
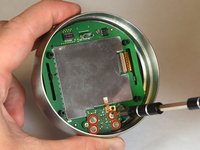
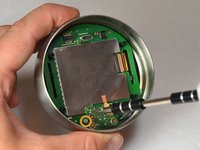
      • Remove the four 3mm screws with a #0 Phillips screwdriver.

      • Remove the one 4mm screw located at the edge of the auto-away sensor. Use a #0 Phillips screwdriver.

      Chiedi a FixBot

      Aggiungi Commento

    3. Nest Learning Thermostat 2nd Generation Optical Finger Motion Sensor  Replacement, Remove auto-away sensor: passo 10, immagine 1 di 3 Nest Learning Thermostat 2nd Generation Optical Finger Motion Sensor  Replacement, Remove auto-away sensor: passo 10, immagine 2 di 3 Nest Learning Thermostat 2nd Generation Optical Finger Motion Sensor  Replacement, Remove auto-away sensor: passo 10, immagine 3 di 3
      Strumento utilizzato in questo passaggio:
      Tweezers
      $4.99
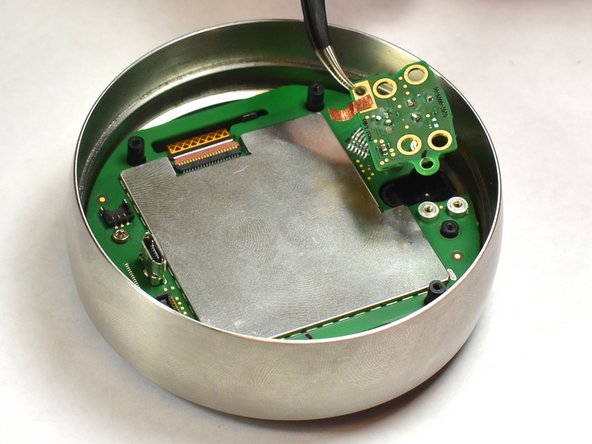
      • Lift the auto-away sensor from motherboard using tweezers.

      • Peel the copper foil gently from the EMI shield.

      Chiedi a FixBot

      Aggiungi Commento

    1. Nest Learning Thermostat 2nd Generation Optical Finger Motion Sensor  Replacement, Remove screw from motherboard: passo 11, immagine 1 di 1
      • Remove the 4 mm screw from the motherboard using a #0 Phillips screwdriver.

      Chiedi a FixBot

      Aggiungi Commento

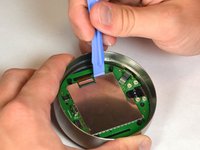
    2. Nest Learning Thermostat 2nd Generation Optical Finger Motion Sensor  Replacement, Removal of EMI Shield: passo 12, immagine 1 di 2 Nest Learning Thermostat 2nd Generation Optical Finger Motion Sensor  Replacement, Removal of EMI Shield: passo 12, immagine 2 di 2
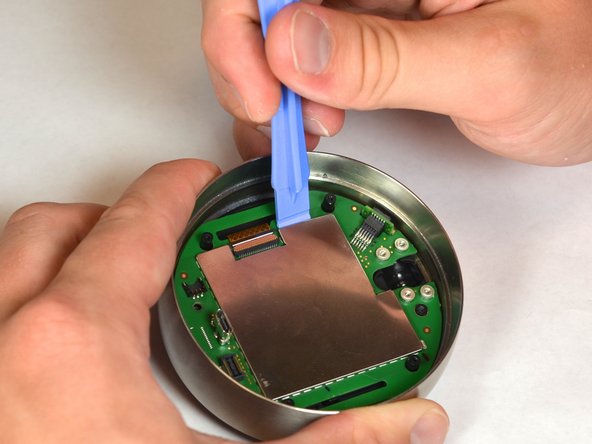
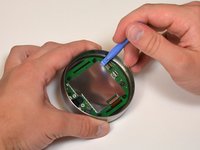
      • Remove the EMI shield from the motherboard using a plastic opening tool.

      Chiedi a FixBot

      Aggiungi Commento

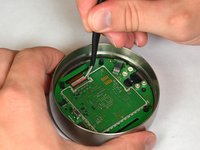
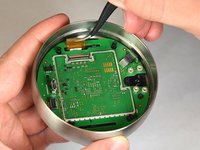
    3. Nest Learning Thermostat 2nd Generation Optical Finger Motion Sensor  Replacement, Disconnect the LCD ribbon: passo 13, immagine 1 di 2 Nest Learning Thermostat 2nd Generation Optical Finger Motion Sensor  Replacement, Disconnect the LCD ribbon: passo 13, immagine 2 di 2
      Strumento utilizzato in questo passaggio:
      Tweezers
      $4.99
      • Unsnap the LCD ribbon from the motherboard gently using tweezers.

      Chiedi a FixBot

      Aggiungi Commento

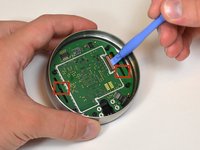
    4. Nest Learning Thermostat 2nd Generation Optical Finger Motion Sensor  Replacement, Disconnect the motherboard from the display: passo 14, immagine 1 di 3 Nest Learning Thermostat 2nd Generation Optical Finger Motion Sensor  Replacement, Disconnect the motherboard from the display: passo 14, immagine 2 di 3 Nest Learning Thermostat 2nd Generation Optical Finger Motion Sensor  Replacement, Disconnect the motherboard from the display: passo 14, immagine 3 di 3
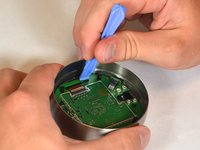
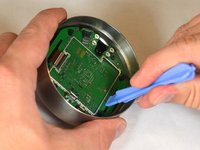
      • Locate the black tabs that hold the display to the motherboard.

      • Push the black tabs gently away from the motherboard using the plastic opening tools.

      Chiedi a FixBot

      Aggiungi Commento

    5. Nest Learning Thermostat 2nd Generation Optical Finger Motion Sensor  Replacement, Separate the motherboard and the display: passo 15, immagine 1 di 2 Nest Learning Thermostat 2nd Generation Optical Finger Motion Sensor  Replacement, Separate the motherboard and the display: passo 15, immagine 2 di 2
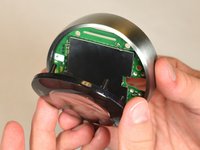
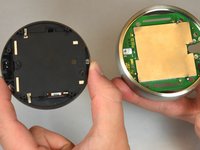
      • Pull the face display gently away from the motherboard.

      Chiedi a FixBot

      Aggiungi Commento

    6. Nest Learning Thermostat 2nd Generation Optical Finger Motion Sensor  Replacement, Separate motherboard from steel ring: passo 16, immagine 1 di 1
      • Using one hand to hold the steel ring, carefully lift the motherboard out of the ring using the other hand.

      Chiedi a FixBot

      Aggiungi Commento

    1. Nest Learning Thermostat 2nd Generation Optical Finger Motion Sensor  Replacement, Removal of optical finger: passo 17, immagine 1 di 3 Nest Learning Thermostat 2nd Generation Optical Finger Motion Sensor  Replacement, Removal of optical finger: passo 17, immagine 2 di 3 Nest Learning Thermostat 2nd Generation Optical Finger Motion Sensor  Replacement, Removal of optical finger: passo 17, immagine 3 di 3
      Strumento utilizzato in questo passaggio:
      Tweezers
      $4.99
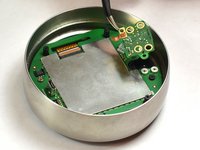
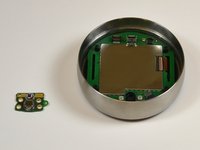
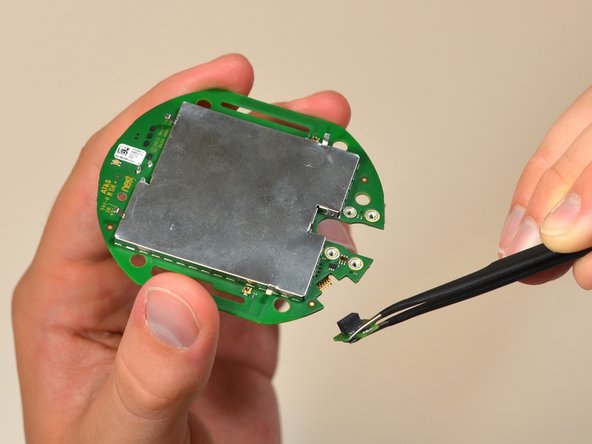
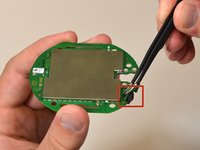
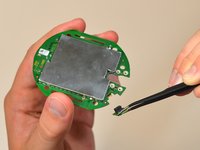
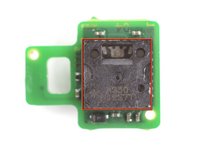
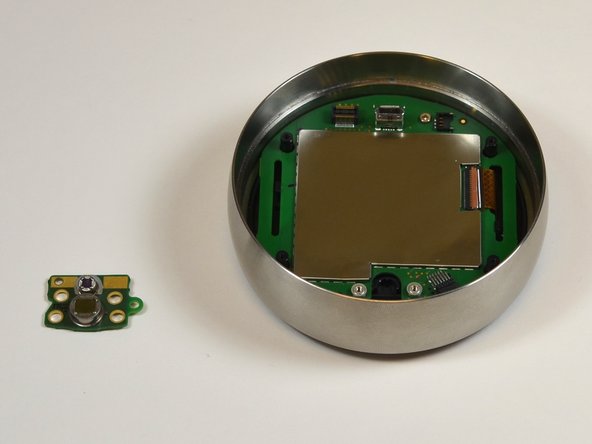
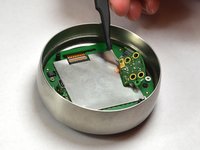
      • Locate the optical sensor, a small board attached at 90 degrees from the side of the motherboard.

      • Using the tweezers, grasp the small green piece of exposed board on the sensor, and pull directly away from the side of the motherboard.

      Chiedi a FixBot

      Aggiungi Commento

Conclusione

To reassemble your device, follow these instructions in reverse order.

Annulla: non ho completato questa guida.

Altre 3 persone hanno completato questa guida.

Team

USF Tampa, Team 11-5, Blackwell Fall 2014 Membro di USF Tampa, Team 11-5, Blackwell Fall 2014

USFT-BLACKWELL-F14S11G5

5 Membri

24 guide realizzate

11Commenti sulla guida

Where can I get the sensor?

tyjustice - Rispondi Condividi
I second this, for the life of me, I can't find it. Just data specs and how most of the electronics retailers online says it obsolete, specially since Avago got absorbed by Broadcom.

Luis A. Cornejo - Rispondi Condividi
This is helpful up to the point where I need to know where to get the sensor. Where do I get the sensor?

Art Adams - Rispondi Condividi

Any update where to get a new sensor? I just received a device from a friend and it needs to be fixed.

Steven D'Ambrozio - Rispondi Condividi

The easier path would be to install a rotary encoder, and call it a day. If you do find the sensor, you have to code basically a driver for it and print your own pattern.

ic3balandran - Rispondi Condividi

Aggiungi Commento

Visualizza statistiche:

Ultime 24 ore: 2

Ultimi 7 giorni: 10

Ultimi 30 giorni: 44

Tutti i Tempi: 6,531