Introduzione
The guide is the beginning of every other guide for the Neo3DO device. In order to access any of the other parts for repair or replacement, you need to remove the back panel. DO NOT attempt to remove the front screen, as it is part of the device case and removing it will damage the tablet.
Check all other guides you plan to follow and have all tools laid out in advance. Make sure your workspace is clean and clear of anything not needed for the replacement.
Cosa ti serve
-
-
-
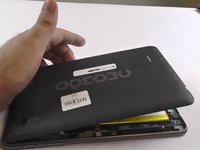
Turn the Neo3DO face down so that the logo is facing toward you.
-
Insert the plastic opening tool between the metal frame and the plastic back panel, as shown.
 Chiedi a FixBot
-
-
-
-
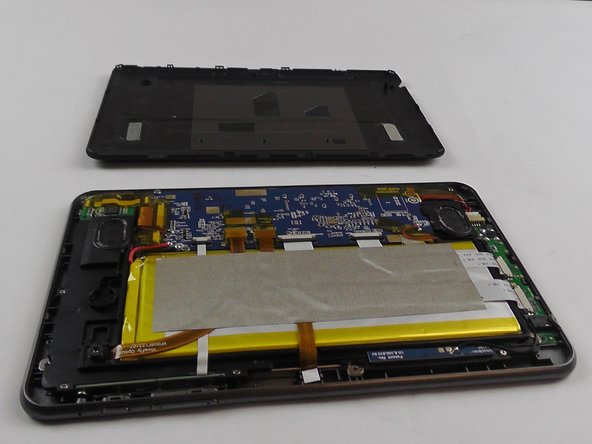
Once the back panel has been pried away from the bottom and sides of the Neo3DO, lift the back panel up and away from the tablet.
-
-
-
When replacing the back panel, place the top edge of the back panel against the top edge of the Neo3DO, as shown.
-
-




Team

USF Tampa, Team 14-3, Eyestone Fall 2016 Membro di USF Tampa, Team 14-3, Eyestone Fall 2016
USFT-EYESTONE-F16S14G3
3 Membri
12 guide realizzate
