Salta al contenuto principale
Unisciti alla Community delle riparazioni - Crea un account

NEC LCD1770NX Screen Replacement

Cosa ti serve

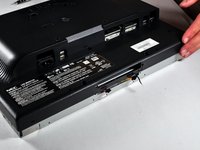
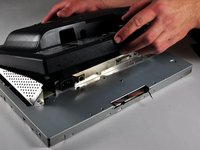
  1. NEC LCD1770NX Screen Replacement, Stand: passo 1, immagine 1 di 2 NEC LCD1770NX Screen Replacement, Stand: passo 1, immagine 2 di 2
    • Place the monitor face down on a clean, flat surface.

    Chiedi a FixBot
  2. NEC LCD1770NX Screen Replacement: passo 2, immagine 1 di 2 NEC LCD1770NX Screen Replacement: passo 2, immagine 2 di 2
    • Firmly remove the back panel of the stand by pulling it up and away from the monitor.

    Chiedi a FixBot
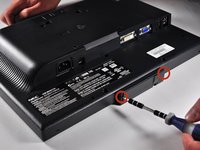
  3. NEC LCD1770NX Screen Replacement: passo 3, immagine 1 di 2 NEC LCD1770NX Screen Replacement: passo 3, immagine 2 di 2
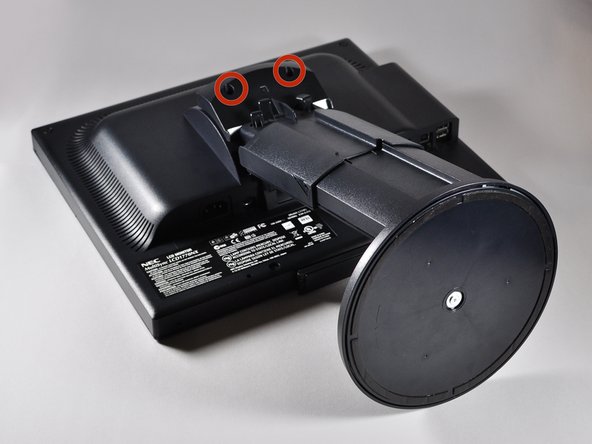
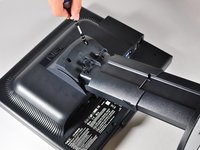
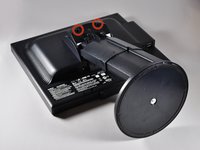
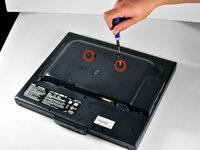
    • Unscrew the two 6mm Phillips PH2 screws to detach the stand enclosure from the stand.

    Chiedi a FixBot
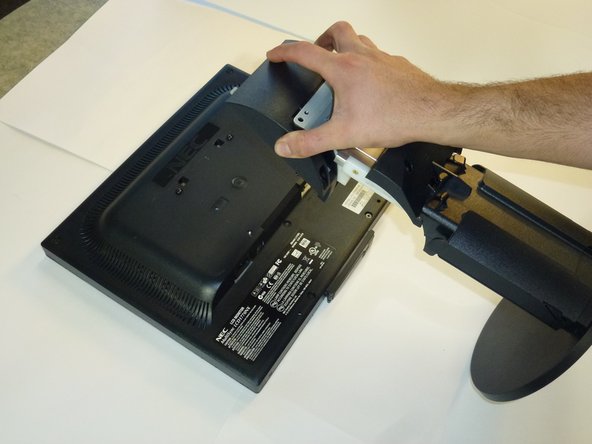
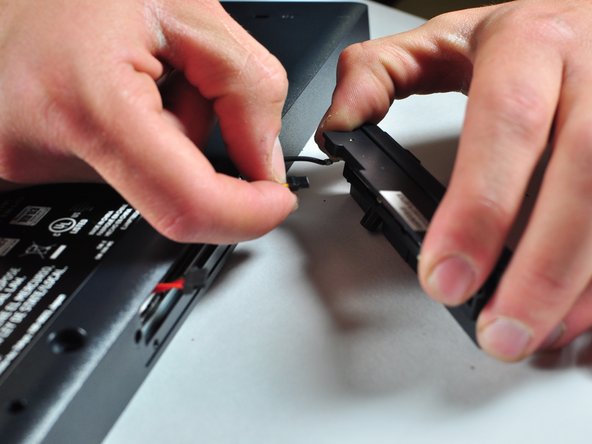
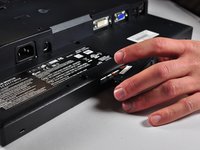
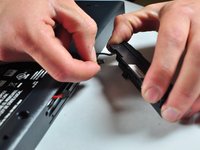
  4. NEC LCD1770NX Screen Replacement: passo 4, immagine 1 di 2 NEC LCD1770NX Screen Replacement: passo 4, immagine 2 di 2
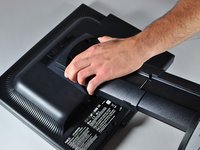
    • Firmly grasp the stand enclosure with your hand and slide it to base of stand.

    Chiedi a FixBot
  5. NEC LCD1770NX Screen Replacement: passo 5, immagine 1 di 1
    • Unscrew the two 14.5mm Phillips PH2 screws holding the stand to the monitor.

    Chiedi a FixBot
  6. NEC LCD1770NX Screen Replacement: passo 6, immagine 1 di 2 NEC LCD1770NX Screen Replacement: passo 6, immagine 2 di 2
    • Lift the the stand straight up to remove it.

    Chiedi a FixBot
  7. NEC LCD1770NX Screen Replacement, Monitor Enclosure: passo 7, immagine 1 di 3 NEC LCD1770NX Screen Replacement, Monitor Enclosure: passo 7, immagine 2 di 3 NEC LCD1770NX Screen Replacement, Monitor Enclosure: passo 7, immagine 3 di 3
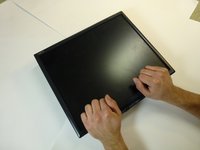
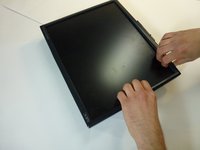
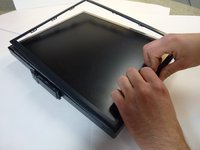
    • Place the monitor screen face up.

    • Pull the frame off by placing your fingers on the inside of the frame and pulling out and up, the frame should snap off.

    • Continue your way around the screen.

    Chiedi a FixBot
  8. NEC LCD1770NX Screen Replacement: passo 8, immagine 1 di 3 NEC LCD1770NX Screen Replacement: passo 8, immagine 2 di 3 NEC LCD1770NX Screen Replacement: passo 8, immagine 3 di 3
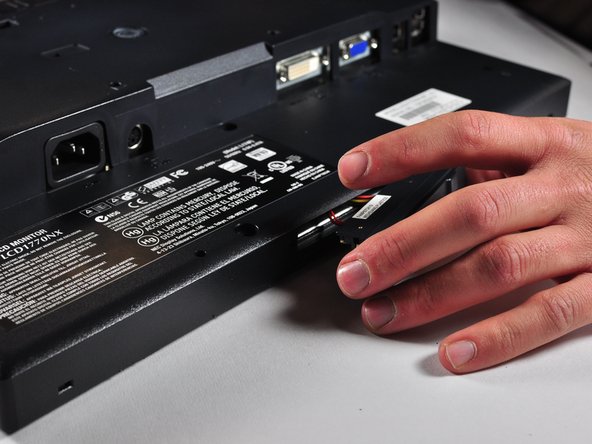
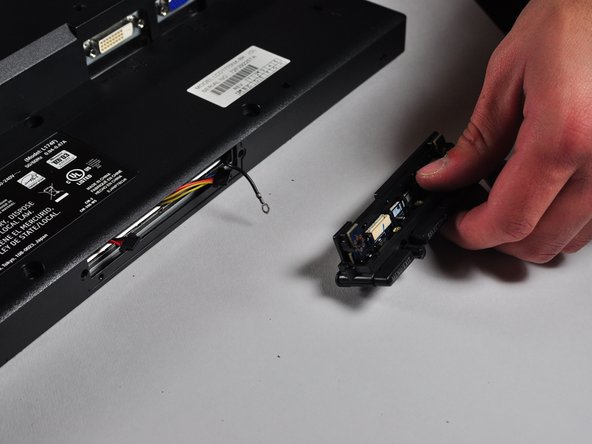
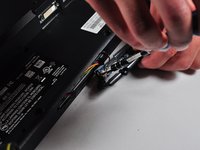
    • Unscrew the two 7mm screws from the bottom of the button assembly.

    • Do not pull the button assembly out too quickly or with too much force! Damage to the wires can occur.

    • Pull the button assembly out a few inches and unplug the colored cables.

    Chiedi a FixBot
  9. NEC LCD1770NX Screen Replacement: passo 9, immagine 1 di 2 NEC LCD1770NX Screen Replacement: passo 9, immagine 2 di 2
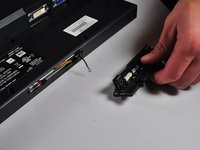
    • Unscrew the gold colored 7mm Phillips PH000 screw holding the button assembly to the monitor.

    • Remove the button assembly from the monitor.

    Chiedi a FixBot
  10. NEC LCD1770NX Screen Replacement: passo 10, immagine 1 di 1
    • With the monitor face-down, unscrew the 5 7mm Phillips PH2 screws around the outside of the enclosure.

    Chiedi a FixBot
  11. NEC LCD1770NX Screen Replacement: passo 11, immagine 1 di 3 NEC LCD1770NX Screen Replacement: passo 11, immagine 2 di 3 NEC LCD1770NX Screen Replacement: passo 11, immagine 3 di 3
    • Unscrew the 2 14.5mm Phillips PH2 screws located on the raised center of the enclosure.

    • Carefully pull the enclosure off the monitor.

    Chiedi a FixBot
  12. NEC LCD1770NX Screen Replacement: passo 12, immagine 1 di 2 NEC LCD1770NX Screen Replacement: passo 12, immagine 2 di 2
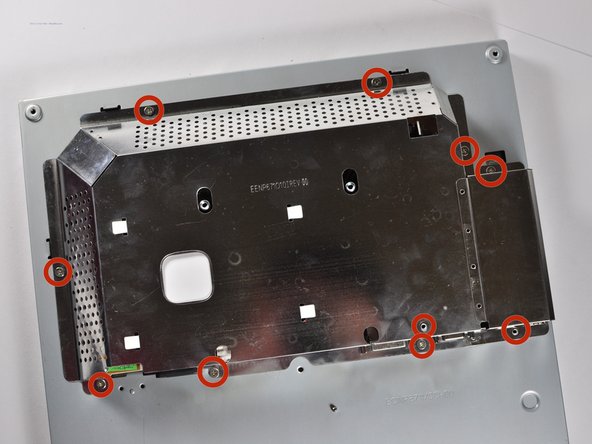
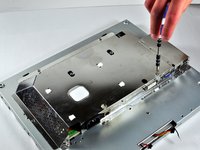
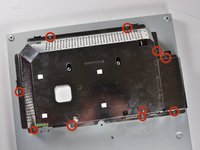
    • Unscrew the 10 5mm Philips PH2 screws holding the metal casing to the monitor.

    Chiedi a FixBot
  13. NEC LCD1770NX Screen Replacement: passo 13, immagine 1 di 2 NEC LCD1770NX Screen Replacement: passo 13, immagine 2 di 2
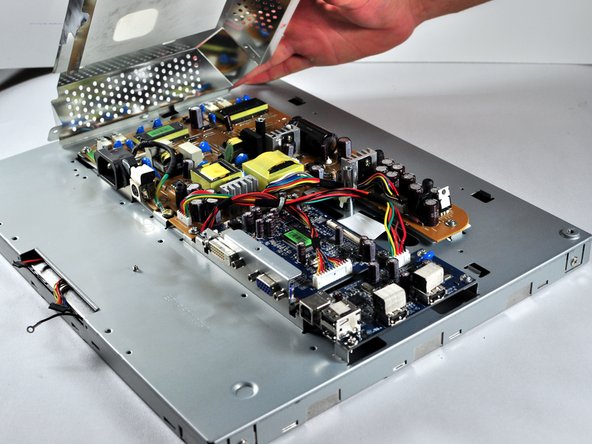
    • Pull the the metal casing off of the monitor to reveal the motherboards.

    Chiedi a FixBot
  14. NEC LCD1770NX Screen Replacement, Screen: passo 14, immagine 1 di 2 NEC LCD1770NX Screen Replacement, Screen: passo 14, immagine 2 di 2
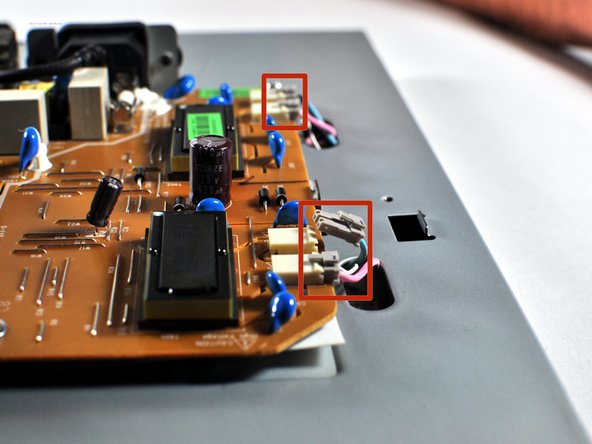
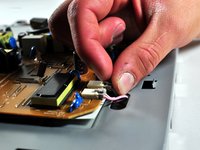
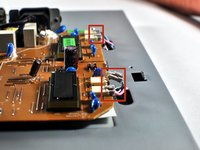
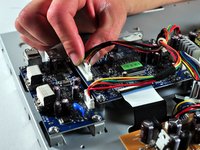
    • Unplug the pink and light blue attachments from the side of the brown board by pulling up on the tabs and gently pulling the cord out.

    • Label where the plugs go.

    Chiedi a FixBot
  15. NEC LCD1770NX Screen Replacement: passo 15, immagine 1 di 2 NEC LCD1770NX Screen Replacement: passo 15, immagine 2 di 2
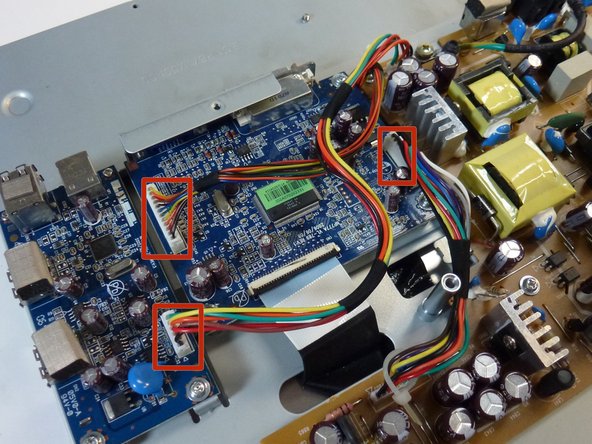
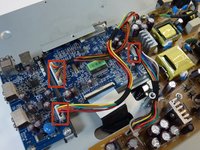
    • Unplug the 3 multicolored cables from the blue board by gently wiggling them back and forth while pulling up.

    Chiedi a FixBot
  16. NEC LCD1770NX Screen Replacement: passo 16, immagine 1 di 2 NEC LCD1770NX Screen Replacement: passo 16, immagine 2 di 2
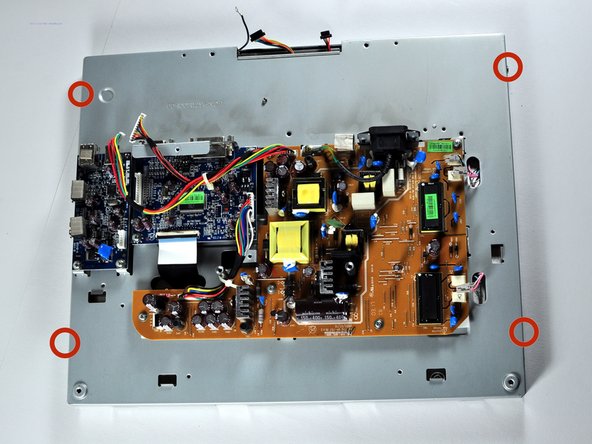
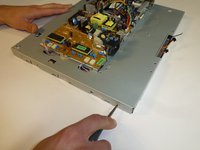
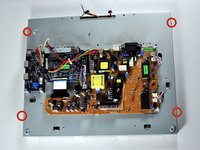
    • Unscrew the 4 5mm Phillips PH2 screws on the sides of the monitor.

    Chiedi a FixBot
  17. NEC LCD1770NX Screen Replacement: passo 17, immagine 1 di 3 NEC LCD1770NX Screen Replacement: passo 17, immagine 2 di 3 NEC LCD1770NX Screen Replacement: passo 17, immagine 3 di 3
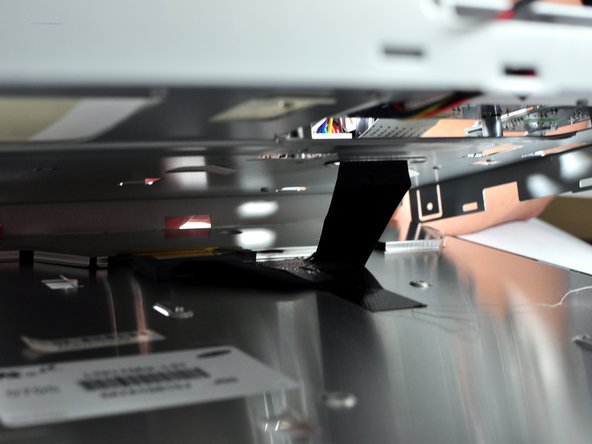
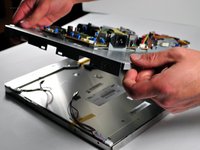
    • Begin opening the enclosure by slowing pulling up on back panel of the monitor.

    • The enclosure should still be attached by a cable; this cable is held down by tape. Remove this tape.

    Chiedi a FixBot
  18. NEC LCD1770NX Screen Replacement: passo 18, immagine 1 di 3 NEC LCD1770NX Screen Replacement: passo 18, immagine 2 di 3 NEC LCD1770NX Screen Replacement: passo 18, immagine 3 di 3
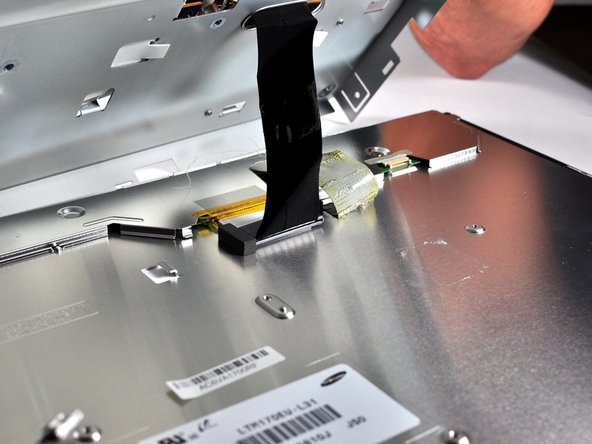
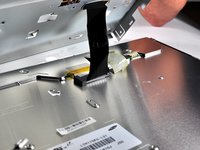
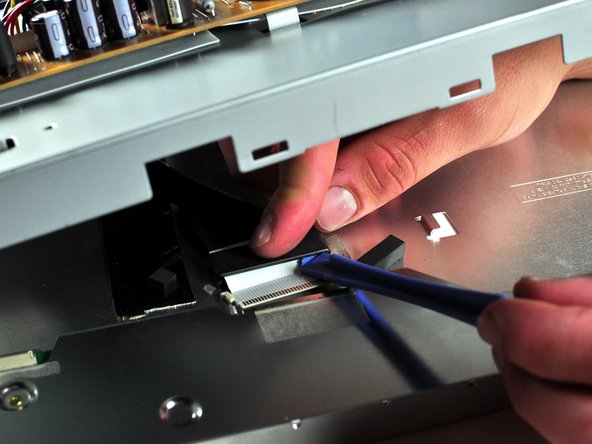
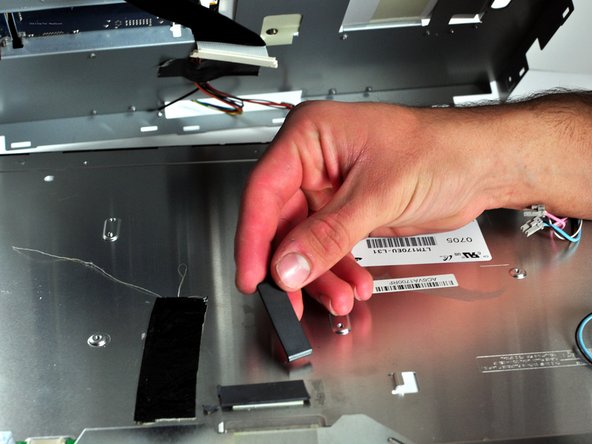
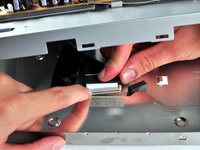
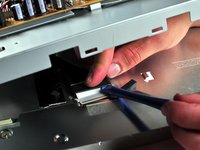
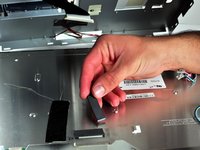
    • Unplug the cable from the screen. It is still attached by a fragile black belt.

    • Use a spudger to break the black ceramic belt to free the screen from the rest, allowing it to be replaced.

    Chiedi a FixBot
Conclusione

To reassemble your device, follow these instructions in reverse order.

Team

Cal Poly, Team 11-36, Amido Fall 2013 Membro di Cal Poly, Team 11-36, Amido Fall 2013

CPSU-AMIDO-F13S11G36

5 Membri

7 guide realizzate

1Commento della guida

Thank you very much for this tutorial. The steps are very specific and detailed. I bought a new NEC LCD1770NX LCD Display Screen online and installed it according to the steps in the article. Finally, the machine worked normally again. Thank you very much.

sean - Rispondi Condividi

Aggiungi Commento

Visualizza statistiche:

Ultime 24 ore: 1

Ultimi 7 giorni: 6

Ultimi 30 giorni: 62

Tutti i Tempi: 2,277