Questa traduzione è stata generata automaticamente e non è stata ancora revisionata da una persona. Parli questa lingua? Dai un’occhiata.
Introduzione
Usa questa guida per sostituire il gruppo schermo del tuo MacBook Pro.
Cosa ti serve
-
-
-
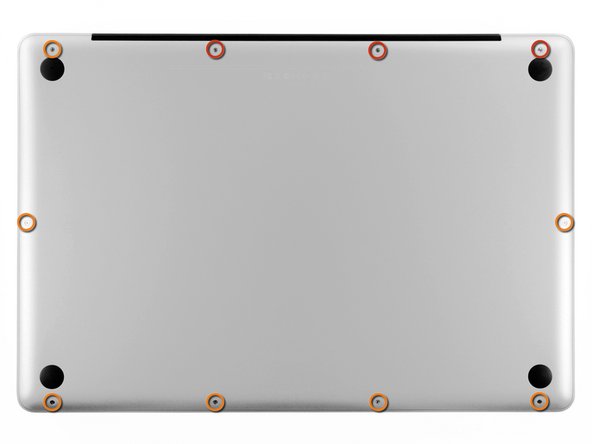
Svita le seguenti viti che fissano la scocca inferiore a quella superiore:
-
Tre viti a croce Phillips da 13,5 mm.
-
Sette viti a croce Phillips da 3 mm.
 Chiedi a FixBot
-
-
-
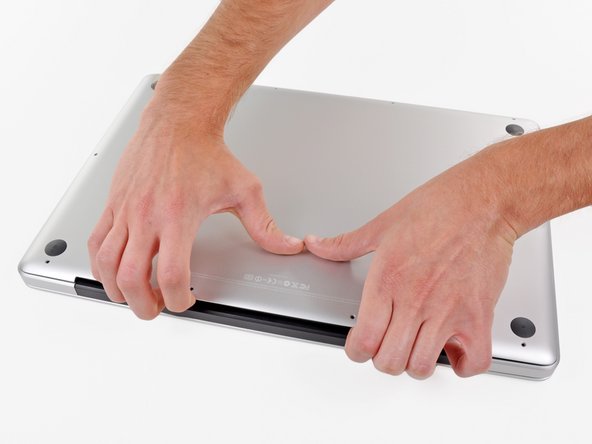
Infila le dita tra la copertura inferiore e la presa d'aria e tira verso l'alto per liberare i due ganci che fissano il case inferiore a quello superiore.
-
Rimuovi la cover inferiore.
-
-
-
-
-
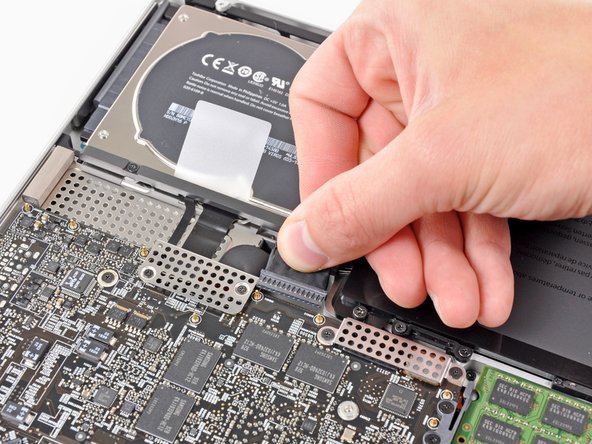
Se presente, afferra la linguetta di plastica attaccata al connettore della batteria e tirala verso il lato anteriore del dispositivo. Per i modelli di fine 2011, il connettore non avrà una linguetta ed è semplicemente una spina che si inserisce direttamente nella scheda madre, per rimuoverla tirala verso l'alto.
-
-
-
-
-
Usa la punta di uno spudger per spingere il piccolo fermo in plastica del cavo lontano dalla presa del cavo della fotocamera, lasciando spazio sufficiente per rimuovere il cavo della fotocamera.
-
-
-
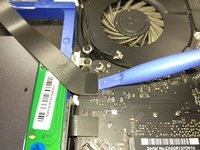
Tira il cavo della fotocamera verso l'apertura dell'unità disco ottico per scollegarlo dalla scheda logica.
-
-
-
Tira con cautela il cavo Bluetooth verso le ventole per scollegarlo dalla scheda Bluetooth.
-
-
-
-
Usa l'estremità piatta di uno spudger per staccare la sottile copertura in plastica dalla parte superiore e dai lati dell'alloggiamento della scheda Bluetooth. Per i modelli di fine 2011, controlla l'altra immagine perché la posizione del connettore è completamente diversa.
-
-
-
Usa l'estremità piatta di uno spudger per fare leva sul connettore dell'antenna Bluetooth e sganciarlo dalla sua presa sulla scheda Bluetooth.
-
-
-
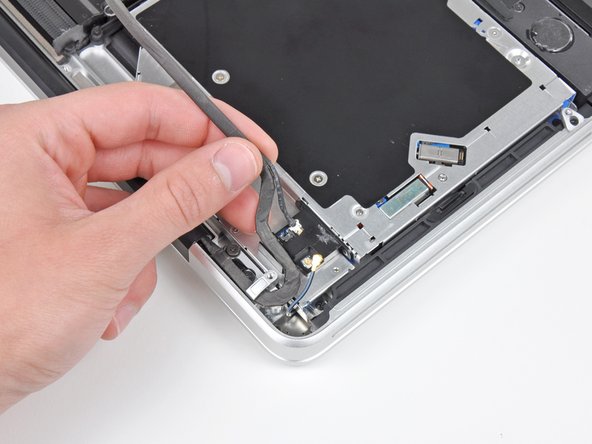
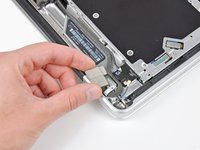
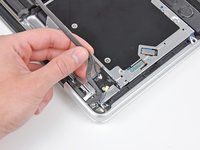
Disinstrada il cavo della fotocamera dall'alloggiamento ricavato nell'involucro della scheda Bluetooth.
-
-
-
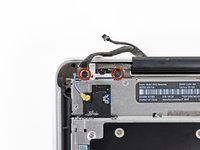
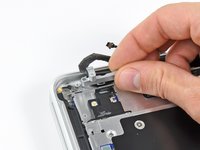
Rimuovi le due viti a croce Phillips da 7,1 mm che fissano il fermo del cavo della fotocamera al telaio superiore.
-
Rimuovi il fermo del cavo della fotocamera dal telaio superiore.
-
-
-
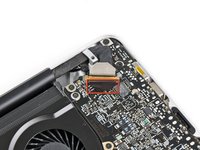
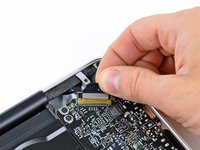
Solleva la aletta in plastica nera attaccata al fermo del cavo dati dello schermo e ruotala verso il lato di ingresso CC del MacBook.
-
Estrai il cavo dati dello schermo dalla sua presa.
-
-
-
Rimuovi le due viti a croce Phillips da 7,1 mm che fissano il fermo del cavo dati del display al case superiore.
-
Rimuovi il fermo del cavo dati del display.
-
-
-
Rimuovi le due viti Torx T6 esterne da 6,8 mm da ciascuna delle due staffe del display (quattro viti in totale).
-
-
-
Mentre tieni uniti il display e la parte superiore del case con la mano sinistra, rimuovi la restante vite Torx T6 dalla staffa inferiore del display.
-
-
-
Rimuovi l'ultima vite Torx T6 rimanente che fissa il display alla cover superiore.
-
-
-
Afferra la cover superiore con la mano destra e ruotala leggermente verso la parte superiore del display in modo che la staffa superiore del display superi il bordo della cover superiore.
-
Ruota il display leggermente lontano dalla cover superiore.
-
Solleva il display verso l'alto e lontano dalla cover superiore, facendo attenzione a eventuali staffe o cavi che potrebbero rimanere impigliati.
-
-














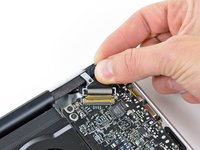


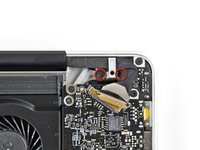
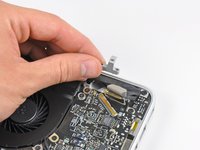


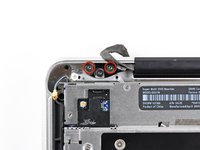
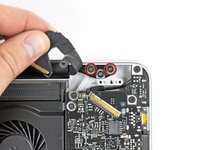


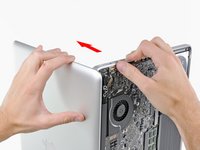
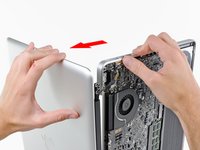
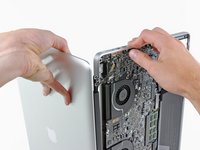
Per rimontare il dispositivo, segui queste istruzioni in ordine inverso.
Annulla: non ho completato questa guida.
Altre 43 persone hanno completato questa guida.

9Commenti sulla guida
This guide was a bit difficult to follow because the photos didn't represent 'exactly' what I was seeing. I was able to find the corresponding connections.
The trouble I'm having is the guide seems to end a few steps too soon. I still have a display inside the upper shell, the piece with the Apple logo. I'm very concerned for the well-being of the 'old' pieces in question. I have to save the upper case piece while extracting the display.
Any ideas please?
The title is misleading, and only covers the upper shell removal. I believe your issue is that you want to replace the display panel only, and not the enclosure or camera device. In most cases, however, technicians will simply counsel replacement of the entire upper shell, as replacing inner display components will rack up service hours and end up costing the equivalent of a new shell.
From an iFixit perspective, however, this is moot. You could find a display panel component on ebay, and do the work. I hope you found a more in-depth guide.
According to comments from iFixit on the teardown (Smontaggio del MacBook Pro 17" Unibody), they don’t consider the upper case assembly to be repairable. See comments on step 23 of the teardown.
If anyone has been able to open and close the upper case without damaging it, please share the procedure with the rest of us!
17” 2011 Macbook Pro 2.5 (BTO) has a different section at the left hand side, the part where the cables for the wireless hook up. Pay attention to the layout and think before untying any screws. The board that hooks up the wireless is “in” a separate bridge, installed next to the DVD writer with independent screws for suspension.
