Introduzione
Use this guide to replace the motherboard in a Logitech UE Hyperboom Bluetooth Speaker. The motherboard sends and receives signals to and from every component in the speaker. Signs of motherboard issues are total power failure, inability to charge, connections issues, or a physical burning smell. If any or multiple of these apply, it is possible you have a motherboard issue.
Note: Although the speaker replacement guide is listed as a prerequisite, you only need to remove the speakers at the near the top panel to access the motherboard (i.e. skip steps 5 & 6).
Before beginning this guide, be sure to power off your speaker.
Cosa ti serve
-
-
-
Unscrew the two black flat-top screws that attach the handle to the speaker with your hands.
 Chiedi a FixBot
-
-
-
-
-
Use your hands to carefully pry the plastic cover off of the speaker.
-
-
-
Use a Phillips #0 screwdriver to remove the ten 11.7mm screws on the top panel.
-
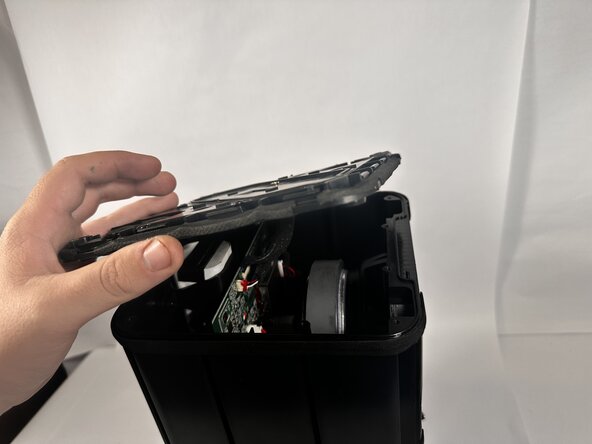
Remove the top panel to access the internal components.
-
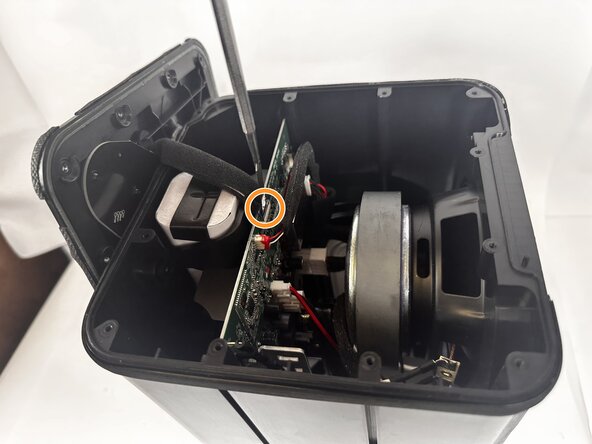
Use a metal spudger to completely disconnect the top panel.
-
-
-
-
-
Use the Jimmy to pry the fiber mesh cover away from the speaker.
-
Take the fiber mesh off of the speaker completely.
-
-
-
-
Use the Phillips #0 screwdriver to unscrew the three 9.2mm screws around the tweeter speaker.
-
Use the Phillips #0 screwdriver to unscrew the eight 10.1mm screws around the speaker driver.
-
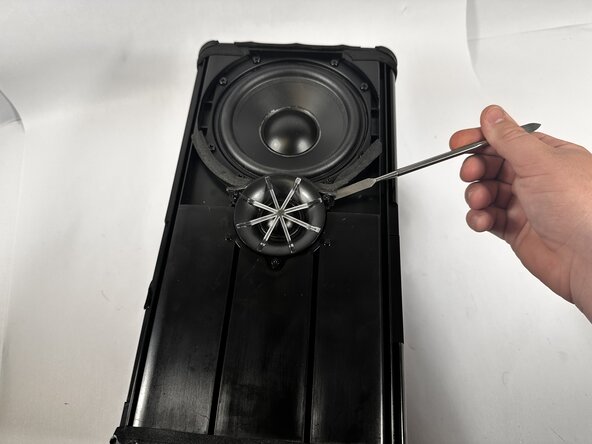
Use a metal spudger to pry the tweeter speaker out of the socket.
-
-
-
Use a metal spudger to break the adhesive seal around the speaker driver.
-
Use your hands to push the speaker driver out of its socket.
-
Disconnect the power and ground cables from both the speaker driver and tweeter.
-
-
-
Turn the speaker over, and face the two other speaker driver towards you.
-
Use the Phillips #0 screwdriver to remove the three 9.2mm screws around the speaker tweeter.
-
Use the Phillips #0 screwdriver to remove the eight 10.1mm screws around the speaker driver.
-
-
-
Use a metal spudger to break the adhesive between the tweeter and the casing.
-
Disconnect the power and ground cables from the tweeter speaker to remove it completely.
-
-
-
Use your hands to remove the speaker driver from its socket.
-
Disconnect the power and ground cables to remove it completely.
-
-
-
-
-
Disconnect all of the cables connected to the motherboard.
-
-
-
Use a Phillips #0 screwdriver to remove the four supporting 7.9mm screws.
-
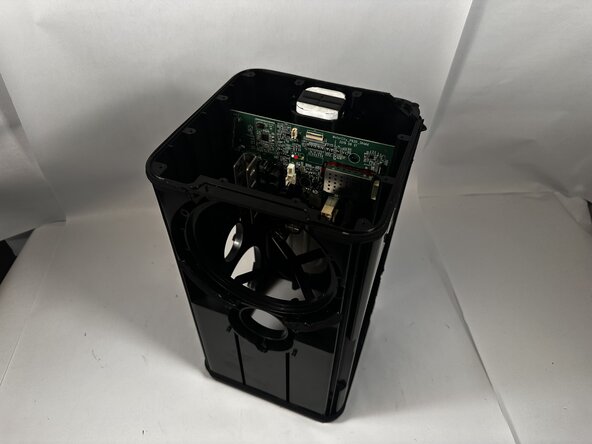
Slide the motherboard out of the top of the speaker.
-
-






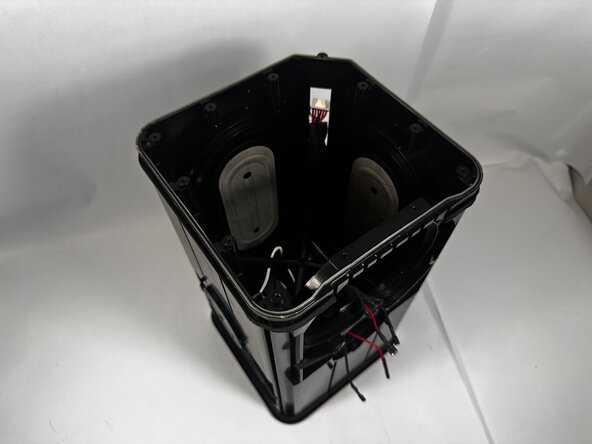




To reassemble your device, follow these instructions in reverse order.

Team

Idaho State University, Team 1-2, Watkins Spring 2026 Membro di Idaho State University, Team 1-2, Watkins Spring 2026
ISU-WATKINS-S26S1G2
3 Membri
32 guide realizzate
