Salta al contenuto principale
Unisciti alla Community delle riparazioni - Crea un account

Logitech M215 Lens Replacement

Cosa ti serve

  1. Logitech M215 Lens Replacement, Remove the battery cover: passo 1, immagine 1 di 3 Logitech M215 Lens Replacement, Remove the battery cover: passo 1, immagine 2 di 3 Logitech M215 Lens Replacement, Remove the battery cover: passo 1, immagine 3 di 3
    • The battery compartment cover is located on the top of the mouse. The seam running horizontally across the mouse is the top of the cover.

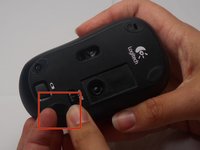
    • There is a button to pop off the cover. It is located on the bottom of the mouse. you may need to press hard on this button to pop the cover.

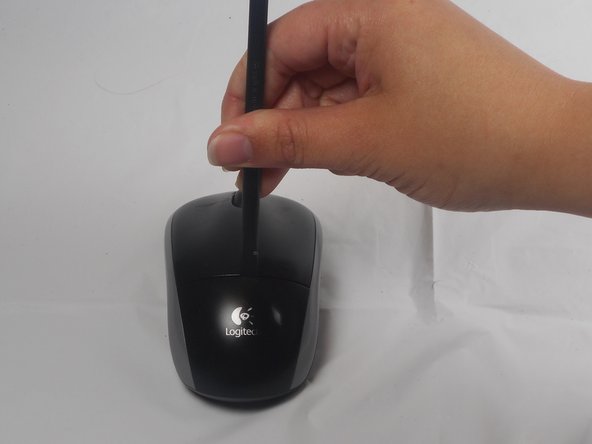
    • If the button does not work, you will need to pry off the cover. You can use your fingernails or a prying tool in order to do this, as seen in the third image.

    Chiedi a FixBot
  2. Logitech M215 Lens Replacement, Remove old battery: passo 2, immagine 1 di 1
    • Remember to insert the new battery in the same orientation as the old one. The positive (plus) end should be facing away from the buttons.

    Chiedi a FixBot
  3. Logitech M215 Lens Replacement, Top Cover: passo 3, immagine 1 di 2 Logitech M215 Lens Replacement, Top Cover: passo 3, immagine 2 di 2
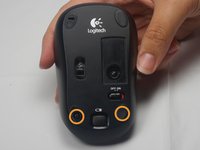
    • The pads on the underside of the mouse hide the screws. Remove these first. You may need to use your fingernails or a prying tool.

    • There will be two 0.5mm phillips head screws. Both will be underneath the bottom two pads.

    Chiedi a FixBot
  4. Logitech M215 Lens Replacement: passo 4, immagine 1 di 1
    • Pry the top cover off. You may need to use a pry tool to help.

    Chiedi a FixBot
  5. Logitech M215 Lens Replacement, Motherboard: passo 5, immagine 1 di 2 Logitech M215 Lens Replacement, Motherboard: passo 5, immagine 2 di 2
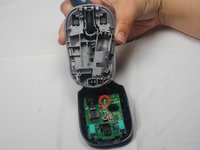
    • Unscrew the 0.25mm phillips head screw to release the circuit board.

    Chiedi a FixBot
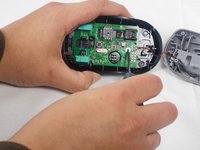
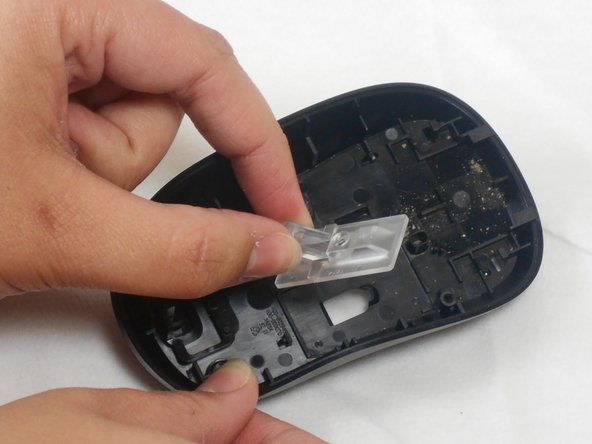
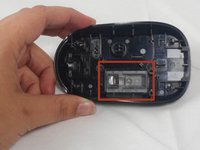
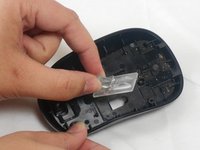
  6. Logitech M215 Lens Replacement, Lens: passo 6, immagine 1 di 2 Logitech M215 Lens Replacement, Lens: passo 6, immagine 2 di 2
    • The laser amplifier is not connected to the rest of the mouse and can simply be removed at this point.

    Chiedi a FixBot
Conclusione

To reassemble your device, follow these instructions in reverse order.

Hannah Pate

Membro da: 01/30/15

1.742 Reputazione

7 guide realizzate

Team

USF Tampa, Team 1-1, Watkins Winter 2015 Membro di USF Tampa, Team 1-1, Watkins Winter 2015

USFT-WATKINS-W15S1G1

4 Membri

28 guide realizzate

1Commento della guida

Where i can buy mouse lenses for mk225

Cybermetz X - Rispondi Condividi

Aggiungi Commento

Visualizza Statistiche:

Ultime 24 Ore: 0

Ultimi 7 Giorni: 8

Ultimi 30 Giorni: 81

Tutti i Tempi: 2,627