Salta al contenuto principale
Unisciti alla Community delle riparazioni - Crea un account

Logitech Harmony Smart Keyboard On/Off Switch Replacement

Cosa ti serve

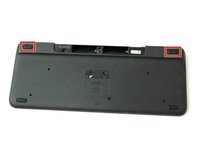
    1. Logitech Harmony Smart Keyboard On/Off Switch Replacement, Back Panel: passo 1, immagine 1 di 2 Logitech Harmony Smart Keyboard On/Off Switch Replacement, Back Panel: passo 1, immagine 2 di 2
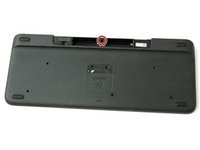
      • Turn keyboard over to the backside.

      Chiedi a FixBot
      Aggiungi Commento

    2. Logitech Harmony Smart Keyboard On/Off Switch Replacement: passo 2, immagine 1 di 3 Logitech Harmony Smart Keyboard On/Off Switch Replacement: passo 2, immagine 2 di 3 Logitech Harmony Smart Keyboard On/Off Switch Replacement: passo 2, immagine 3 di 3
      • Press and slide up on the upper battery latch, using both thumbs.

      Chiedi a FixBot
      Aggiungi Commento

    3. Logitech Harmony Smart Keyboard On/Off Switch Replacement: passo 3, immagine 1 di 1
      • Remove the two AA batteries and set them aside.

      Chiedi a FixBot

      Aggiungi Commento

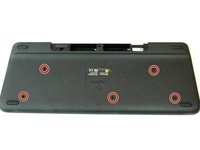
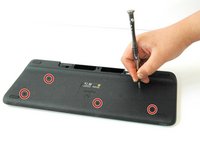
    4. Logitech Harmony Smart Keyboard On/Off Switch Replacement: passo 4, immagine 1 di 2 Logitech Harmony Smart Keyboard On/Off Switch Replacement: passo 4, immagine 2 di 2
      • Unscrew all five 4.0 mm screws, using Phillips #1 screwdriver.

      Chiedi a FixBot

      Aggiungi Commento

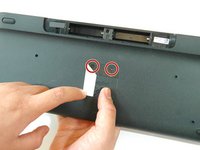
    5. Logitech Harmony Smart Keyboard On/Off Switch Replacement: passo 5, immagine 1 di 2 Logitech Harmony Smart Keyboard On/Off Switch Replacement: passo 5, immagine 2 di 2
      • Peel off the center sticker to reveal two hidden 4.0 mm screws.

      • Unscrew these two screws with a Phillips #1 screwdriver.

      Chiedi a FixBot

      Aggiungi Commento

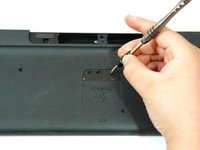
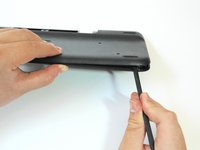
    6. Logitech Harmony Smart Keyboard On/Off Switch Replacement: passo 6, immagine 1 di 3 Logitech Harmony Smart Keyboard On/Off Switch Replacement: passo 6, immagine 2 di 3 Logitech Harmony Smart Keyboard On/Off Switch Replacement: passo 6, immagine 3 di 3
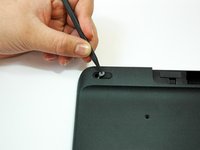
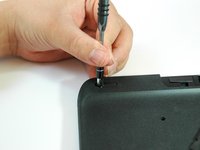
      • Lift both top left and top right rubber stickers halfway, using the sharp end of the plastic spudger.

      • Unscrew a total of two 4.0 mm screws, under the rubber stickers, using a Phillips #1 screwdriver.

      Chiedi a FixBot
      Aggiungi Commento

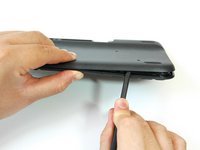
    7. Logitech Harmony Smart Keyboard On/Off Switch Replacement: passo 7, immagine 1 di 2 Logitech Harmony Smart Keyboard On/Off Switch Replacement: passo 7, immagine 2 di 2
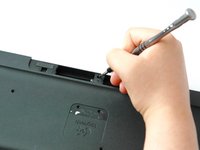
      • Unscrew the top center 4.0 mm screw, in the battery compartment, using the Phillips #1 screwdriver.

      • Now, you should have a total of ten 4.0 mm screws set aside.

      Chiedi a FixBot
      Aggiungi Commento

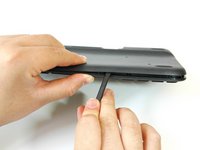
    8. Logitech Harmony Smart Keyboard On/Off Switch Replacement: passo 8, immagine 1 di 3 Logitech Harmony Smart Keyboard On/Off Switch Replacement: passo 8, immagine 2 di 3 Logitech Harmony Smart Keyboard On/Off Switch Replacement: passo 8, immagine 3 di 3
      • Wedge the flat end of the spudger between the back panel and front panel.

      • Slide the flat end of the spudger from right to left to pry the two panels apart.

      Chiedi a FixBot
      Aggiungi Commento

    9. Logitech Harmony Smart Keyboard On/Off Switch Replacement: passo 9, immagine 1 di 3 Logitech Harmony Smart Keyboard On/Off Switch Replacement: passo 9, immagine 2 di 3 Logitech Harmony Smart Keyboard On/Off Switch Replacement: passo 9, immagine 3 di 3
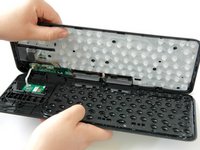
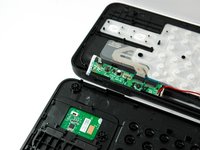
      • Separate the back panel from the front panel completely, using both hands.

      • A white ribbon flex cable will remain connected to both panels.

      • Pull the panels apart slowly and gently, or the white ribbon flex cable may be unsafely removed.

      Chiedi a FixBot

      Aggiungi Commento

    1. Logitech Harmony Smart Keyboard On/Off Switch Replacement, On/Off Switch: passo 10, immagine 1 di 3 Logitech Harmony Smart Keyboard On/Off Switch Replacement, On/Off Switch: passo 10, immagine 2 di 3 Logitech Harmony Smart Keyboard On/Off Switch Replacement, On/Off Switch: passo 10, immagine 3 di 3
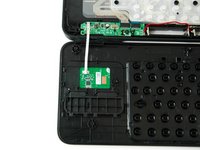
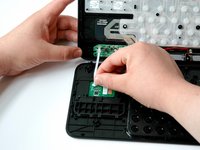
      • Grip the lower end of the ribbon flex cable (white band) using your thumb and index finger.

      • Then slide the strip out toward yourself in a scooping motion.

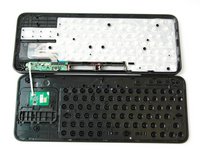
      • Now, you should have two completely separated panel pieces.

      Chiedi a FixBot

      Aggiungi Commento

    2. Logitech Harmony Smart Keyboard On/Off Switch Replacement: passo 11, immagine 1 di 3 Logitech Harmony Smart Keyboard On/Off Switch Replacement: passo 11, immagine 2 di 3 Logitech Harmony Smart Keyboard On/Off Switch Replacement: passo 11, immagine 3 di 3
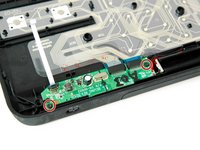
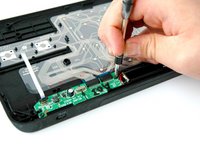
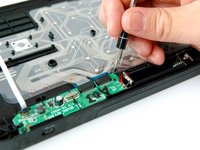
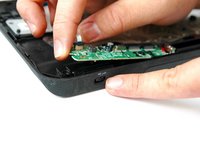
      • Set aside the front panel and locate the green card atop the on/off switch on the back panel.

      • Unscrew the two 4.0 mm screws on either side of the green card using a Phillips #1 screwdriver.

      Chiedi a FixBot

      Aggiungi Commento

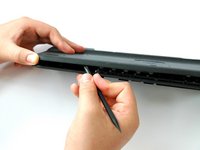
    3. Logitech Harmony Smart Keyboard On/Off Switch Replacement: passo 12, immagine 1 di 3 Logitech Harmony Smart Keyboard On/Off Switch Replacement: passo 12, immagine 2 di 3 Logitech Harmony Smart Keyboard On/Off Switch Replacement: passo 12, immagine 3 di 3
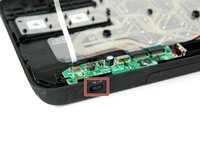
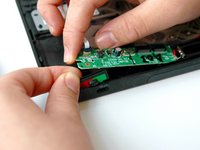
      • Lift up and hold the left side of the green card with one index finger.

      • Grip and pull the on/off switch out with your other index finger and thumb.

      Chiedi a FixBot
      Aggiungi Commento

Conclusione

To reassemble your device, follow these instructions in reverse order.

Annulla: non ho completato questa guida.

Altre 2 persone hanno completato questa guida.

Team

CSU Fullerton, Team S1-G2, Bruce Fall 2017 Membro di CSU Fullerton, Team S1-G2, Bruce Fall 2017

CSUF-BRUCE-F17S1G2

3 Membri

10 guide realizzate

1Commento della guida

please share switch rear side.. and where could we buy this switch.. ?

Praveen Krishnan - Rispondi Condividi

Aggiungi Commento

Visualizza statistiche:

Ultime 24 ore: 2

Ultimi 7 giorni: 12

Ultimi 30 giorni: 61

Tutti i Tempi: 5,250