Introduzione
Use this guide to replace a damaged or cracked controller case on your Logitech Gamepad F310. The controller case is what holds your controller together. That is reason to replace controller case.
Follow this guide in order to replace your Logitech Gamepad F310 controller case.
No special tools or skills required.
Cosa ti serve
-
-
Use a Phillips #1 screwdriver to remove all seven 3 mm screws that secure the rear case.
 Chiedi a FixBot
-
-
-
Press along the seams of the controller and gently pull the front and rear case apart.
-
-
-
-
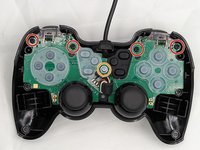
Use a Phillips #1 screwdriver to remove:
-
Four 3 mm screws
-
One 5 mm screw
-
Gently lift the motherboard off of the back case and slide the cord out of the slot on top.
-


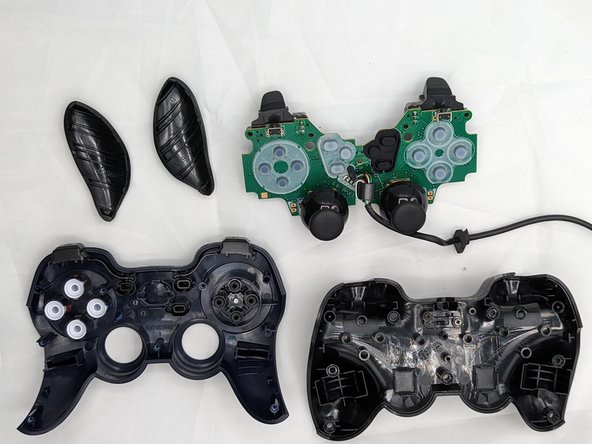
You have successfully taken the case off of your controller! Using the new case, follow these steps in reverse order to assemble your fixed controller.

Team

University of North Texas, Team 2-6, Kilpatrick Spring 2024 Membro di University of North Texas, Team 2-6, Kilpatrick Spring 2024
UNT-KILPATRICK-S24S2G6
4 Membri
6 guide realizzate
