Introduzione
In this guide we will go over repairing the WAP54g when there is water damage. If something is spilled or you realize that there is liquid inside the device it is recommended to turn it off and unplug it as soon as possible. This guide is an attempt to fix the router if all else fails.
Cosa ti serve
-
-
-
Remove the antennas from the back of the device. To do this, follow steps 1 and 2 of Installing the Antennas Guide: Linksys WAP54g Antennas Replacement
-
-
-
Remove the two black rubber feet of the device using the screwdriver. The feet are located on the bottom towards the front.
-
-
-
Once the feet are removed, two small screws will be visible. With a small screwdriver, unscrew them. Screws are phillips head, 4.35 mm in diameter, 7.88 mm in length.
-
-
-
-
To remove the front blue panel, grip firmly and place thumbs in the two notches on top. Push thumbs forward while keeping a firm grip on bottom.
-
-
-
Now slide the bottom panel forward and remove it so the top casing is isolated from the bottom casing and motherboard.
-
-
-
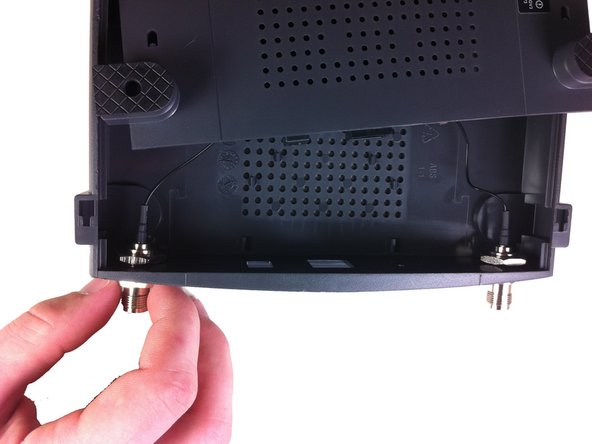
Unscrew the nut on the outer side of the back casing. Remove the nut and the washer from both antenna mounts.
-
-
-
From here, remove the wires and nuts connected to the back panel by pulling the nuts through the holes.
-
Now the top casing has been removed and isolated from the rest of the device. From here, you can make repairs to the top casing.
-
-
-
-
Unscrew the two screws that connect the motherboard to the bottom casing.
-
-
-
-
-
If the spilled substance is dry use a cleaning tool such as a toothbrush with soft bristles, so you do not damage the device, to brush off as much of the foreign material as possible.
-
-
-
Dry off circuit board with kitchen paper; using other types of paper products such as toilet paper will fall apart. Be sure not to rub but carefully apply pressure to dry up wet spots.
-
-
-
Clean off the components to make sure the rest of the residue comes off by using a chemical gasoline or another solvent that contains one substance that evaporates quickly.
-
-

 Chiedi a FixBot




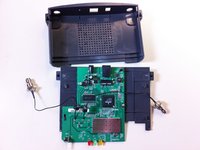


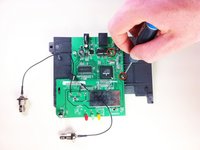
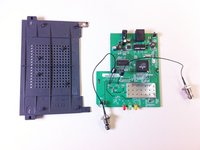


After the device is cleaned and put back together it should work properly.
Annulla: non ho completato questa guida.
Un'altra persona ha completato questa guida.

Team

Cal Poly, Team 21-21, Maness Fall 2011 Membro di Cal Poly, Team 21-21, Maness Fall 2011
CPSU-MANESS-F11S21G21
5 Membri
12 guide realizzate
