Salta al contenuto principale
Unisciti alla Community delle riparazioni - Crea un account

Linsay Model F-7HD2CORE Screen Replacement

Cosa ti serve

  1. Linsay Model F-7HD2CORE Screen Replacement, Screen: passo 1, immagine 1 di 3 Linsay Model F-7HD2CORE Screen Replacement, Screen: passo 1, immagine 2 di 3 Linsay Model F-7HD2CORE Screen Replacement, Screen: passo 1, immagine 3 di 3
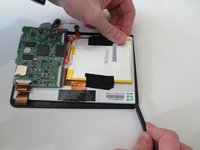
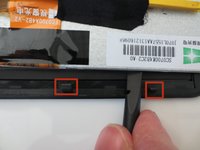
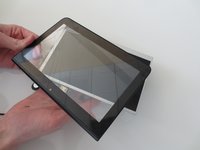
    • Insert your plastic opening tool in between the black and white portions of your device.

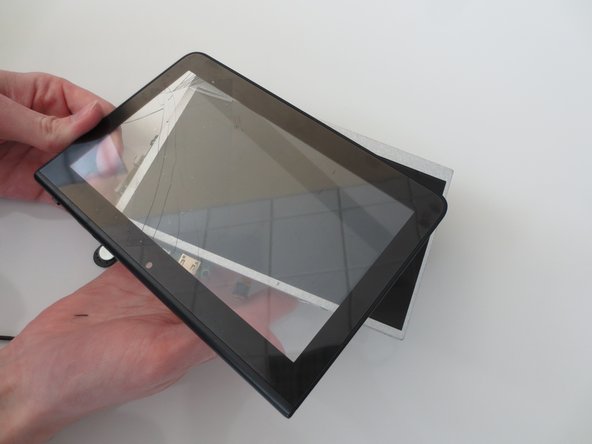
    • Gently pry the top screen from the base of the tablet.

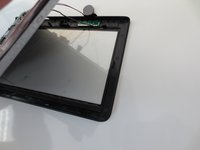
    • Your tablet should now look like the third photo.

    Chiedi a FixBot
  2. Linsay Model F-7HD2CORE Screen Replacement: passo 2, immagine 1 di 2 Linsay Model F-7HD2CORE Screen Replacement: passo 2, immagine 2 di 2
    • Peel the microphone from the back of the device.

    Chiedi a FixBot
  3. Linsay Model F-7HD2CORE Screen Replacement: passo 3, immagine 1 di 1
    • Remove the tape from the indicated copper strip.

    Chiedi a FixBot
  4. Linsay Model F-7HD2CORE Screen Replacement: passo 4, immagine 1 di 2 Linsay Model F-7HD2CORE Screen Replacement: passo 4, immagine 2 di 2
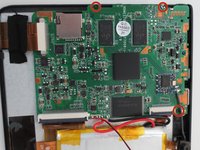
    • Use your 00 phillips head screwdriver to remove the three 4mm phillips screws circled in red.

    Chiedi a FixBot
  5. Linsay Model F-7HD2CORE Screen Replacement: passo 5, immagine 1 di 1
    • Remove the soldered portion of the circuit board on the screen.

    • You will need a soldering kit to reattach this part.

    Chiedi a FixBot
  6. Linsay Model F-7HD2CORE Screen Replacement: passo 6, immagine 1 di 2 Linsay Model F-7HD2CORE Screen Replacement: passo 6, immagine 2 di 2
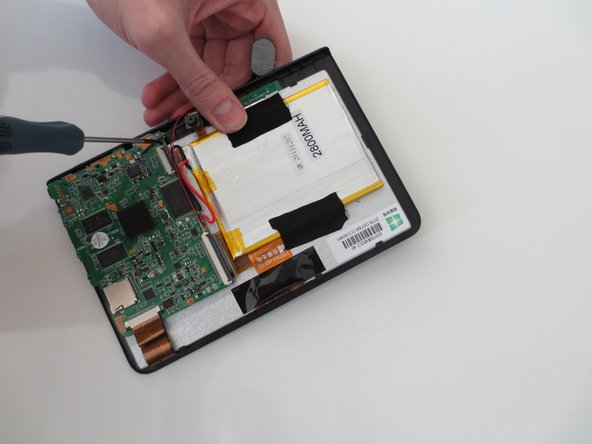
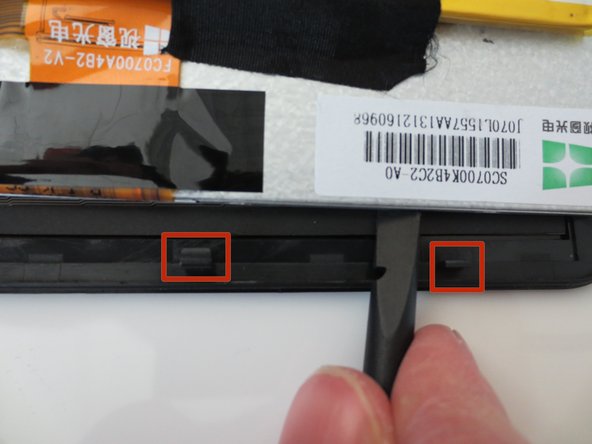
    • Use the blunt end of the spudger to remove the circuit panel and battery from the glass screen portion of the device.

    • There will be several small hooks holding the screen onto the back panel.

    Chiedi a FixBot
  7. Linsay Model F-7HD2CORE Screen Replacement: passo 7, immagine 1 di 2 Linsay Model F-7HD2CORE Screen Replacement: passo 7, immagine 2 di 2
    • Gently pull the two pieces of the tablet apart.

    • Your tablet should now look like image two.

    • You are now ready to attach your new screen!

    Chiedi a FixBot
Conclusione

To reassemble your device, follow these instructions in reverse order.

Altre 3 persone hanno completato questa guida.

Team

Penn State, Team 1-5, Kaschak Winter 2015 Membro di Penn State, Team 1-5, Kaschak Winter 2015

PSU-KASCHAK-W15S1G5

3 Membri

2 guide realizzate

1Commento della guida

Excellent work!

Glen Lind - Rispondi Condividi

Aggiungi Commento

Visualizza statistiche:

Ultime 24 ore: 4

Ultimi 7 giorni: 9

Ultimi 30 giorni: 39

Tutti i Tempi: 1,601