Introduzione
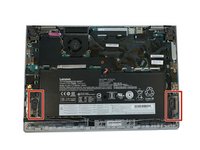
The battery is an essential component of the laptop and keeps the device running. Oftentimes, the battery will start wearing out after consistent use, and after a few years the battery may not hold a charge. If your device isn’t properly charging or if your device is running out of charge quickly, the battery may need to be replaced.
Before replacing the battery, ensure your power adaptor is not the issue. To check if your adaptor is the problem, borrow and test a different adaptor. If the laptop charges during the test, you need to replace your power adaptor. If you have determined that your battery is faulty, follow this guide to replace it. Removing the battery is also necessary before removing the touch ID.
Cosa ti serve
-
-
Use a Phillips #0 screwdriver to remove the eight 8 mm screws.
More pricesely, screws need to be unscrewed, but not removed, since they stay attached to the back cover. Trying to remove them may damage the small gaskets around the screw shaft.
-
-
-
Remove the back cover.
-
-
-
Attrezzo utilizzato in questo passaggio:Tweezers$3.99
-
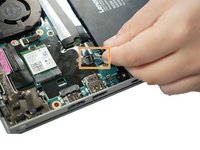
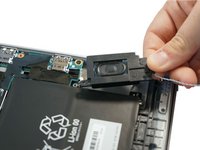
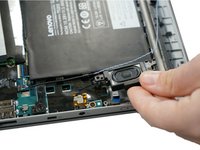
Follow the ribbon cable that runs from the left speaker to the motherboard.
-
Pull the black connector up and release the cable wire by hand.
-
-
-
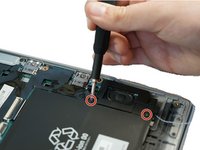
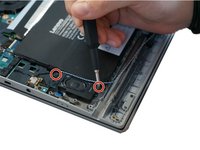
Use a spudger to pop the ribbon cable that runs from the upper-middle portion of the battery to the motherboard out of the motherboard.
-
To reassemble your device, follow these instructions in reverse order.
To reassemble your device, follow these instructions in reverse order.
Annulla: non ho completato questa guida.
Altre 2 persone hanno completato questa guida.
4Commenti sulla guida
thank for your good job ;-)
Where is a good place to buy a replacement battery?
Any idea where to find the battery? Not listed for sale on ifixit


