Introduzione
First, check to see if the volume is turned up to a reasonable level by using both the volume rocker on the side of the device and the digital volume bar in the settings menu. If the troubleshooting has not solved the issue, the volume rocker will need to be replaced in a few simple steps. Minimal tools will be needed for this guide.
Cosa ti serve
-
-
-
Remove the two 3.5 mm Phillips #00 screws that are covered by the micro SD port.
 Chiedi a FixBot
-
-
-
Insert the spudger between the front and back panel in order to pry them apart.
-
Pry open the rest of the Le Pan S by dragging the spudger across the side.
-
-
-
-
Once the front and back faces are completely separated, remove the back cover to reveal the inside components.
-
-
-
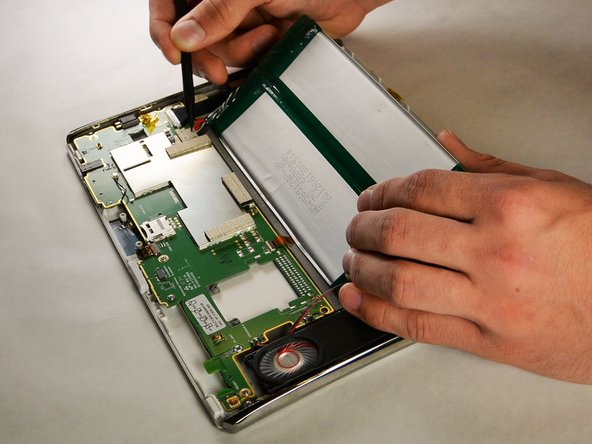
Disconnect the battery from the circuitry and lay it out of the way.
-
-
-
-
-
Remove the four 2.5 mm Phillips #00 head screws from the circuit board near the top of the tablet.
-
-
-
Pull out the volume rocker by carefully moving it side to side with your fingers.
-
-




To reassemble your device, follow these instructions in reverse order.
Annulla: non ho completato questa guida.
Un'altra persona ha completato questa guida.

Team

IUPUI, Team 2-1, Harley Fall 2015 Membro di IUPUI, Team 2-1, Harley Fall 2015
IUPUI-HARLEY-F15S2G1
5 Membri
10 guide realizzate
