Introduzione
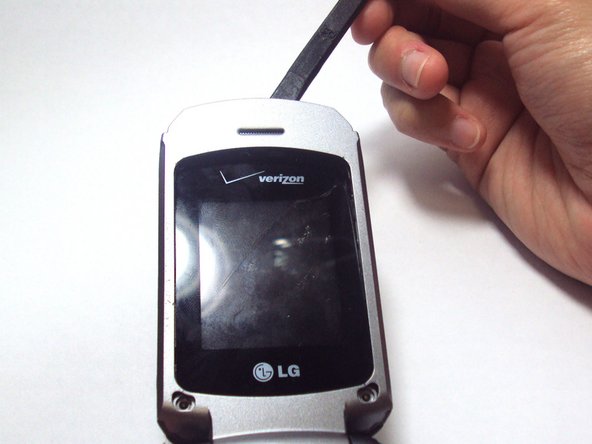
In order to install a new camera to your LG VX5600, you will be required to disassemble most of the top half of the phone.
Cosa ti serve
-
-
Hold your phone with the back casing facing you and the bottom of the phone towards the sky.
-
Push down on the cover and slide down to remove. You should only have to apply minimal pressure.
 Chiedi a FixBot
-
-
-
Insert your finger into the small indentation above the battery.
-
Push down on the battery and pull it away from the phone; it will pop out.
-
-
Strumento utilizzato in questo passaggio:Tweezers$4.99
-
Use tweezers to remove the two rubber covers found at the left and right corners below the inside screen.
-
-
-
Grasp the phone and rotate it 90 degrees counterclockwise for a better grip.
-
Unscrew the two 3.0-mm Phillips #000 screws, found under the rubber covers at the bottom left and right corners.
-
-
-
-
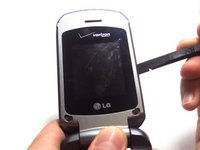
Hold the opened phone upright.
-
Use the spudger to pry around the edges of the phone and detach the tabs.
-
-
-
Use your finger to lift up the grey plastic cover.
-
Use the tweezers to grasp the plastic screen, and pull the plastic screen protector up and out of the phone.
-
-
-
Use one hand to grasp the phone and prop the inner grey casing up.
-
Unscrew the two 3.0-mm Phillips #000 screws located at the upper left and right corners.
-
-
-
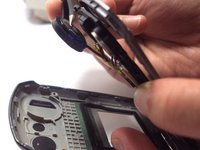
Use one hand to grasp the phone and prop the grey casing up, and use your other hand to pry around the edges of the black plastic cover
-
-
Strumento utilizzato in questo passaggio:Tweezers$4.99
-
The vibrating motor remains attached to the external cover, so use the tweezers to grasp the vibrating motor and lift it up towards the black plastic cover around the screens.
-
-
-
Flip the phone over so that the front of the top portion is facing you.
-
Use your hands to lift the cover up and off, removing it from the phone.
-
-
-
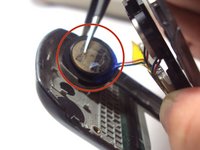
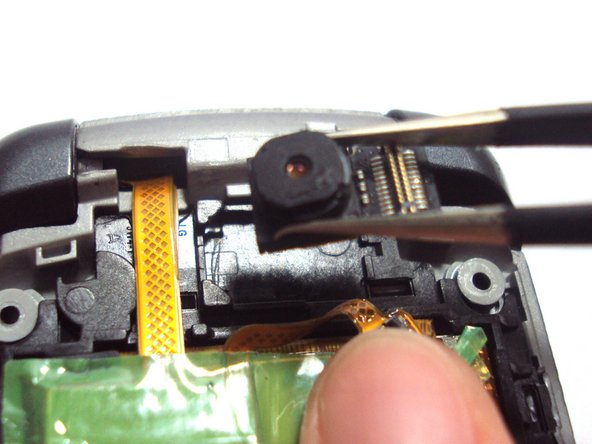
Use your fingers to grasp the gold flex cable where it is attached to the camera.
-
Use the tweezers to grasp the bottom of the connection between the flex cable and camera.
-
Slowly pull upwards with your hands until the flex cable detaches from the camera.
-
-
-
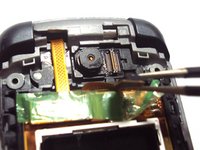
Use the tweezers to lift up the detached flex cable from the camera and then use your finger to hold it back.
-
Use the tweezers to lift the camera up and out of the phone.
-


To reassemble your device, follow these instructions in reverse order.
Annulla: non ho completato questa guida.
Un'altra persona ha completato questa guida.
Team

University of Kentucky Louisville, Team 1-5, Chamberlain Spring 2013 Membro di University of Kentucky Louisville, Team 1-5, Chamberlain Spring 2013
LOUISVILLE-CHAMBERLAIN-S13S1G5
2 Membri
12 guide realizzate