Salta al contenuto principale
Unisciti alla Community delle riparazioni - Crea un account

LG VX5400 Phone Casing Replacement

Cosa ti serve

  1. LG VX5400 Phone Casing Replacement, Battery: passo 1, immagine 1 di 1
    • Turn off the cell phone and turn it over on its back side

    Chiedi a FixBot

    Aggiungi Commento

  2. LG VX5400 Phone Casing Replacement: passo 2, immagine 1 di 1
    • Hold the phone case in your palm and slide the back cover towards yourself using your thumb

    Chiedi a FixBot

    Aggiungi Commento

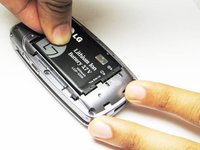
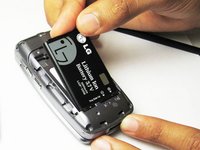
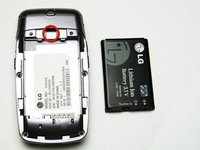
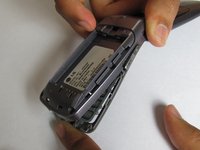
  3. LG VX5400 Phone Casing Replacement: passo 3, immagine 1 di 3 LG VX5400 Phone Casing Replacement: passo 3, immagine 2 di 3 LG VX5400 Phone Casing Replacement: passo 3, immagine 3 di 3
    • Slide a tool or finger into the notch at the top of the battery to carefully remove it.

    Chiedi a FixBot

    Aggiungi Commento

  4. LG VX5400 Phone Casing Replacement, Outer Casing: passo 4, immagine 1 di 1
    • Take the Philips screwdriver and unscrew the four visible screws on the backside of the phone indicated by the four red circles.

    Chiedi a FixBot

    Aggiungi Commento

  5. LG VX5400 Phone Casing Replacement: passo 5, immagine 1 di 1
    • Then, take the pointed end of a spudger and pry out the rubber stopper to reveal the last screw at the top indicated with the blue circle.

    Chiedi a FixBot

    Aggiungi Commento

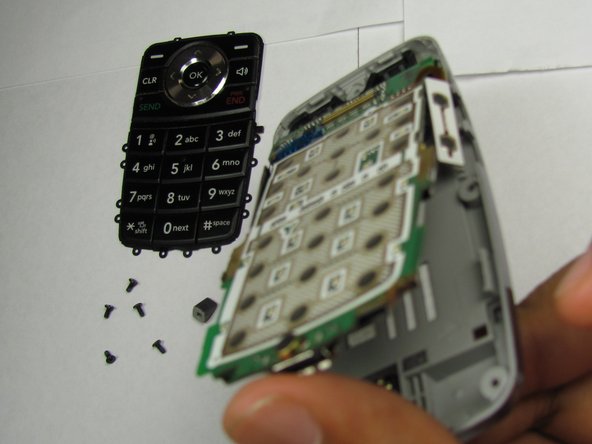
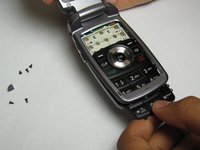
  6. LG VX5400 Phone Casing Replacement, Phone Casing: passo 6, immagine 1 di 3 LG VX5400 Phone Casing Replacement, Phone Casing: passo 6, immagine 2 di 3 LG VX5400 Phone Casing Replacement, Phone Casing: passo 6, immagine 3 di 3
    • Pry open the phone and remove the keypad and logic board.

    Chiedi a FixBot

    Aggiungi Commento

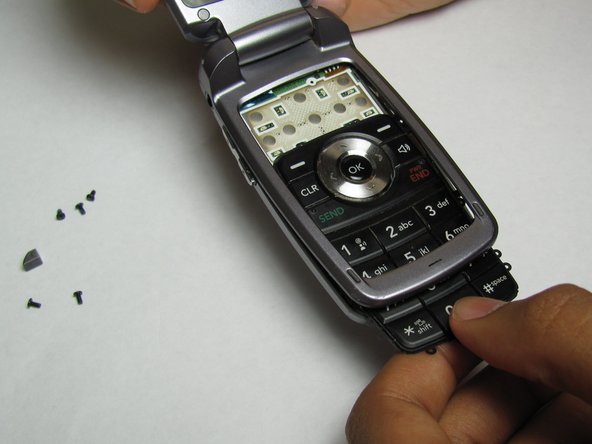
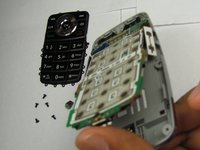
  7. LG VX5400 Phone Casing Replacement: passo 7, immagine 1 di 2 LG VX5400 Phone Casing Replacement: passo 7, immagine 2 di 2
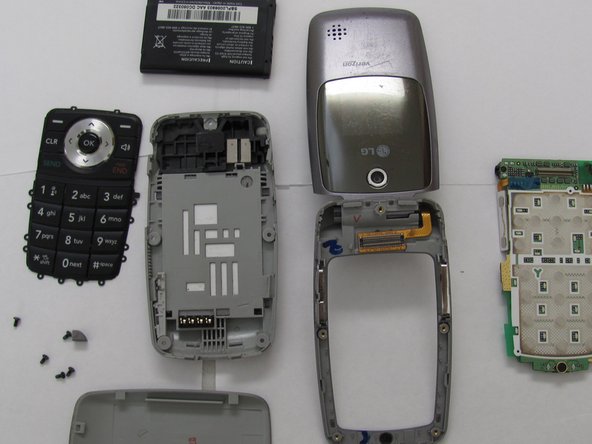
    • Lay out and organize the parts of the phone. You can now put the inner parts of the phone into the new case.

    Chiedi a FixBot

    Aggiungi Commento

Conclusione

To reassemble your device, follow these instructions in reverse order.

Annulla: non ho completato questa guida.

Tyler

Membro da: 04/15/10

20 Reputazione

Una guida realizzata

Team

Cal Poly, Team 26-26, Regan Spring 2010 Membro di Cal Poly, Team 26-26, Regan Spring 2010

CPSU-REGAN-S10S26G26

4 Membri

16 guide realizzate

0Commenti sulla guida

Aggiungi Commento

Visualizza statistiche:

Ultime 24 ore: 2

Ultimi 7 giorni: 5

Ultimi 30 giorni: 21

Tutti i Tempi: 2,633