Salta al contenuto principale
Unisciti alla Community delle riparazioni - Crea un account

KitchenAid KSB5CR Fan Replacement

Cosa ti serve

    1. KitchenAid KSB5CR Fan Replacement, Removing the Back Panel Part 1: passo 1, immagine 1 di 3 KitchenAid KSB5CR Fan Replacement, Removing the Back Panel Part 1: passo 1, immagine 2 di 3 KitchenAid KSB5CR Fan Replacement, Removing the Back Panel Part 1: passo 1, immagine 3 di 3
      • Remove the glass container and place the blender upside down on a solid surface.

      • Remove the four rubber feet using the needle nose pliers.

      • Remove the four #7.5 Phillips 25mm screws that were located underneath the rubber feet using the Phillips #2 screwdriver.

      Chiedi a FixBot

      Aggiungi Commento

    2. KitchenAid KSB5CR Fan Replacement, Removing the Back Panel Part 2: passo 2, immagine 1 di 1
      • Lift the back panel up, sliding it along the power cord.

      Chiedi a FixBot

      Aggiungi Commento

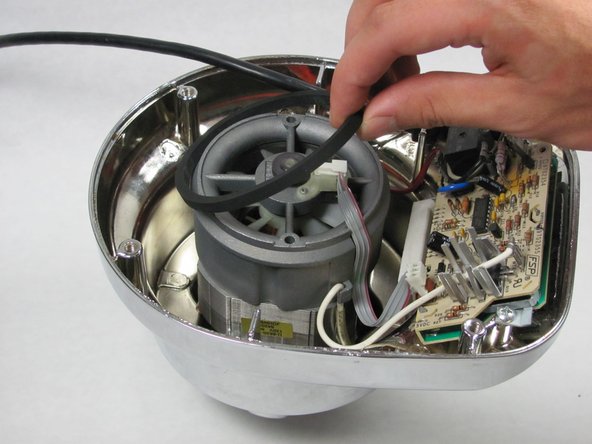
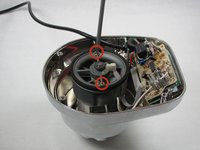
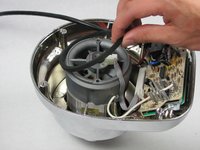
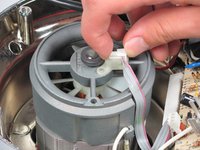
    1. KitchenAid KSB5CR Fan Replacement, Removing the Fan Chassis Part 1: passo 3, immagine 1 di 3 KitchenAid KSB5CR Fan Replacement, Removing the Fan Chassis Part 1: passo 3, immagine 2 di 3 KitchenAid KSB5CR Fan Replacement, Removing the Fan Chassis Part 1: passo 3, immagine 3 di 3
      • Remove the two #5 Phillips 95 mm machine screws using the Phillips #2 screwdriver.

      • Remove the rubber O-ring by lifting it up.

      • Remove the ribbon cable from the chassis by lifting it up.

      Chiedi a FixBot

      Aggiungi Commento

    2. KitchenAid KSB5CR Fan Replacement, Removing the Fan Chassis Part 2: passo 4, immagine 1 di 3 KitchenAid KSB5CR Fan Replacement, Removing the Fan Chassis Part 2: passo 4, immagine 2 di 3 KitchenAid KSB5CR Fan Replacement, Removing the Fan Chassis Part 2: passo 4, immagine 3 di 3
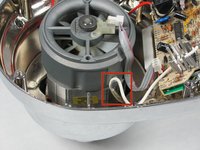
      • Unhook the white wire that is looped around the peg by pulling it out of the clip.

      • Repeat this process with the red wire on the other side of the chassis.

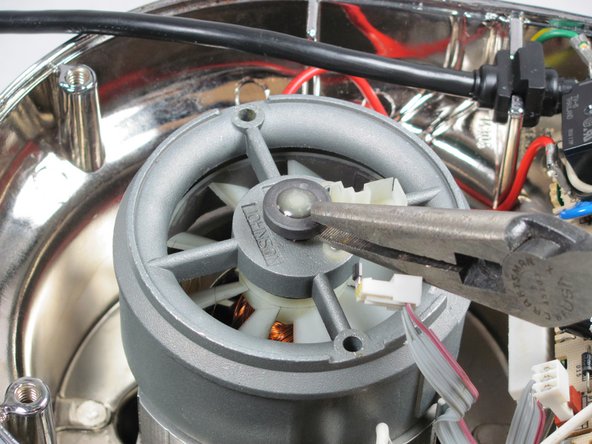
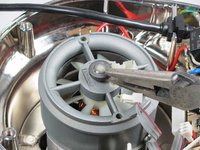
      • Remove the end cap using the 8" needle nose pliers.

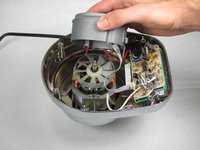
      • Pull up the fan chassis.

      Chiedi a FixBot

      Aggiungi Commento

    3. KitchenAid KSB5CR Fan Replacement, Removing the Fan: passo 5, immagine 1 di 1
      • Remove the fan by lifting it upwards.

      • This step is difficult and requires force. Use of both hands is recommended.

      Chiedi a FixBot

      Aggiungi Commento

Conclusione

To reassemble your device, follow these instructions in reverse order.

Annulla: non ho completato questa guida.

Un'altra persona ha completato questa guida.

Team

Cal Poly, Team 12-5, Forte Fall 2014 Membro di Cal Poly, Team 12-5, Forte Fall 2014

CPSU-FORTE-F14S12G5

5 Membri

12 guide realizzate

3Commenti sulla guida

Hi,

Do you know if it is possible to convert Kitchenaid Artisan stand mixer to 240v, has anyone looked inside or know if i should change something.

Ancient warrior - Rispondi Condividi

Does raplacing the fan mean that the fan itself (when broken) can be ordered? So just the white plastic round part. If so, could someone please give me a reference number? Would be highly appreciated.

Hugo, the Netherlands.

Hugo - Rispondi Condividi

my blender turn on all the numbers light at the same time and is not working at all. do you know what the problem could be?

patricia - Rispondi Condividi

Aggiungi Commento

Visualizza statistiche:

Ultime 24 ore: 2

Ultimi 7 giorni: 10

Ultimi 30 giorni: 38

Tutti i Tempi: 2,747