Salta al contenuto principale
Unisciti alla Community delle riparazioni - Crea un account

Keurig K55 Lid Spring Replacement

Cosa ti serve

    1. Keurig K55 Lid Spring Replacement, Secondary Water Pump: passo 1, immagine 1 di 3 Keurig K55 Lid Spring Replacement, Secondary Water Pump: passo 1, immagine 2 di 3 Keurig K55 Lid Spring Replacement, Secondary Water Pump: passo 1, immagine 3 di 3
      • Lift the silver handle up.

      • Locate the screw and washer holding the handle in place on each side.

      • Remove both 13mm screws and washers using a Phillips #0 screwdriver.

      Chiedi a FixBot

      Aggiungi Commento

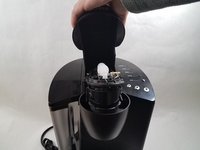
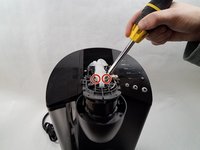
    2. Keurig K55 Lid Spring Replacement: passo 2, immagine 1 di 2 Keurig K55 Lid Spring Replacement: passo 2, immagine 2 di 2
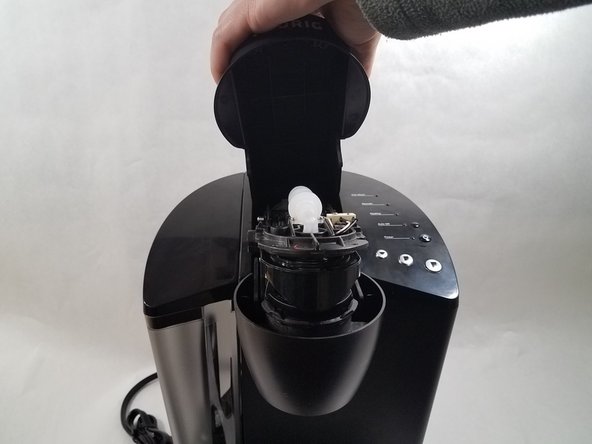
      • Grab the handle and pull it upward and toward the rear of the device.

      • Lift the lid to the fully open position.

      • Remove the two 11mm Phillips screws located on the upper part of the device.

      • Be careful removing the screws; the needle here may be sharp.

      Chiedi a FixBot

      Aggiungi Commento

    3. Keurig K55 Lid Spring Replacement: passo 3, immagine 1 di 3 Keurig K55 Lid Spring Replacement: passo 3, immagine 2 di 3 Keurig K55 Lid Spring Replacement: passo 3, immagine 3 di 3
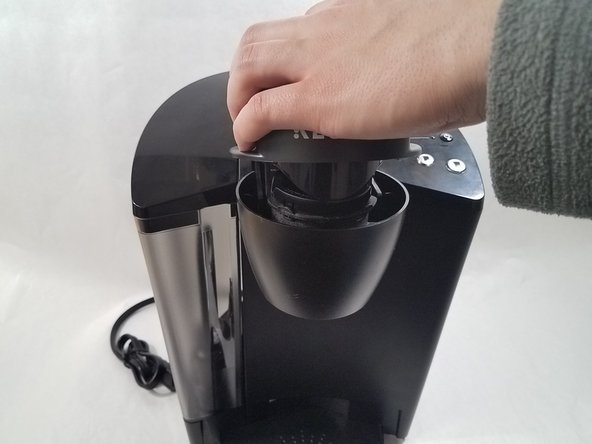
      • Lower the lid to just before its closing position.

      • Grab the black top cover with the Keurig logo and gently push back toward the rear of the device to release it.

      • Gently pull the top cover upward and toward the front of the device to remove it.

      Chiedi a FixBot

      Aggiungi Commento

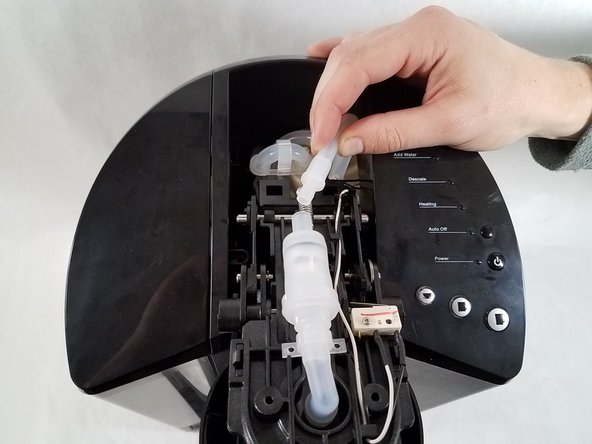
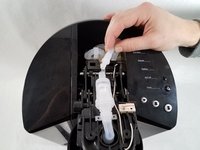
    4. Keurig K55 Lid Spring Replacement: passo 4, immagine 1 di 3 Keurig K55 Lid Spring Replacement: passo 4, immagine 2 di 3 Keurig K55 Lid Spring Replacement: passo 4, immagine 3 di 3
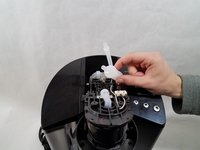
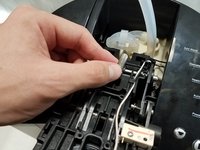
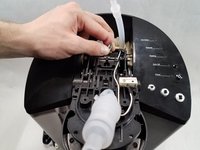
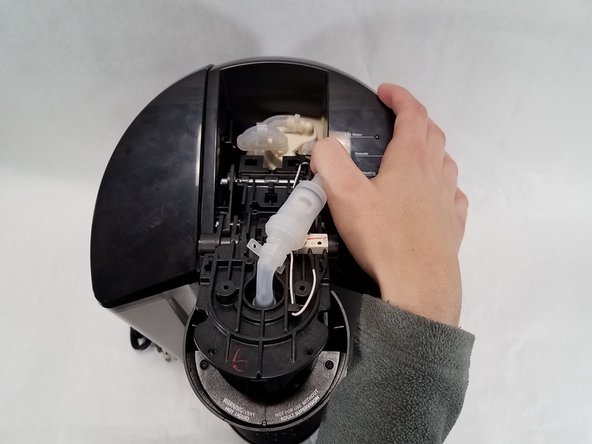
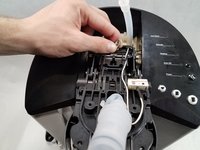
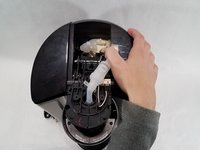
      • Remove the two 11mm Phillips head screws securing the water pump.

      • Grab the secondary water pump firmly and pull one of the plastic water lines off of the pump.

      • Pull the other line from the water pump.

      Chiedi a FixBot

      Aggiungi Commento

    1. Keurig K55 Lid Spring Replacement, Lid Spring: passo 5, immagine 1 di 2 Keurig K55 Lid Spring Replacement, Lid Spring: passo 5, immagine 2 di 2
      • Pull the spring off the front hook using two fingers.

      • The spring has a lot of tension, so grip the spring end tightly.

      Chiedi a FixBot

      Aggiungi Commento

    2. Keurig K55 Lid Spring Replacement: passo 6, immagine 1 di 2 Keurig K55 Lid Spring Replacement: passo 6, immagine 2 di 2
      • Pull the spring off the other hook.

      Chiedi a FixBot

      Aggiungi Commento

Conclusione

To reassemble your device, follow these instructions in reverse order.

Annulla: non ho completato questa guida.

Un'altra persona ha completato questa guida.

Team

Cal Poly, Team S1-G3, Livingston Winter 2018 Membro di Cal Poly, Team S1-G3, Livingston Winter 2018

CPSU-LIVINGSTON-W18S1G3

4 Membri

15 guide realizzate

2Commenti sulla guida

What is the small plastic/rubber angled water line part that the front part of the water pump valve is inserted into ?

Joe K - Rispondi Condividi

Well i might have described it as a water pump in my above message, but from what I've read on here it is a check valve, so what is the rubber/plastic small angled water line part that the front of the check valve is inserted into !

Joe K - Rispondi Condividi

Aggiungi Commento

Visualizza statistiche:

Ultime 24 ore: 2

Ultimi 7 giorni: 10

Ultimi 30 giorni: 54

Tutti i Tempi: 2,591