Salta al contenuto principale
Unisciti alla Community delle riparazioni - Crea un account

Jam Voice Battery Replacement

Cosa ti serve

    1. Jam Voice Battery Replacement, Hard Mesh Cover: passo 1, immagine 1 di 2 Jam Voice Battery Replacement, Hard Mesh Cover: passo 1, immagine 2 di 2
      • Insert the plastic opening tool underneath the mesh top.

      • Pry the cover open.

      • To reattach the cover, simply align the round posts on the bottom of the cover into the holes.

      Chiedi a FixBot

      Aggiungi Commento

    1. Jam Voice Battery Replacement, Motherboard: passo 2, immagine 1 di 1
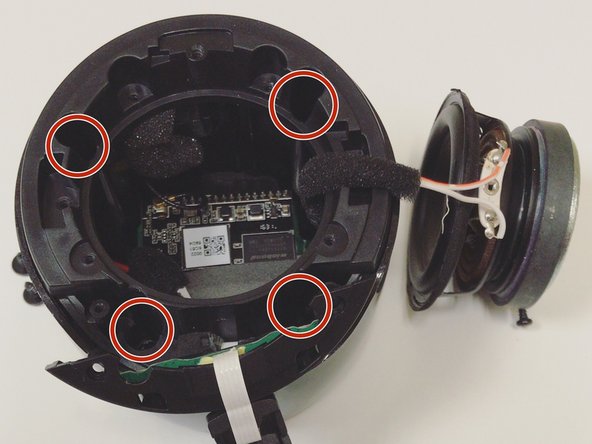
      • Remove the four 7mm Phillips screws from the plastic cover.

      Chiedi a FixBot

      Aggiungi Commento

    2. Jam Voice Battery Replacement: passo 3, immagine 1 di 2 Jam Voice Battery Replacement: passo 3, immagine 2 di 2
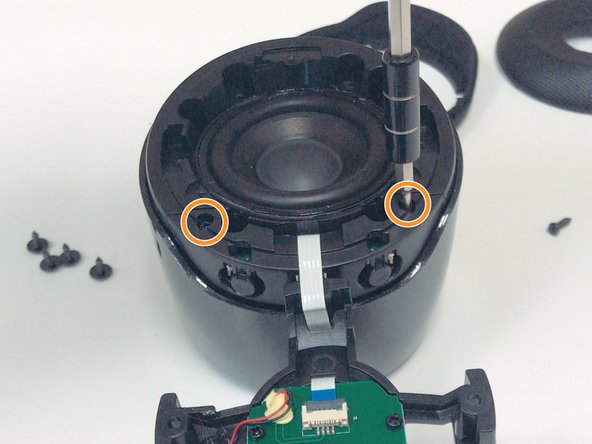
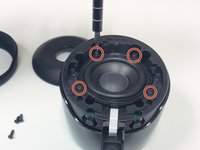
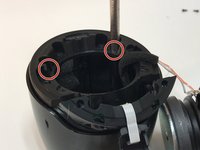
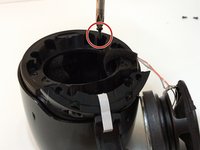
      • Remove the four 5mm Phillips screws that hold down the speaker in place.

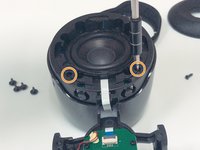
      • Remove the two 6mm Phillips screws that hold down the plastic casing.

      Chiedi a FixBot

      Aggiungi Commento

    3. Jam Voice Battery Replacement: passo 4, immagine 1 di 1
      Strumento utilizzato in questo passaggio:
      Halberd Spudger
      $2.99
      • Once all six screws are removed, use a Halberd Spudger or similar tool to lift up the speaker.

      • Pull the speaker up and out.

      Chiedi a FixBot

      Aggiungi Commento

    4. Jam Voice Battery Replacement: passo 5, immagine 1 di 3 Jam Voice Battery Replacement: passo 5, immagine 2 di 3 Jam Voice Battery Replacement: passo 5, immagine 3 di 3
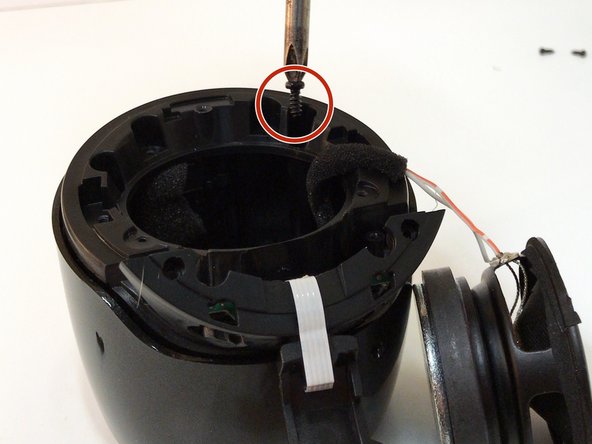
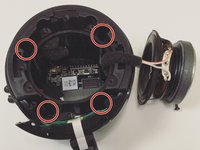
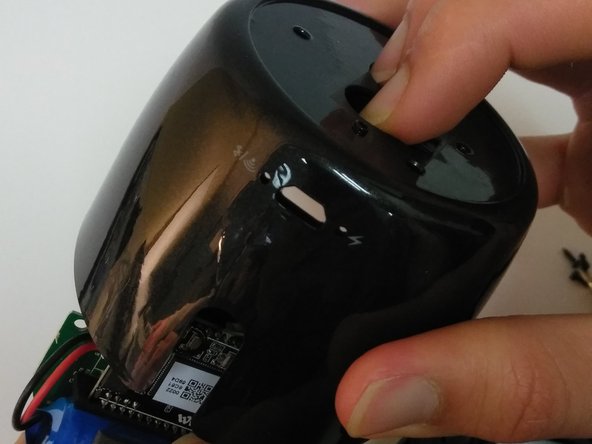
      • Remove the four 7mm Phillips screws to expose the motherboard.

      Chiedi a FixBot

      Aggiungi Commento

    5. Jam Voice Battery Replacement: passo 6, immagine 1 di 1
      • After removing all of the screws from the plastic cover, remove it by pulling up and out.

      • Be careful not to pull and damage any of the wires.

      Chiedi a FixBot

      Aggiungi Commento

    6. Jam Voice Battery Replacement: passo 7, immagine 1 di 2 Jam Voice Battery Replacement: passo 7, immagine 2 di 2
      • Remove the three 5mm Phillips screws that hold the motherboard in place.

      • After the screws are removed, place two fingers on the power button and Bluetooth button to push the motherboard out.

      Chiedi a FixBot

      Aggiungi Commento

    1. Jam Voice Battery Replacement, Battery: passo 8, immagine 1 di 3 Jam Voice Battery Replacement, Battery: passo 8, immagine 2 di 3 Jam Voice Battery Replacement, Battery: passo 8, immagine 3 di 3
      Strumento utilizzato in questo passaggio:
      Tweezers
      $4.99
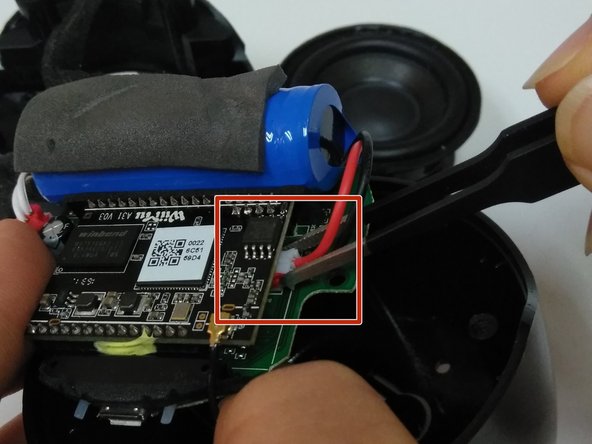
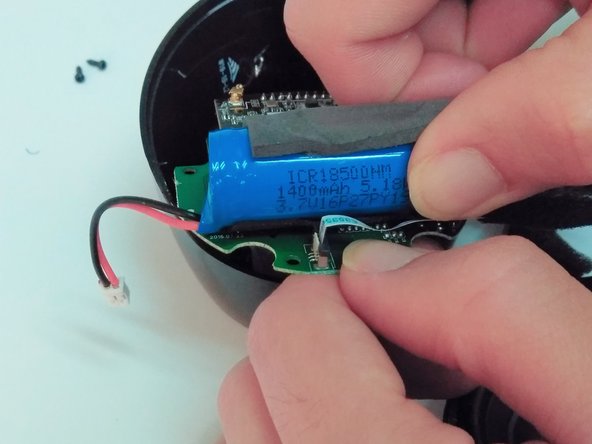
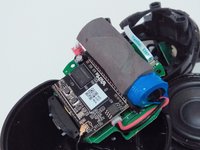
      • Expose the motherboard and battery and place in a position that will be easy to access and work with.

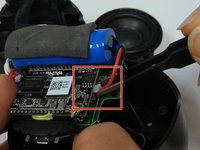
      • Use tweezers to remove the battery's wire from the motherboard at the connection point.

      • The battery's connection point is opposite the speaker's connection point.

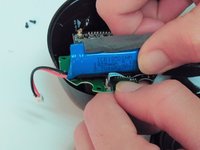
      • Pull the battery from the motherboard.

      Chiedi a FixBot

      Aggiungi Commento

Conclusione

To reassemble your device, follow these instructions in reverse order.

Annulla: non ho completato questa guida.

Un'altra persona ha completato questa guida.

0Commenti sulla guida

Aggiungi Commento

Visualizza statistiche:

Ultime 24 ore: 0

Ultimi 7 giorni: 7

Ultimi 30 giorni: 34

Tutti i Tempi: 1,073