Introduzione
A fully charged battery of the specific model is required for this guide. The model should be a Fujifilm Lithium Ion battery pack (NP-45A or NP-45S). The replacement is simple, but if you do not have the proper battery, you will get an error notification from the camera. To make the battery last for its entire useful life, keep the camera in a cool, clean, indoor environment, and remove it when the camera is left alone for long periods of time.
Cosa ti serve
-
-
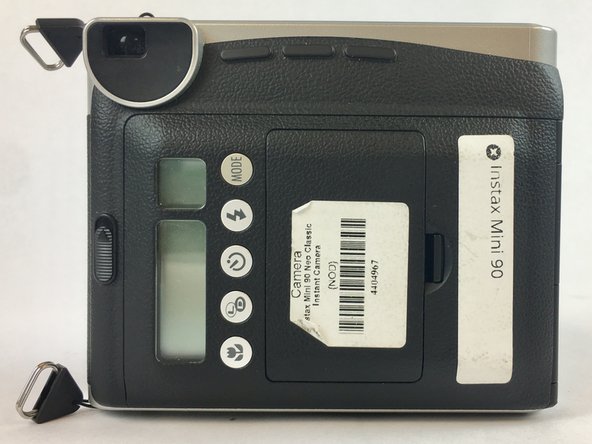
The battery compartment can be found on the backside of the camera. Pinpoint this compartment and focus on the right edge of the compartment gate to find the opening latch.
 Chiedi a FixBot
-
-
-
-
Pinch the latch in towards the battery compartment gate. This will release the gate and allow it to open.
-
Completely open the gate and remove from camera for ease of insertion of the battery.
-
-
-
Insert the battery into the battery compartment by following the diagram printed on the camera.
-
Be sure to connect the correct terminals of the battery to the camera.
-
Reattach battery compartment door to the camera and close firmly. A clicking sound will result when compartment door has been closed fully.
-


To reassemble your device, follow these instructions in reverse order.
Annulla: non ho completato questa guida.
Altre 2 persone hanno completato questa guida.

Team

USF Tampa, Team S2-G1, Nance Spring 2017 Membro di USF Tampa, Team S2-G1, Nance Spring 2017
USFT-NANCE-S17S2G1
4 Membri
12 guide realizzate
