Salta al contenuto principale
Unisciti alla Community delle riparazioni - Crea un account

Insignia Flex 8 Camera Replacement

Cosa ti serve

    1. Insignia Flex 8 Camera Replacement, Circuit Board: passo 1, immagine 1 di 1
      • Turn off the power to your tablet to avoid injury.

      • Position the tablet so that the screen is face down and the power button is located in the upper left hand corner.

      • Hold down the power button for five seconds until the tablet powers down.

      Chiedi a FixBot

      Aggiungi Commento

    2. Insignia Flex 8 Camera Replacement: passo 2, immagine 1 di 2 Insignia Flex 8 Camera Replacement: passo 2, immagine 2 di 2
      • Remove the back casing from the screen by sliding a credit card or a similarly thin but firm object in between the casing and the screen.

      • You may need to use a spudger to initially create separation between the screen and the casing.

      • Run this object around the perimeter of the tablet until there is separation between the casing and the screen.

      • Remove the back casing and set aside.

      Chiedi a FixBot

      Aggiungi Commento

    3. Insignia Flex 8 Camera Replacement: passo 3, immagine 1 di 2 Insignia Flex 8 Camera Replacement: passo 3, immagine 2 di 2
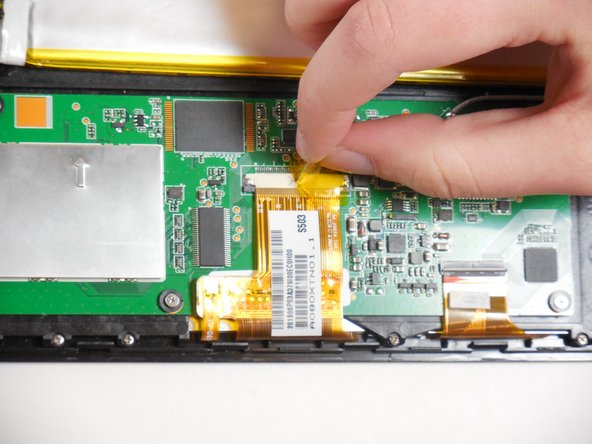
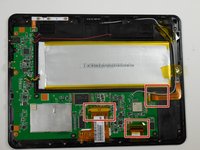
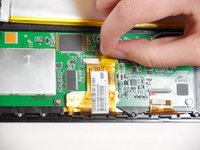
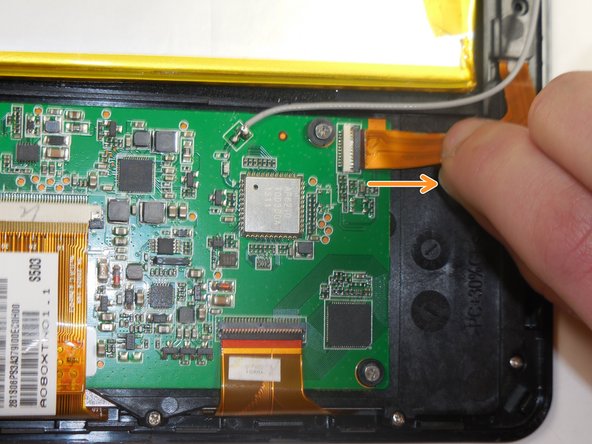
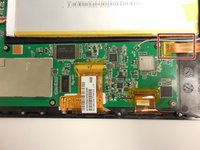
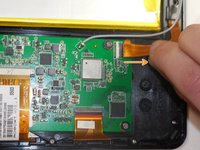
      • Peel tape off of ribbon connectors. Starting at the power button, work clockwise around the tablet.

      Chiedi a FixBot

      Aggiungi Commento

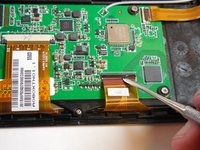
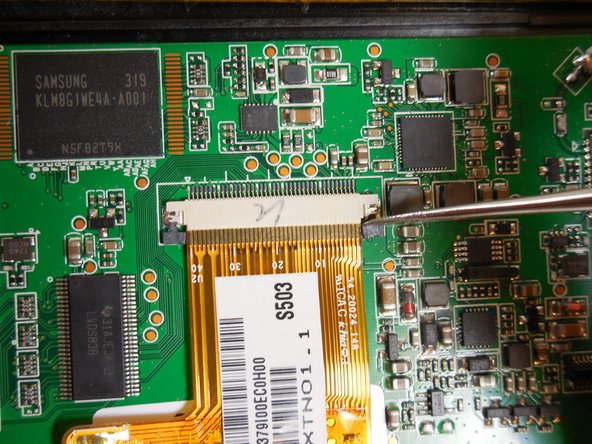
    4. Insignia Flex 8 Camera Replacement: passo 4, immagine 1 di 3 Insignia Flex 8 Camera Replacement: passo 4, immagine 2 di 3 Insignia Flex 8 Camera Replacement: passo 4, immagine 3 di 3
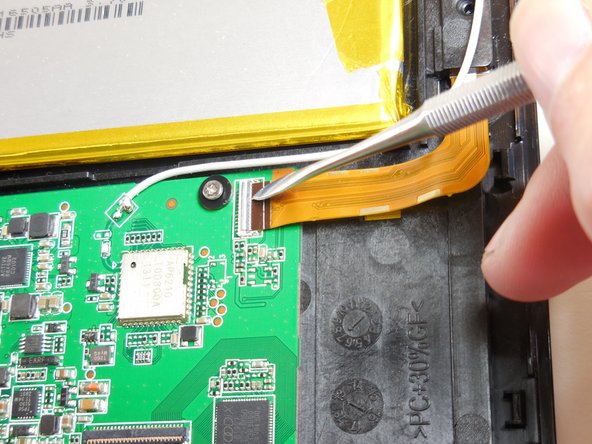
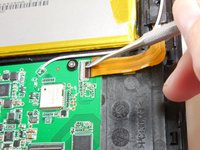
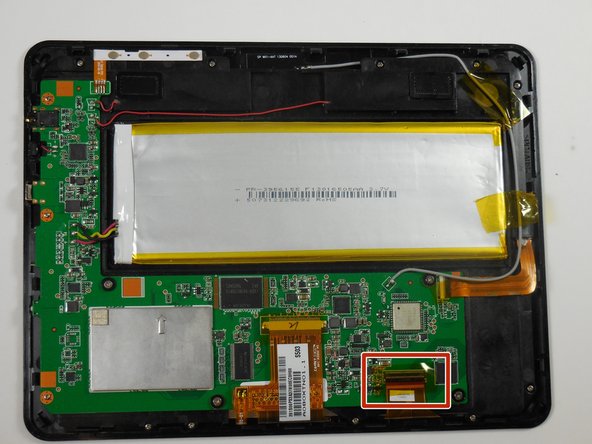
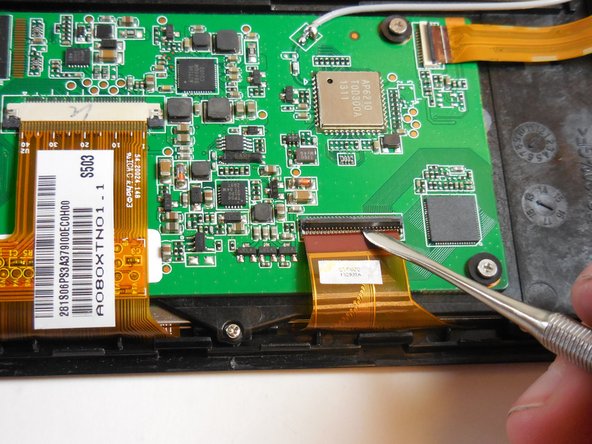
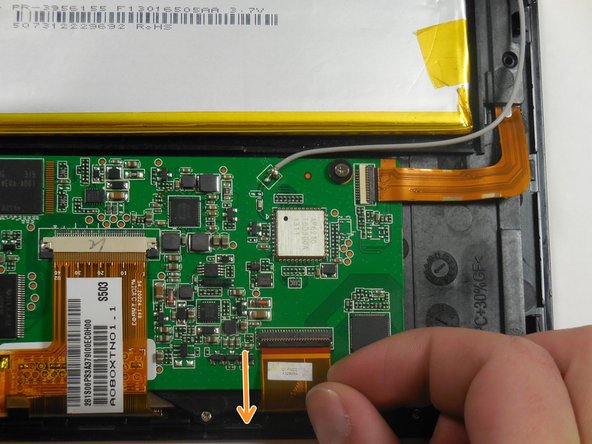
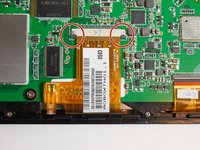
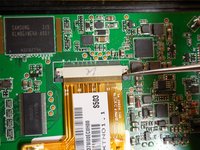
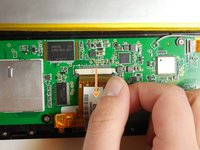
      • To remove the camera ribbon cable, lift the flap using a spudger.

      • Pull the ribbon directly back to release it.

      Chiedi a FixBot

      Aggiungi Commento

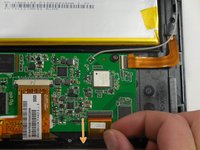
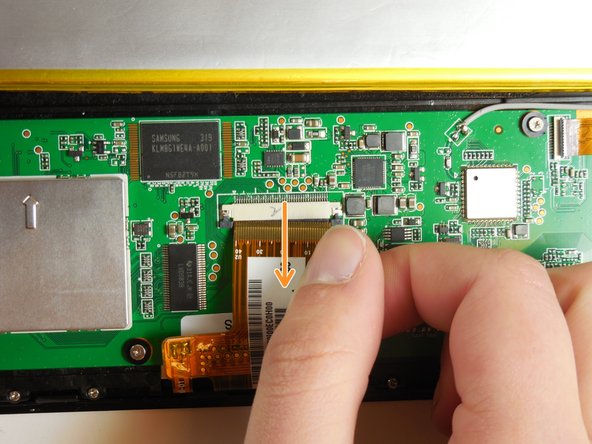
    5. Insignia Flex 8 Camera Replacement: passo 5, immagine 1 di 3 Insignia Flex 8 Camera Replacement: passo 5, immagine 2 di 3 Insignia Flex 8 Camera Replacement: passo 5, immagine 3 di 3
      • Remove the second ribbon cable by prying up the black flap using a spudger.

      • Pull the ribbon cable horizontally directly away from the battery.

      Chiedi a FixBot

      Aggiungi Commento

    6. Insignia Flex 8 Camera Replacement: passo 6, immagine 1 di 3 Insignia Flex 8 Camera Replacement: passo 6, immagine 2 di 3 Insignia Flex 8 Camera Replacement: passo 6, immagine 3 di 3
      • Remove the final ribbon cable by pulling back the two black tabs on either side of the ribbon cable.

      • Pull the ribbon horizontally directly away from the battery.

      Chiedi a FixBot

      Aggiungi Commento

    7. Insignia Flex 8 Camera Replacement: passo 7, immagine 1 di 2 Insignia Flex 8 Camera Replacement: passo 7, immagine 2 di 2
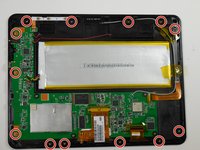
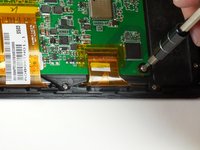
      • Unscrew the thirteen 4.75mm screws around the perimeter of the tablet using a PH 00 screwdriver.

      Chiedi a FixBot

      Aggiungi Commento

    8. Insignia Flex 8 Camera Replacement: passo 8, immagine 1 di 2 Insignia Flex 8 Camera Replacement: passo 8, immagine 2 di 2
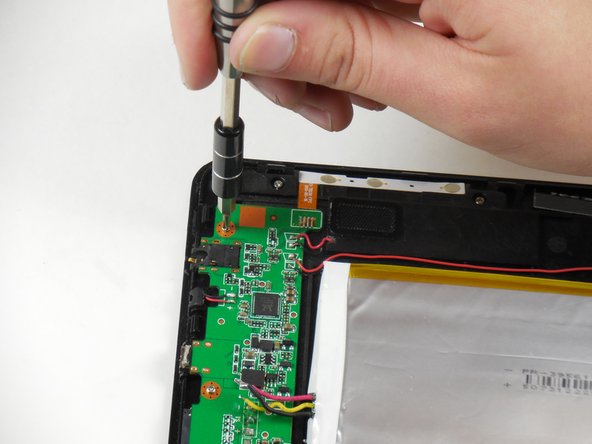
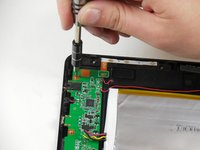
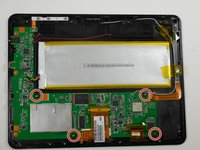
      • Unscrew the four 3.75mm screws and plastic washers using a PH 00 screwdriver.

      • Lift up the circuit board.

      Chiedi a FixBot

      Aggiungi Commento

    9. Insignia Flex 8 Camera Replacement: passo 9, immagine 1 di 1
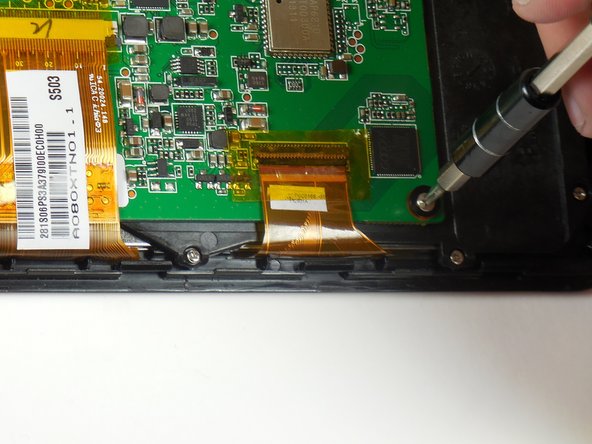
      • Unscrew the final two screws that were underneath the circuit board.

      • These screws are near the charging port and USB adapter.

      • These screws are also 3.75mm and can be interchanged with the second set of screws only.

      Chiedi a FixBot

      Aggiungi Commento

    10. Insignia Flex 8 Camera Replacement: passo 10, immagine 1 di 1
      • Lift the circuit board and black internal mounting piece away from the screen.

      • Set the circuit board aside.

      • Be careful of the soldered antenna as you separate the pieces.

      • Be careful of the soldered ribbon that is connected to the power source. This ribbon is fragile.

      Chiedi a FixBot

      Aggiungi Commento

    1. Insignia Flex 8 Camera Replacement, Camera: passo 11, immagine 1 di 1
      • Remove the L shaped ribbon cable from screen.

      • The camera is attached to the end of this cable.

      Chiedi a FixBot

      Aggiungi Commento

Conclusione

To reassemble your device, follow these instructions in reverse order.

Annulla: non ho completato questa guida.

0Commenti sulla guida

Aggiungi Commento

Visualizza statistiche:

Ultime 24 ore: 1

Ultimi 7 giorni: 8

Ultimi 30 giorni: 27

Tutti i Tempi: 710