Salta al contenuto principale
Unisciti alla Community delle riparazioni - Crea un account

Inse N500 Motor Replacement

Cosa ti serve

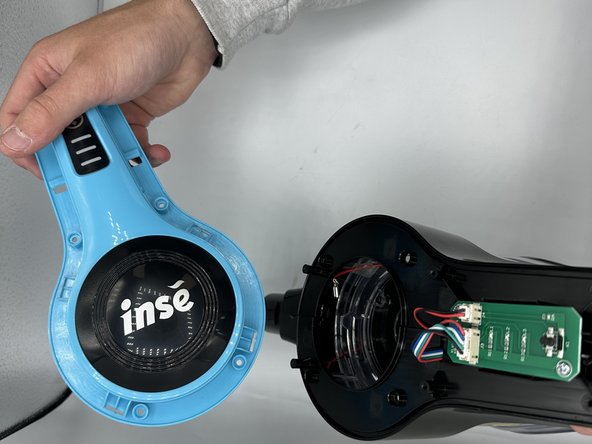
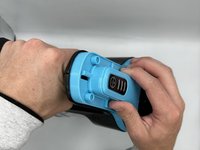
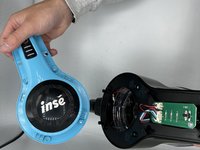
    1. Inse N500 Motor Replacement, Dustbin: passo 1, immagine 1 di 3 Inse N500 Motor Replacement, Dustbin: passo 1, immagine 2 di 3 Inse N500 Motor Replacement, Dustbin: passo 1, immagine 3 di 3
      • Unclip the plastic band from the vacuum head.

      Chiedi a FixBot
      Aggiungi Commento

    2. Inse N500 Motor Replacement: passo 2, immagine 1 di 2 Inse N500 Motor Replacement: passo 2, immagine 2 di 2
      • Remove six 6 mm screws using a Phillips #0 screwdriver.

      Chiedi a FixBot
      Aggiungi Commento

    3. Inse N500 Motor Replacement: passo 3, immagine 1 di 2 Inse N500 Motor Replacement: passo 3, immagine 2 di 2
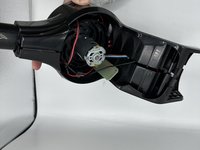
      • Remove the vacuum head guard.

      Chiedi a FixBot
      Aggiungi Commento

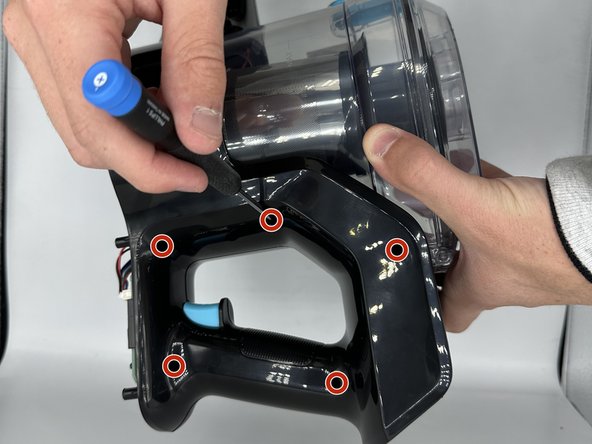
    4. Inse N500 Motor Replacement: passo 4, immagine 1 di 2 Inse N500 Motor Replacement: passo 4, immagine 2 di 2
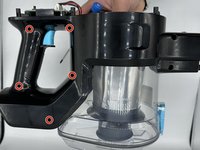
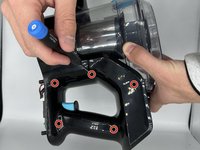
      • Remove the ten 4 mm screws using a Phillips #0 screwdriver.

      • There are five screws on each side of the vacuum.

      Chiedi a FixBot

      Aggiungi Commento

    5. Inse N500 Motor Replacement: passo 5, immagine 1 di 2 Inse N500 Motor Replacement: passo 5, immagine 2 di 2
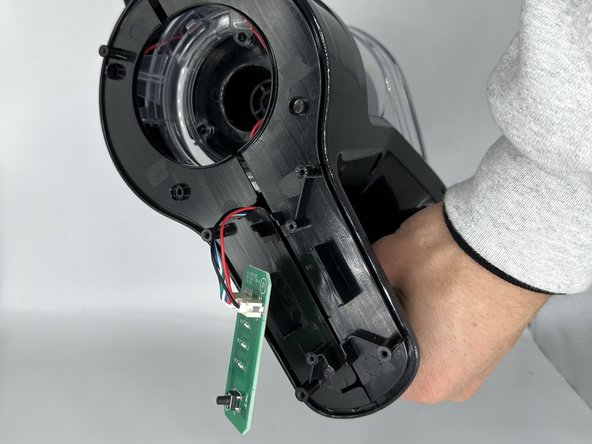
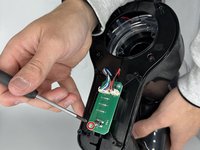
      • Remove the single 4 mm screw from the circuit board using a Phillips #0 screwdriver.

      Chiedi a FixBot
      Aggiungi Commento

    6. Inse N500 Motor Replacement: passo 6, immagine 1 di 2 Inse N500 Motor Replacement: passo 6, immagine 2 di 2
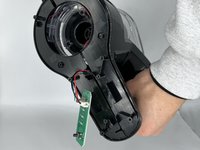
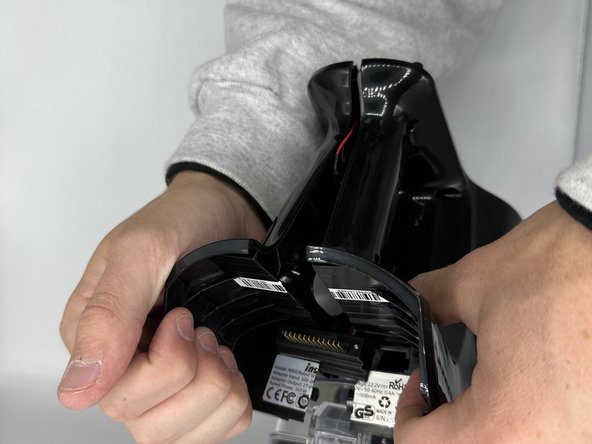
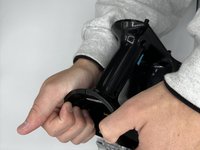
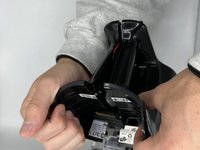
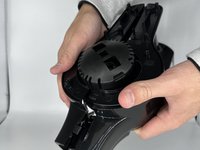
      • Unfasten the remaining clips.

      Chiedi a FixBot
      Aggiungi Commento

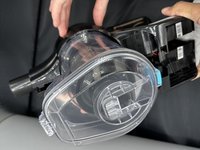
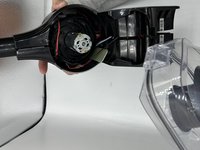
    7. Inse N500 Motor Replacement: passo 7, immagine 1 di 3 Inse N500 Motor Replacement: passo 7, immagine 2 di 3 Inse N500 Motor Replacement: passo 7, immagine 3 di 3
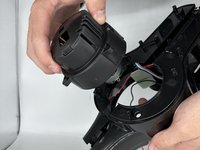
      • Remove the dustbin.

      Chiedi a FixBot
      Aggiungi Commento

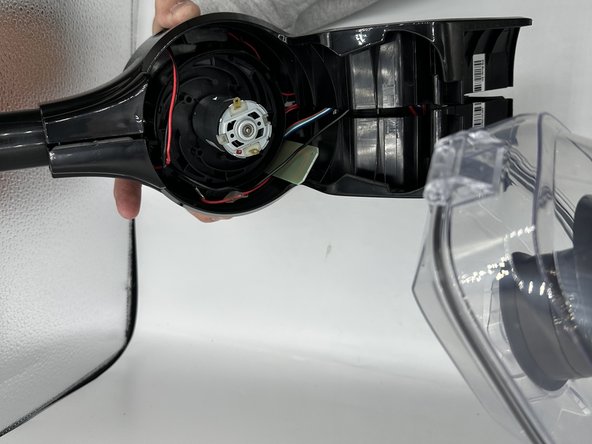
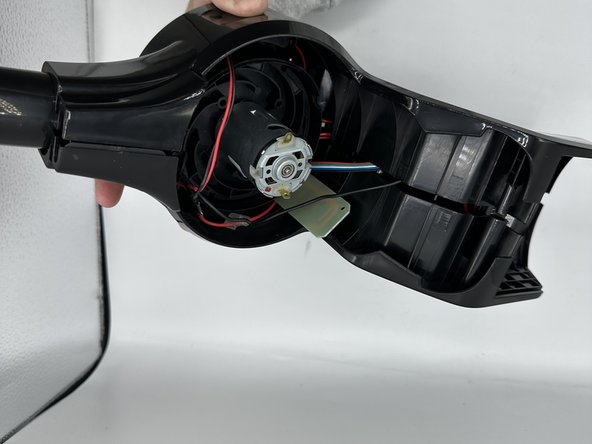
    1. Inse N500 Motor Replacement, Motor: passo 8, immagine 1 di 2 Inse N500 Motor Replacement, Motor: passo 8, immagine 2 di 2
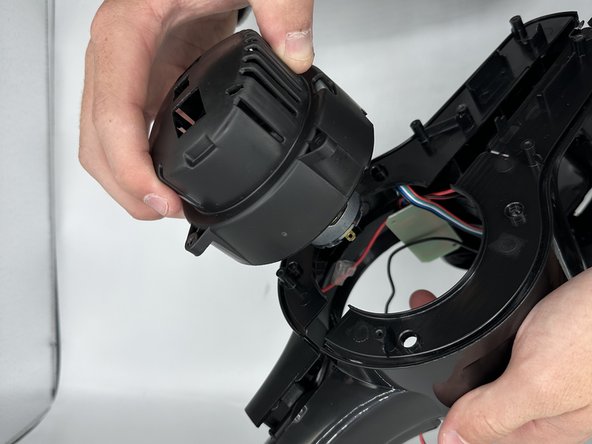
      • Unfasten the surrounding motor clips and remove the motor.

      Chiedi a FixBot

      Aggiungi Commento

Conclusione

To reassemble your device, follow these instructions in reverse order.

Annulla: non ho completato questa guida.

Altre 2 persone hanno completato questa guida.

1Commento della guida

Please 🙏 the motor of roborock h7 please 🙏

Wayl - Rispondi Condividi

Aggiungi Commento

Visualizza statistiche:

Ultime 24 ore: 0

Ultimi 7 giorni: 9

Ultimi 30 giorni: 63

Tutti i Tempi: 1,790