Salta al contenuto principale

Infinity Genesis hood Replacement

Cosa ti serve

  1. Infinity Genesis hood  Replacement, Hood: passo 1, immagine 1 di 3 Infinity Genesis hood  Replacement, Hood: passo 1, immagine 2 di 3 Infinity Genesis hood  Replacement, Hood: passo 1, immagine 3 di 3
    • To begin remove Right and Left armrests . See assembly guide on how to remove these.

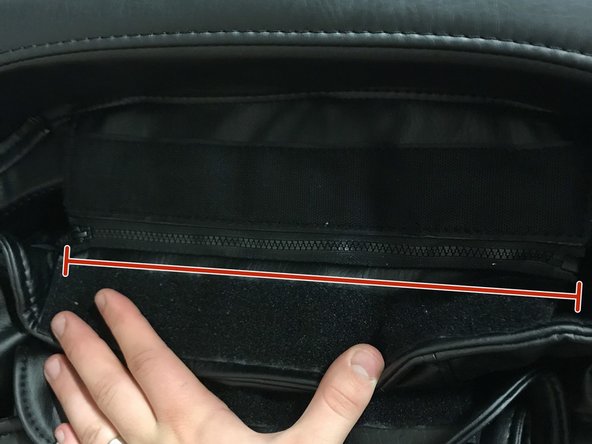
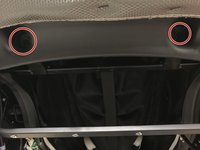
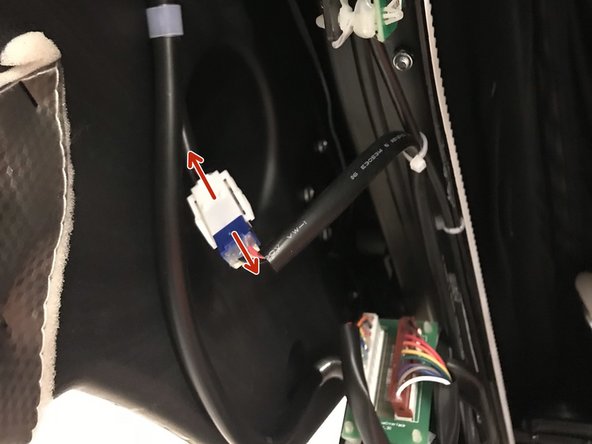
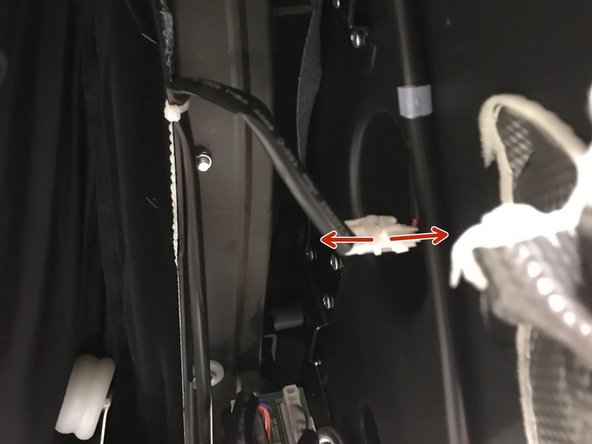
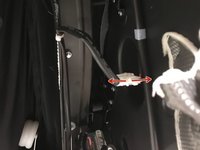
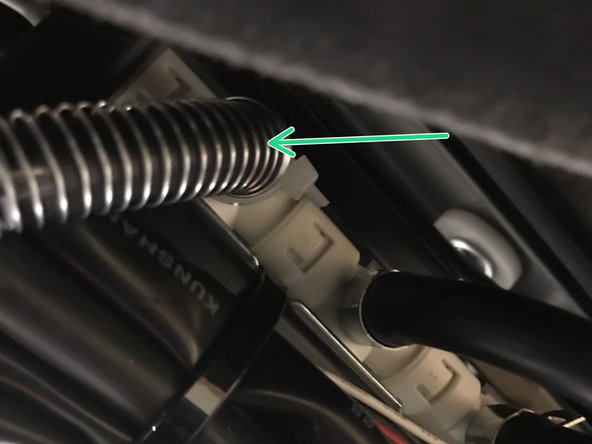
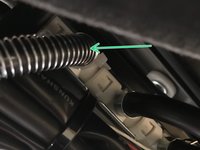
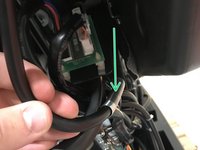
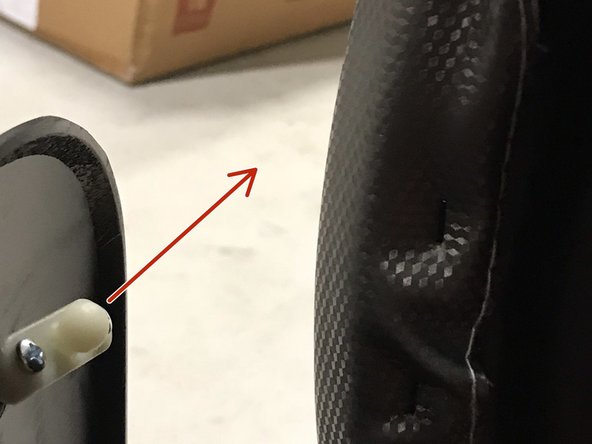
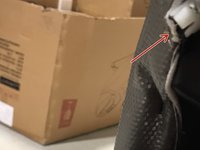
    • Unzip the following zipper at the very top of the chair. It is hidden beneath Velcro .

    • Leave back pad like this no need to unzip any other zippers.

  2. Infinity Genesis hood  Replacement: passo 2, immagine 1 di 3 Infinity Genesis hood  Replacement: passo 2, immagine 2 di 3 Infinity Genesis hood  Replacement: passo 2, immagine 3 di 3
    • Remove all 8 Screws on back cover.

    • End Result should like this .

  3. Infinity Genesis hood  Replacement: passo 3, immagine 1 di 2 Infinity Genesis hood  Replacement: passo 3, immagine 2 di 2
    • Remove Top 4 screws .

  4. Infinity Genesis hood  Replacement: passo 4, immagine 1 di 3 Infinity Genesis hood  Replacement: passo 4, immagine 2 di 3 Infinity Genesis hood  Replacement: passo 4, immagine 3 di 3
    • You will need to disconnect the power cables on Left and Ride side of the hood assembly . They are attached via a clip. Simply push the clip down and pull them apart.

  5. Infinity Genesis hood  Replacement: passo 5, immagine 1 di 3 Infinity Genesis hood  Replacement: passo 5, immagine 2 di 3 Infinity Genesis hood  Replacement: passo 5, immagine 3 di 3
    • You need to find the 6 way air valve on the left and right hand side.

    • You then need to Locate and remove the top air hose from the valve. You can usually identify this hose by the armor cover it has on it . Additionally its the only air hose that goes to the top.

  6. Infinity Genesis hood  Replacement: passo 6, immagine 1 di 2 Infinity Genesis hood  Replacement: passo 6, immagine 2 di 2
    • BEFORE CONTINUING DOUBLE CHECK YOU HAVE DONE THE PREVIOUS STEPS TO ENSURE EVERYTHING HAS BEEN DISCONNECTED .

    • To remove the hood piece lift upwards to slide it off of the Frame points.

    • Marked here are the 4 frame points . Remember where these are for re- assembly.

    • See last photo for end result.

  7. Infinity Genesis hood  Replacement, REASSEMBLY TIPS: passo 7, immagine 1 di 2 Infinity Genesis hood  Replacement, REASSEMBLY TIPS: passo 7, immagine 2 di 2
    • For reassembly of back panel Please be sure to lock in these Ball and Joint pieces into each other . They are located at the top of the chair.

    • If you don't lock these in first you will have a harder time securing this panel back on . Additionally once these Ball and joint pieces are connected. Secure the middle screws on the cover first this will ensure the cover will line up with the other bolts.

Conclusione

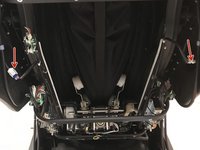
To reassemble your device, follow these instructions in reverse order.

Nick

Membro da: 05/30/17

2.737 Reputazione

16 Guide realizzate

0 Commenti

Aggiungi Commento

Visualizza Statistiche:

Ultime 24 Ore: 0

Ultimi 7 Giorni: 0

Ultimi 30 Giorni: 0

Tutti i Tempi: 22