Salta al contenuto principale
Unisciti alla Community delle riparazioni - Crea un account

How to Install and Remove Tiles

Cosa ti serve

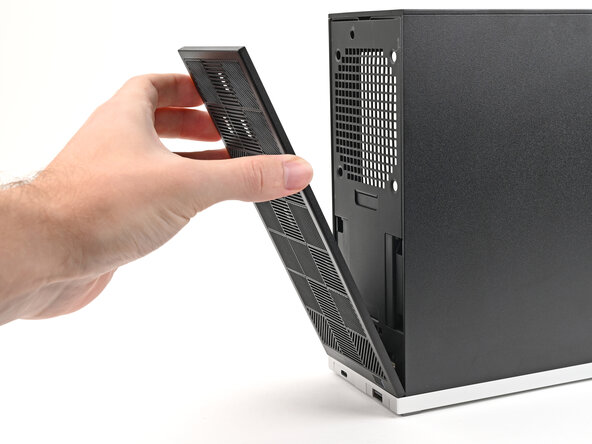
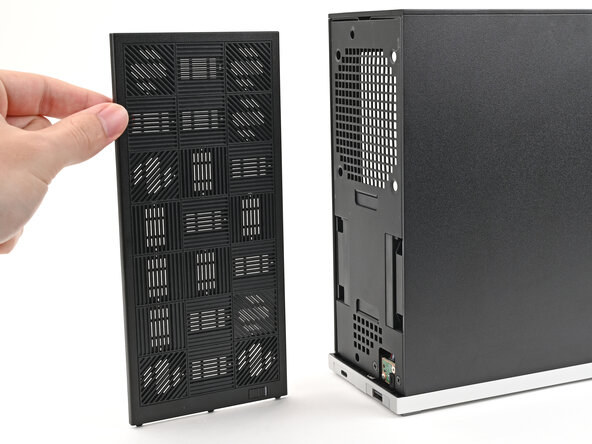
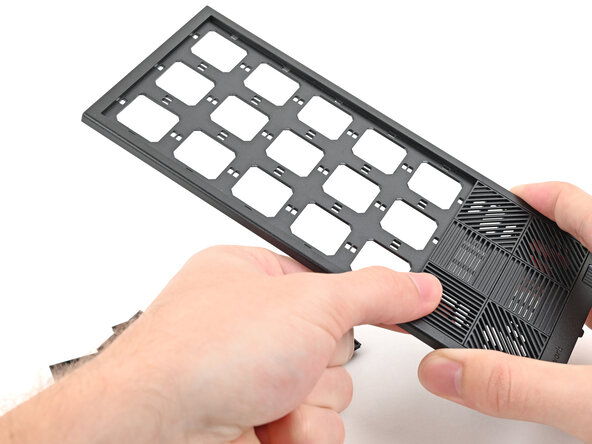
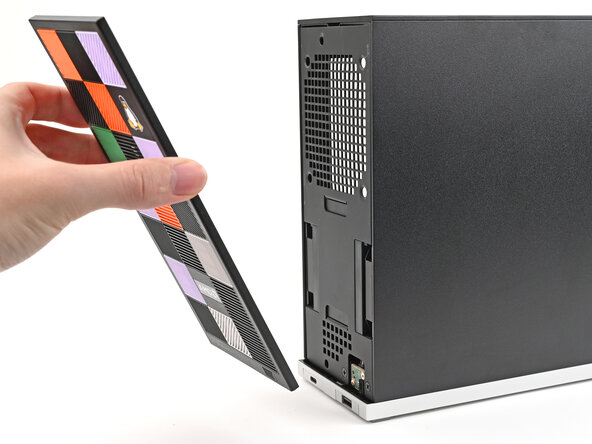
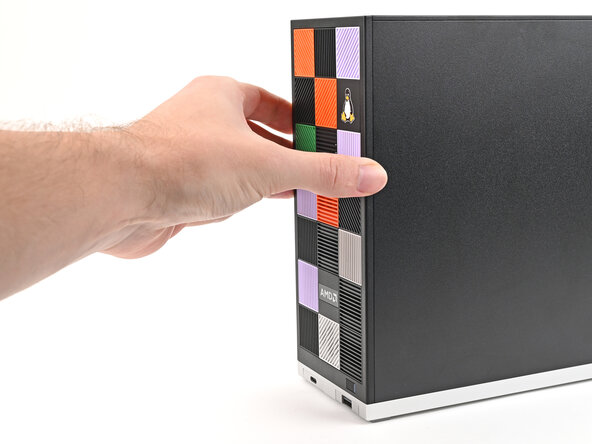
    1. How to Install and Remove Tiles, Remove the Front Panel: passo 1, immagine 1 di 3 How to Install and Remove Tiles, Remove the Front Panel: passo 1, immagine 2 di 3 How to Install and Remove Tiles, Remove the Front Panel: passo 1, immagine 3 di 3
      • Use your fingers to pull the Front Panel off the magnets securing it to the chassis.

      Chiedi a FixBot

      Aggiungi Commento

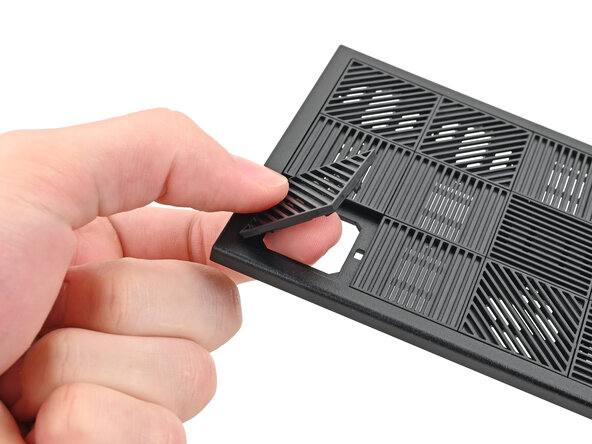
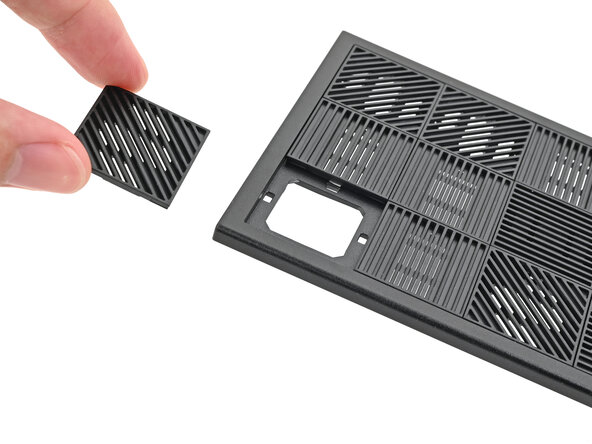
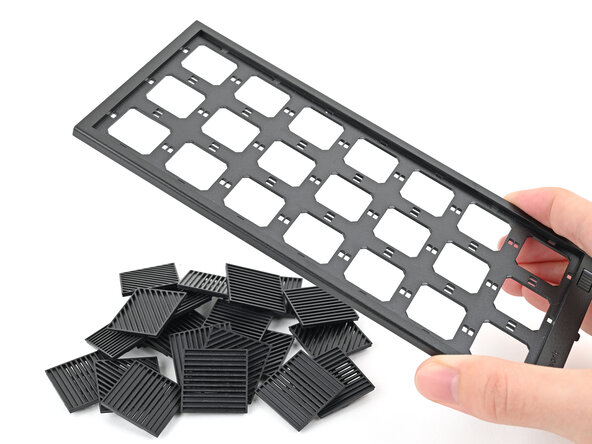
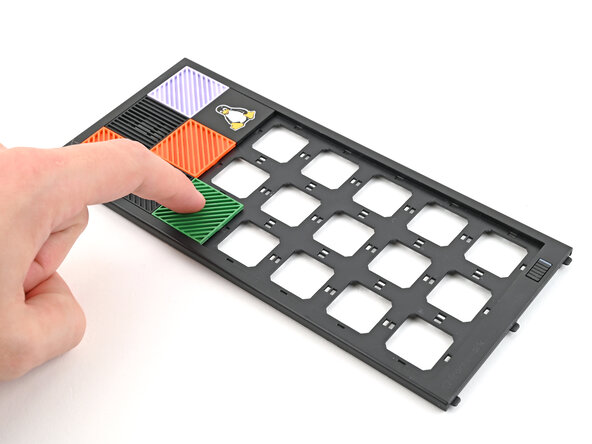
    1. How to Install and Remove Tiles, Remove the Tiles: passo 2, immagine 1 di 3 How to Install and Remove Tiles, Remove the Tiles: passo 2, immagine 2 di 3 How to Install and Remove Tiles, Remove the Tiles: passo 2, immagine 3 di 3
      • Use your fingers to push the bottom of the Tile up and off the front panel and release its clips.

      • Remove the Tile.

      Chiedi a FixBot

      Aggiungi Commento

    2. How to Install and Remove Tiles: passo 3, immagine 1 di 3 How to Install and Remove Tiles: passo 3, immagine 2 di 3 How to Install and Remove Tiles: passo 3, immagine 3 di 3
      • Repeat this procedure for the remaining tiles.

      Chiedi a FixBot

      Aggiungi Commento

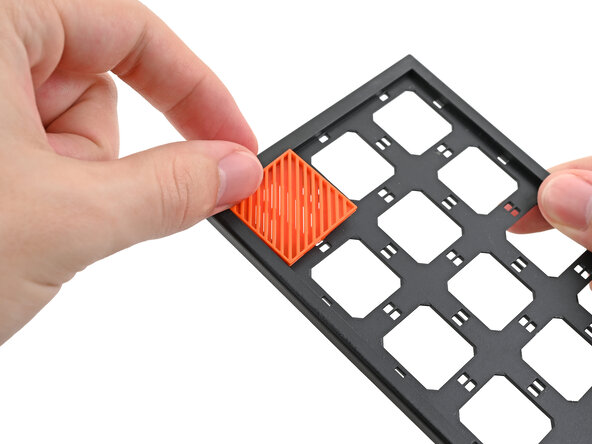
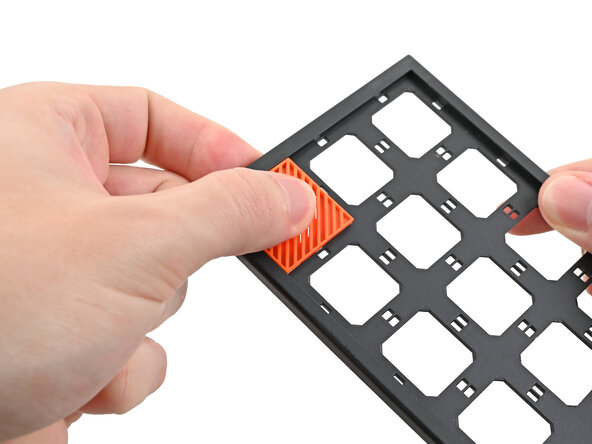
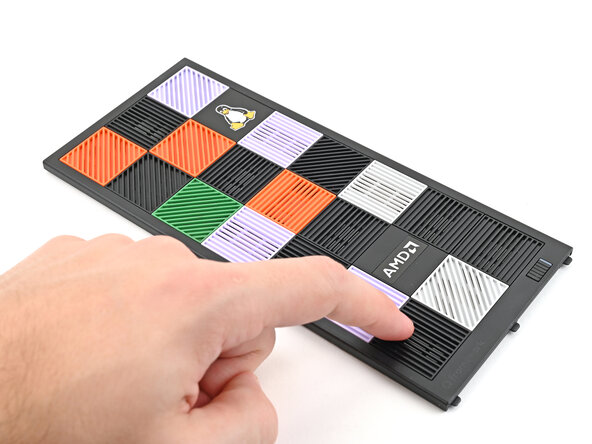
    1. How to Install and Remove Tiles, Install the Tiles: passo 4, immagine 1 di 3 How to Install and Remove Tiles, Install the Tiles: passo 4, immagine 2 di 3 How to Install and Remove Tiles, Install the Tiles: passo 4, immagine 3 di 3
      • Tiles can be installed in any orientation, even the ones with graphics.

      • Lay a Tile over an open slot on your Front Panel.

      • Use your fingers to press the tile into the slot and engage the clips.

      • You'll hear and feel an audible "click" when the clips engage.

      Chiedi a FixBot

      Aggiungi Commento

    2. How to Install and Remove Tiles: passo 5, immagine 1 di 3 How to Install and Remove Tiles: passo 5, immagine 2 di 3 How to Install and Remove Tiles: passo 5, immagine 3 di 3
      • Install the remaining Tiles.

      Chiedi a FixBot

      Aggiungi Commento

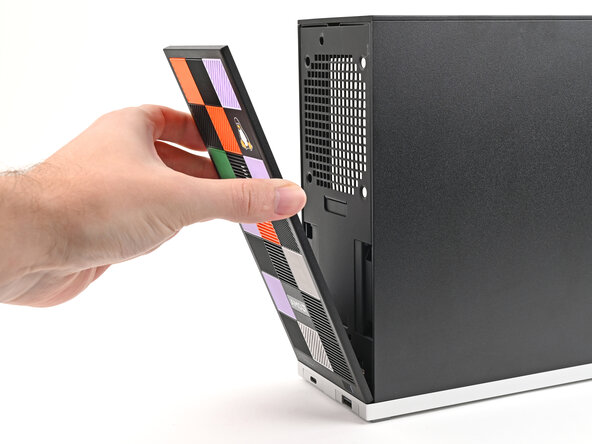
    3. How to Install and Remove Tiles: passo 6, immagine 1 di 3 How to Install and Remove Tiles: passo 6, immagine 2 di 3 How to Install and Remove Tiles: passo 6, immagine 3 di 3
      • Lay the bottom of the Front Panel on the small, protruding lip in the silver base to align its tabs.

      • Press the Front Panel flat to the chassis and let it align to the magnets.

      Chiedi a FixBot

      Aggiungi Commento

Conclusione

If you need help, contact Framework support.

Annulla: non ho completato questa guida.

Alex Diaz-Kokaisl

Membro da: 01/16/22

245.737 Reputazione

1.203 guide realizzate

0Commenti sulla guida

Aggiungi Commento

Visualizza statistiche:

Ultime 24 ore: 3

Ultimi 7 giorni: 6

Ultimi 30 giorni: 40

Tutti i Tempi: 389