Salta al contenuto principale
Unisciti alla Community delle riparazioni - Crea un account

Hoover Power Path Pro Advanced Power Switch Replacement

Cosa ti serve

    1. Hoover Power Path Pro Advanced Power Switch Replacement, Power Switch: passo 1, immagine 1 di 1
      • Remove the lower brushroll from the bottom of the cleaner.

      Chiedi a FixBot

      Aggiungi Commento

    2. Hoover Power Path Pro Advanced Power Switch Replacement: passo 2, immagine 1 di 1
      • Use a long #2 Philips head to remove the 8 numbered screws on the bottom of the cleaner (They will also be indicated on the bottom of the vacuum).

      Chiedi a FixBot

      Aggiungi Commento

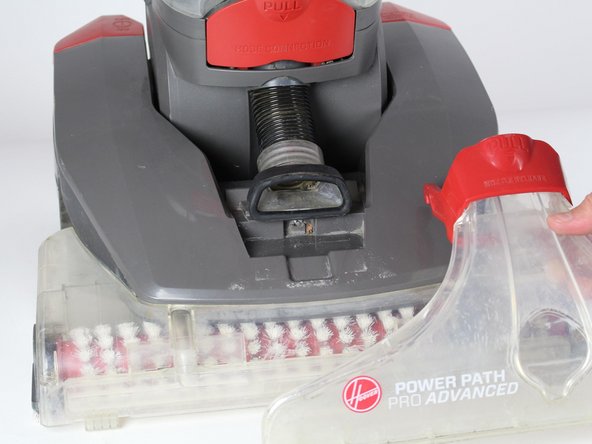
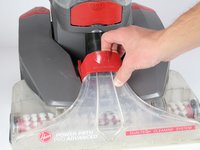
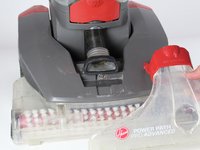
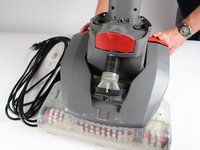
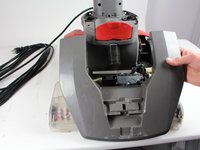
    3. Hoover Power Path Pro Advanced Power Switch Replacement: passo 3, immagine 1 di 2 Hoover Power Path Pro Advanced Power Switch Replacement: passo 3, immagine 2 di 2
      • Pull the red handle to remove the front suction unit from the cleaner.

      Chiedi a FixBot

      Aggiungi Commento

    4. Hoover Power Path Pro Advanced Power Switch Replacement: passo 4, immagine 1 di 1
      • Unscrew the hose by using a Phillips #2 to detach it from the top cover of the cleaner.

      Chiedi a FixBot

      Aggiungi Commento

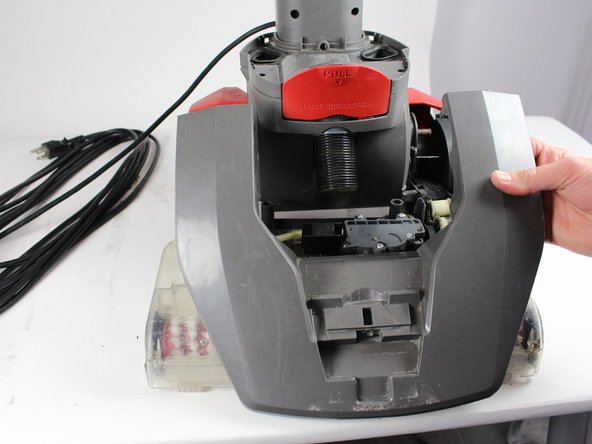
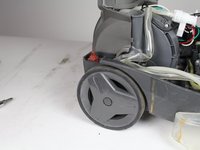
    5. Hoover Power Path Pro Advanced Power Switch Replacement: passo 5, immagine 1 di 2 Hoover Power Path Pro Advanced Power Switch Replacement: passo 5, immagine 2 di 2
      • Push down on the handle release button. Lift the edge of top cover connected to this button.

      • Repeat the above step for the "On/Off" button.

      • Pull entire top cover off.

      • Caution: when pulling the handle release button, make sure the top of the cleaner does not fall.

      Chiedi a FixBot

      Aggiungi Commento

    6. Hoover Power Path Pro Advanced Power Switch Replacement: passo 6, immagine 1 di 1
      • Remove the "On/Off" cap by pulling it upwards with caution.

      Chiedi a FixBot

      Aggiungi Commento

    7. Hoover Power Path Pro Advanced Power Switch Replacement: passo 7, immagine 1 di 1
      • Use a long #2 Philips head to remove the two screws from the arched grey piece.

      Chiedi a FixBot

      Aggiungi Commento

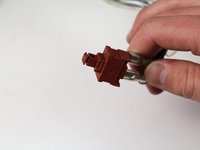
    8. Hoover Power Path Pro Advanced Power Switch Replacement: passo 8, immagine 1 di 2 Hoover Power Path Pro Advanced Power Switch Replacement: passo 8, immagine 2 di 2
      • Pull out the red power the red power switch.

      Chiedi a FixBot

      Aggiungi Commento

Conclusione

To reassemble your device, follow these instructions in reverse order.

Annulla: non ho completato questa guida.

Altre 4 persone hanno completato questa guida.

3Commenti sulla guida

What is the part number?

martahayner - Rispondi Condividi

Thanks so much!!

debmccrimm - Rispondi Condividi

you have to test the switch, mine tested ok which led me to the fuse between the motor and switch. It was bad, parts warehouse part # 440004065 does the trick.

frank - Rispondi Condividi

Aggiungi Commento

Visualizza statistiche:

Ultime 24 ore: 1

Ultimi 7 giorni: 13

Ultimi 30 giorni: 53

Tutti i Tempi: 4,363