Introduzione
Prerequisite only! This guide shows how to remove or replace the transmission on a Honda FRC800K1A Rear Tine Tiller.
You will need to support the tiller during this process. We recommend jack stands, large pieces of wood, or other strong supports. Make sure to rock the tiller back and forth on its supports before beginning to ensure that it won’t fall or tip over during repairs.
Some of the fasteners on this device use through-bolts with nuts to secure components. You may need to use a wrench in conjunction with a socket to remove them.
Cosa ti serve
-
-
Firmly grip the base of the connector and pull it away from the spark plug to disconnect it.
-
-
-
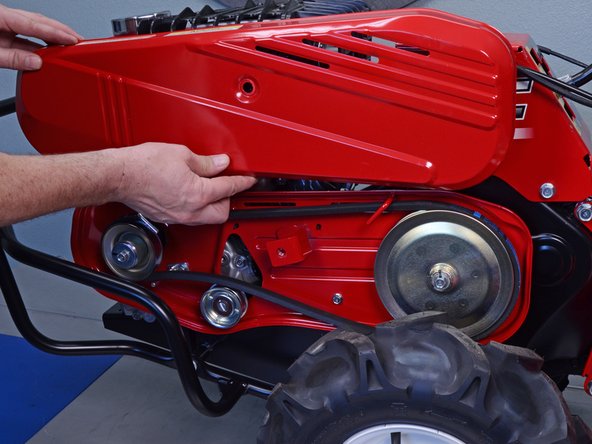
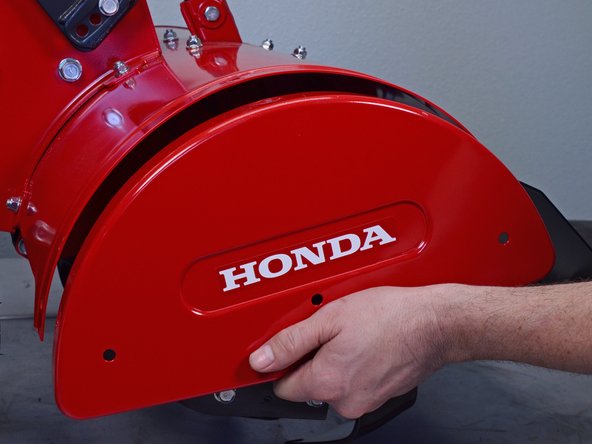
Use a 14 mm socket to remove the bolt securing the outer belt cover.
-
-
-
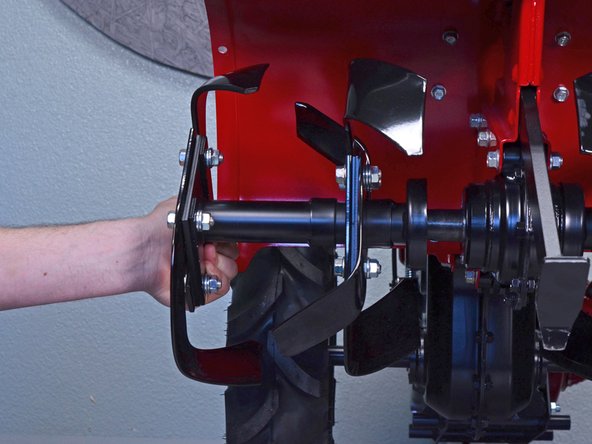
Pull the tine engagement lever to put belt tension on the transmission pulley.
-
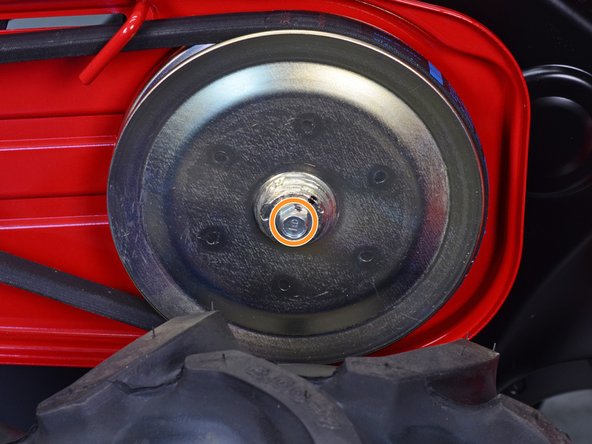
With the belt taut, use a 12 mm socket to loosen the transmission pulley bolt without fully removing it.
-
-
-
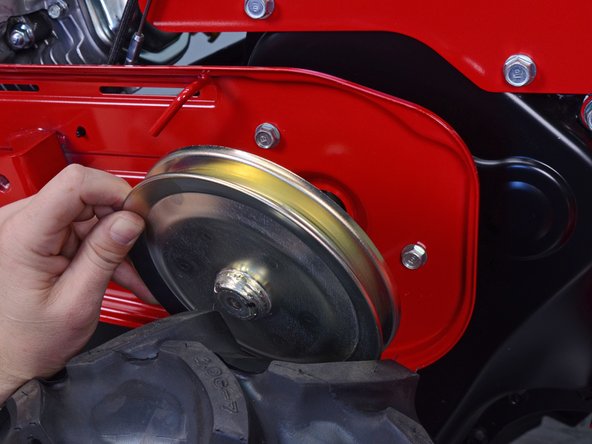
Push the V-belt towards the transmission pulley to release tension.
-
Slip the V-belt off of the groove in the pulley.
-
-
-
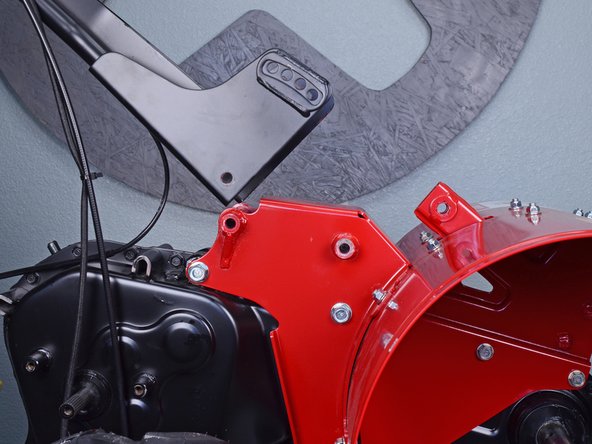
Use a 12 mm socket to remove the two bolts securing the belt guides to the inner belt cover.
-
Use a 10 mm socket to remove the bolt securing the inner belt cover to the frame.
-
-
-
Use a 14 mm socket to loosen the two bolts securing the guard to the frame.
-
These bolts have corresponding 14 mm nuts on their opposite ends. You will need to keep the bolts steady with a wrench or socket for the nuts to become loose.
-
Remove both nuts, but do not remove the bolts yet.
-
-
-
Use a 12 mm socket to remove the motor and transmission pulley bolts.
-
Hold the pulleys steady to more easily remove the bolts.
-
-
-
Pull the transmission pulley straight off of the splined shaft to remove.
-
-
-
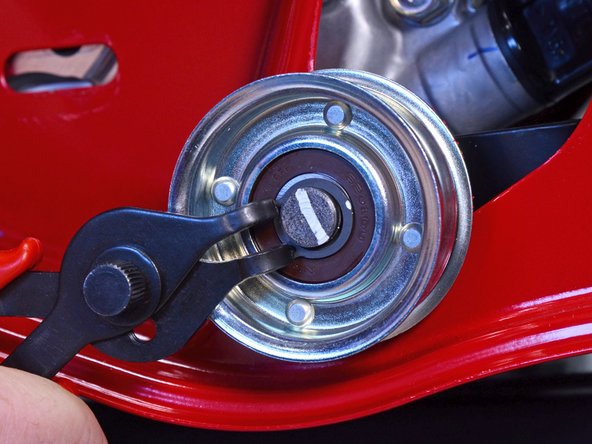
Use snap ring pliers to remove the snap ring securing the tensioner pulley to its shaft.
-
-
-
Use needle nose pliers to remove the three wire clips securing various cables to the back of the inner belt cover.
-
-
-
-
Pull the inner belt cover clear of the motor and transmission shafts.
-
Remove the inner belt cover.
-
-
-
Use a 12 mm socket and wrench to remove the six sets of side guard bolts and nuts, three on each side.
-
-
-
Use a 14 mm socket to remove the two rotary tine retaining bolts.
-
-
-
Use a 14 mm socket to remove the bolt holding the drag bar in place.
-
Remove the drag bar.
-
-
-
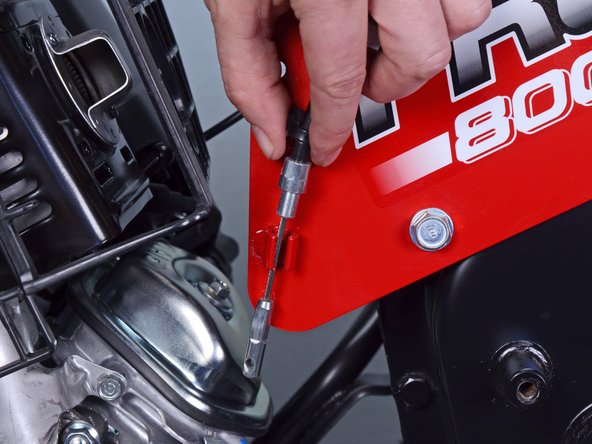
Use a Phillips #1 screwdriver to remove the cable guide screw.
-
-
-
Lift up on the tensioner pulley arm to loosen the tension on the tensioner spring.
-
-
-
Use a Phillips #1 screwdriver to remove the cable guide screw.
-
Remove the cable from the cable guide.
-
-
-
Use needle nose pliers to straighten the change lever pin.
-
Pull the pin straight out to remove.
-
-
-
Remove the three shift linkage mounting bracket bolts and nuts:
-
Two 12 mm bolts and nuts
-
One 14 mm nut
-
-
-
Use a 14 mm socket to remove the two shift gate through-bolts.
-
-
-
Use a 10 mm socket to remove the rotary change shifting arm bolt.
-
Remove the rotary change shifting arm.
-
-
-
Use a 14 mm socket to remove the front handle bolt.
-
Use a 14 mm socket to remove the shouldered handle angle selection bolt.
-
-
-
Use a 17 mm socket to remove the three frontside blade guard bolts.
-
Use a 14 mm socket to remove the four backside blade guard bolts.
-
-
-
Use a 14 mm socket to remove the two frame bolts.
-


To reassemble your device, follow these instructions in reverse order.
To reassemble your device, follow these instructions in reverse order.

