Salta al contenuto principale
Unisciti alla Community delle riparazioni - Crea un account

HP Slate 7 4601 Front Screen Replacement

Cosa ti serve

    1. HP Slate 7 4601 Front Screen Replacement, Battery: passo 1, immagine 1 di 2 HP Slate 7 4601 Front Screen Replacement, Battery: passo 1, immagine 2 di 2
      • Begin your replacement by using a T3 or T4 Torx screwdriver.

      • Remove the two 1.4mm x 3mm Torx Head screws at the top of the device.

      Chiedi a FixBot

      Aggiungi Commento

    2. HP Slate 7 4601 Front Screen Replacement: passo 2, immagine 1 di 2 HP Slate 7 4601 Front Screen Replacement: passo 2, immagine 2 di 2
      • With the pointed end of the spudger, remove the thin metal band.

      • It is easiest to remove the metal band through the headphone opening.

      Chiedi a FixBot

      Aggiungi Commento

    3. HP Slate 7 4601 Front Screen Replacement: passo 3, immagine 1 di 2 HP Slate 7 4601 Front Screen Replacement: passo 3, immagine 2 di 2
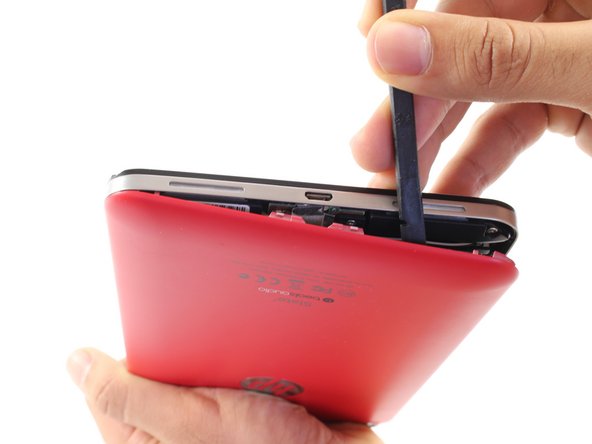
      • Using the flat end of the spudger, pry back the rear plastic cover.

      • As you work your way around the edge, several "pop" noises will be made. These noises are caused by the plastic clips coming undone.

      Chiedi a FixBot

      Aggiungi Commento

    4. HP Slate 7 4601 Front Screen Replacement: passo 4, immagine 1 di 1
      • Remove the rear cover.

      Chiedi a FixBot

      Aggiungi Commento

    5. HP Slate 7 4601 Front Screen Replacement: passo 5, immagine 1 di 1
      • Locate and remove the yellow tape covering the red and white speaker wires.

      Chiedi a FixBot

      Aggiungi Commento

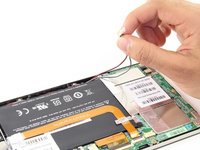
    6. HP Slate 7 4601 Front Screen Replacement: passo 6, immagine 1 di 2 HP Slate 7 4601 Front Screen Replacement: passo 6, immagine 2 di 2
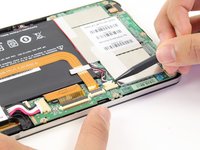
      • Using the pointed end of the spudger, push both sides of the speaker wire connector out of its base.

      • Push the same amount on both sides of the connector to avoid jamming or twisting its metal pins.

      • Do not yank or pull on the speaker wires, since they are fragile. Only push on the white connector.

      Chiedi a FixBot

      Aggiungi Commento

    7. HP Slate 7 4601 Front Screen Replacement: passo 7, immagine 1 di 1
      • Gently pull back the foil covering the gold charging port ribbon.

      Chiedi a FixBot

      Aggiungi Commento

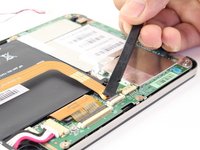
    8. HP Slate 7 4601 Front Screen Replacement: passo 8, immagine 1 di 2 HP Slate 7 4601 Front Screen Replacement: passo 8, immagine 2 di 2
      • Using the flat end of the spudger, lift up the black panel covering the charging port connector.

      • Gently slide the charging port ribbon out from its housing.

      • It may be easier to use the pointed end of the spudger than your fingers.

      Chiedi a FixBot

      Aggiungi Commento

    9. HP Slate 7 4601 Front Screen Replacement: passo 9, immagine 1 di 1
      • Lift gold charging strip away from the battery.

      Chiedi a FixBot

      Aggiungi Commento

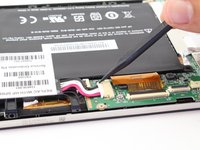
    10. HP Slate 7 4601 Front Screen Replacement: passo 10, immagine 1 di 2 HP Slate 7 4601 Front Screen Replacement: passo 10, immagine 2 di 2
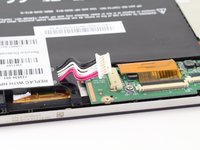
      • Push the white battery connector out of its housing using the pointed end of the spudger.

      Chiedi a FixBot

      Aggiungi Commento

    11. HP Slate 7 4601 Front Screen Replacement: passo 11, immagine 1 di 1
      • Using the #00 Phillips Head screwdriver, remove the 5 screws holding the battery in place.

      • The four 1.75mm x 3mm silver Phillips Head screws circled in red are interchangeable.

      • The black 1.75mm x 4mm Phillips Head screw must go back to the same spot during reassembly.

      Chiedi a FixBot

      Aggiungi Commento

    12. HP Slate 7 4601 Front Screen Replacement: passo 12, immagine 1 di 1
      • Lift battery out of its place and set aside.

      Chiedi a FixBot

      Aggiungi Commento

    1. HP Slate 7 4601 Front Screen Replacement, Charging Port: passo 13, immagine 1 di 2 HP Slate 7 4601 Front Screen Replacement, Charging Port: passo 13, immagine 2 di 2
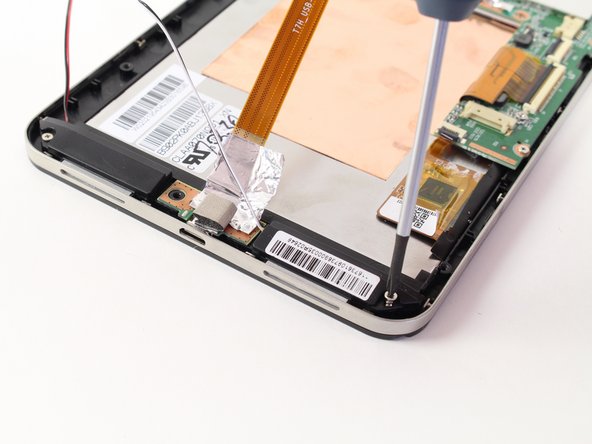
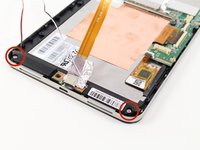
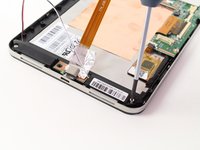
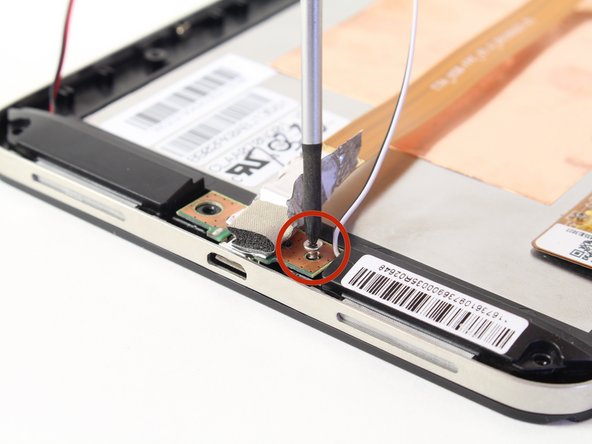
      • To free the speaker assembly, you will need a #00 Phillips Head screwdriver.

      • Remove the two 1.75mm x 3mm Phillips Head screws from the speaker assembly.

      Chiedi a FixBot

      Aggiungi Commento

    2. HP Slate 7 4601 Front Screen Replacement: passo 14, immagine 1 di 2 HP Slate 7 4601 Front Screen Replacement: passo 14, immagine 2 di 2
      • Pull back the foil overlapping the charging port to reveal another 1.75mm x 3mm Phillips Head screw.

      • Remove the screw with a #00 Phillips Head screwdriver.

      Chiedi a FixBot

      Aggiungi Commento

    3. HP Slate 7 4601 Front Screen Replacement: passo 15, immagine 1 di 1
      • Lift the charging port and set it aside.

      Chiedi a FixBot

      Aggiungi Commento

    1. HP Slate 7 4601 Front Screen Replacement, Speaker: passo 16, immagine 1 di 1
      • Lift the two speakers out of the device and set them aside.

      Chiedi a FixBot

      Aggiungi Commento

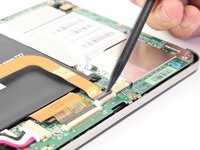
    1. HP Slate 7 4601 Front Screen Replacement, Motherboard: passo 17, immagine 1 di 2 HP Slate 7 4601 Front Screen Replacement, Motherboard: passo 17, immagine 2 di 2
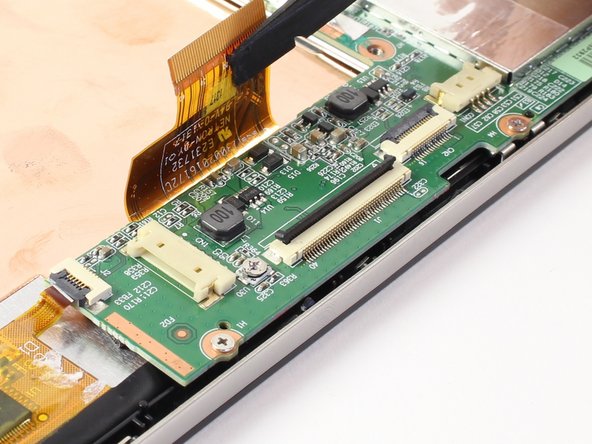
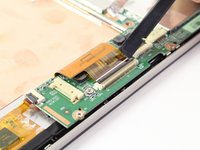
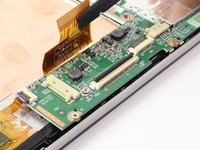
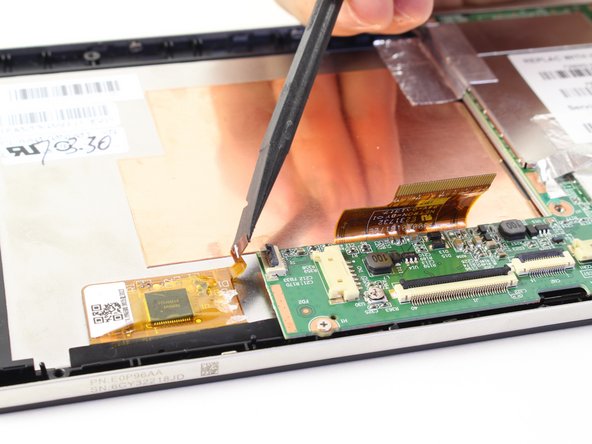
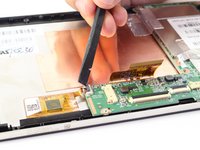
      • Disconnect the LCD screen ribbon by lifting up the black panel with the flat end of a spudger and sliding the gold strip out.

      • When reconnecting the LCD connector ribbon, make sure that it's pushed in all the way. If it isn't, there will be horizontal lines when you power the tablet on.

      Chiedi a FixBot

      Aggiungi Commento

    2. HP Slate 7 4601 Front Screen Replacement: passo 18, immagine 1 di 2 HP Slate 7 4601 Front Screen Replacement: passo 18, immagine 2 di 2
      • Likewise, disconnect the square radio chip ribbon by lifting up the black panel with a spudger and sliding the gold strip out.

      Chiedi a FixBot

      Aggiungi Commento

    3. HP Slate 7 4601 Front Screen Replacement: passo 19, immagine 1 di 2 HP Slate 7 4601 Front Screen Replacement: passo 19, immagine 2 di 2
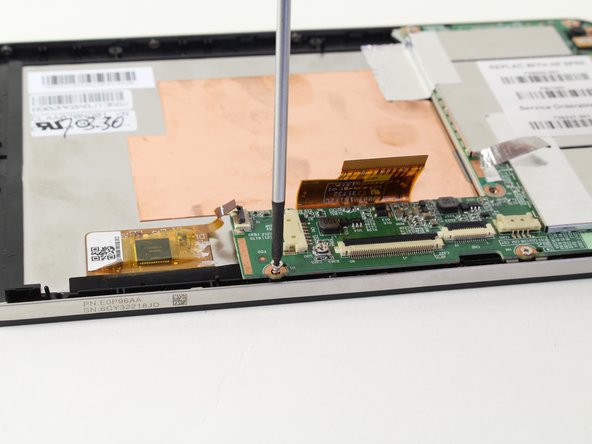
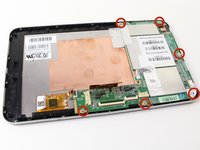
      • You will be using a #00 Phillips Head screwdriver to free the motherboard.

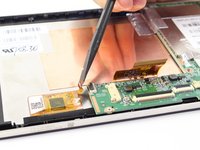
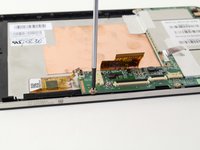
      • Remove the six 1.75mm x 3mm Phillips Head screws holding the motherboard to the screen.

      Chiedi a FixBot

      Aggiungi Commento

    4. HP Slate 7 4601 Front Screen Replacement: passo 20, immagine 1 di 2 HP Slate 7 4601 Front Screen Replacement: passo 20, immagine 2 di 2
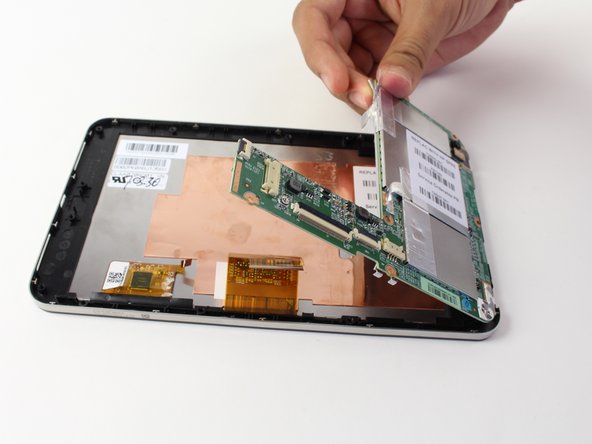
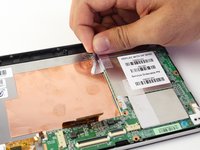
      • Using your hand, lift up the silver tape from the copper plate.

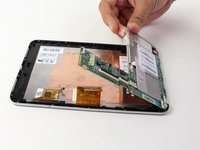
      • Lift the motherboard out of the device.

      • You may need to wiggle and work the motherboard to get it released from the device

      Chiedi a FixBot

      Aggiungi Commento

    1. HP Slate 7 4601 Front Screen Replacement, Front Screen / Volume Buttons: passo 21, immagine 1 di 1
      • Remove the metal band surrounding the device by lifting it up out of the placement pins. Begin at one end and work your way around.

      Chiedi a FixBot

      Aggiungi Commento

    2. HP Slate 7 4601 Front Screen Replacement: passo 22, immagine 1 di 1
      • You now have access to the LCD screen.

      • You can replace the volume rocker by lifting it up and out of the device.

      • The volume rocker should be reinserted so the "up" button is toward the top of the tablet during reassembly.

      Chiedi a FixBot

      Aggiungi Commento

Conclusione

To reassemble your device, follow these instructions in reverse order.

Annulla: non ho completato questa guida.

Altre 14 persone hanno completato questa guida.

Ryan ONeill

Membro da: 04/11/14

2.130 Reputazione

Una guida realizzata

Team

Cal Poly, Team 13-30, Maness Spring 2014 Membro di Cal Poly, Team 13-30, Maness Spring 2014

CPSU-MANESS-S14S13G30

3 Membri

12 guide realizzate

0Commenti sulla guida

Aggiungi Commento

Visualizza statistiche:

Ultime 24 ore: 1

Ultimi 7 giorni: 8

Ultimi 30 giorni: 50

Tutti i Tempi: 23,881