Salta al contenuto principale
Unisciti alla Community delle riparazioni - Crea un account

HP LaserJet P1102w Power Plug Replacement

Cosa ti serve

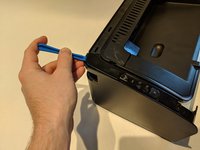
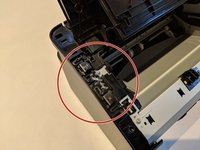
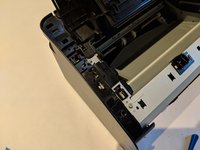
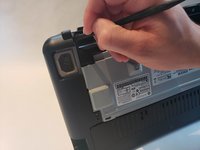
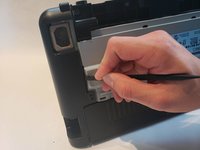
    1. HP LaserJet P1102w Power Plug Replacement, Left Side Panel: passo 1, immagine 1 di 3 HP LaserJet P1102w Power Plug Replacement, Left Side Panel: passo 1, immagine 2 di 3 HP LaserJet P1102w Power Plug Replacement, Left Side Panel: passo 1, immagine 3 di 3
      • Flip printer on it's back. Using the plastic spudger, pry off front panel. There will be two main points to focus as shown.

      • Pry carefully to not break any plastic.

      Chiedi a FixBot

      Aggiungi Commento

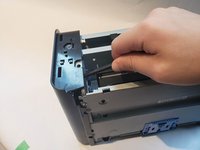
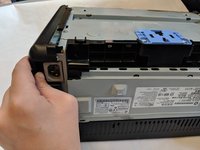
    2. HP LaserJet P1102w Power Plug Replacement: passo 2, immagine 1 di 2 HP LaserJet P1102w Power Plug Replacement: passo 2, immagine 2 di 2
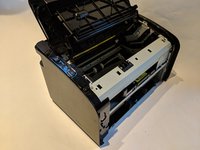
      • Now that the pry points are free lift up the front panel.

      Chiedi a FixBot

      Aggiungi Commento

    3. HP LaserJet P1102w Power Plug Replacement: passo 3, immagine 1 di 2 HP LaserJet P1102w Power Plug Replacement: passo 3, immagine 2 di 2
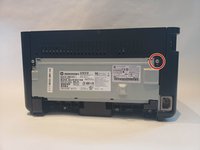
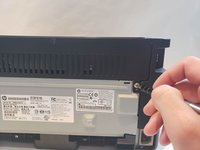
      • Unscrew the #1 Phillips screw 6mm on the back of the printer.

      Chiedi a FixBot

      Aggiungi Commento

    4. HP LaserJet P1102w Power Plug Replacement: passo 4, immagine 1 di 3 HP LaserJet P1102w Power Plug Replacement: passo 4, immagine 2 di 3 HP LaserJet P1102w Power Plug Replacement: passo 4, immagine 3 di 3
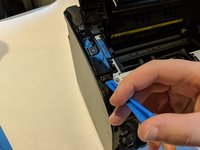
      • Using the plastic spudger, remove the button housing from the top left of printer.

      • Pry carefully to not break any plastic.

      Chiedi a FixBot

      Aggiungi Commento

    5. HP LaserJet P1102w Power Plug Replacement: passo 5, immagine 1 di 2 HP LaserJet P1102w Power Plug Replacement: passo 5, immagine 2 di 2
      • Once the housing is removed, remove the three buttons.

      Chiedi a FixBot

      Aggiungi Commento

    6. HP LaserJet P1102w Power Plug Replacement: passo 6, immagine 1 di 3 HP LaserJet P1102w Power Plug Replacement: passo 6, immagine 2 di 3 HP LaserJet P1102w Power Plug Replacement: passo 6, immagine 3 di 3
      • Use the plastic spudger to remove the side panel. There are three main prying points as shown.

      • Pry carefully to not break any plastic.

      Chiedi a FixBot

      Aggiungi Commento

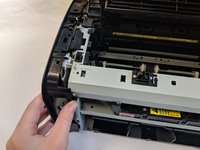
    7. HP LaserJet P1102w Power Plug Replacement: passo 7, immagine 1 di 2 HP LaserJet P1102w Power Plug Replacement: passo 7, immagine 2 di 2
      • With all pry points free, remove the side panel.

      Chiedi a FixBot

      Aggiungi Commento

    1. HP LaserJet P1102w Power Plug Replacement, Power Plug: passo 8, immagine 1 di 2 HP LaserJet P1102w Power Plug Replacement, Power Plug: passo 8, immagine 2 di 2
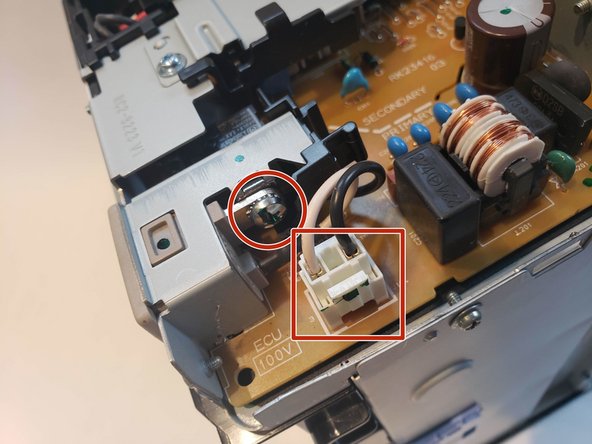
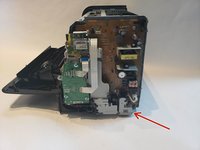
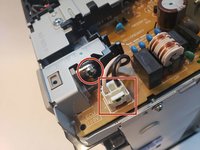
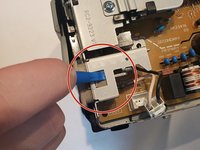
      • The power plug will be held together with one Phillips screw 7mm and wire connection.

      Chiedi a FixBot

      Aggiungi Commento

    2. HP LaserJet P1102w Power Plug Replacement: passo 9, immagine 1 di 2 HP LaserJet P1102w Power Plug Replacement: passo 9, immagine 2 di 2
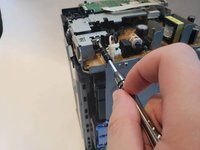
      • Unplug wire connector and unscrew the Phillips 7mm screw with #1 Phillips screw driver.

      Chiedi a FixBot

      Aggiungi Commento

    3. HP LaserJet P1102w Power Plug Replacement: passo 10, immagine 1 di 3 HP LaserJet P1102w Power Plug Replacement: passo 10, immagine 2 di 3 HP LaserJet P1102w Power Plug Replacement: passo 10, immagine 3 di 3
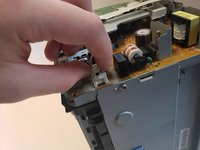
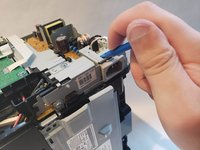
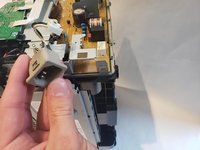
      • Apply pressure using spudger on top of the power plug to release it from metal housing. While doing that pull the power plug out.

      Chiedi a FixBot

      Aggiungi Commento

Conclusione

To reassemble your device, follow these instructions in reverse order.

Annulla: non ho completato questa guida.

Altre 4 persone hanno completato questa guida.

Team

UW Stout, Team S6-G4, Ogden Fall 2018 Membro di UW Stout, Team S6-G4, Ogden Fall 2018

UWSTOUT-OGDEN-F18S6G4

4 Membri

12 guide realizzate

0Commenti sulla guida

Aggiungi Commento

Visualizza statistiche:

Ultime 24 ore: 1

Ultimi 7 giorni: 15

Ultimi 30 giorni: 87

Tutti i Tempi: 2,291