Questa traduzione è stata generata automaticamente e non è stata ancora revisionata da una persona. Parli questa lingua? Dai un’occhiata.
Introduzione
Danni allo schermo del dispositivo potrebbero impedirti di utilizzare la stampante per le funzioni per cui è stata progettata. In questo scenario, sostituire lo schermo è un'opzione prudente. Tuttavia, seguire l'intera guida annullerà la garanzia. Procedi con cautela. Durante l'esecuzione dei passaggi in questa guida, assicurati che la stampante sia collegata a terra (inserita in una presa a muro da 15 A, 120 V) per garantire che le scariche elettrostatiche non danneggino la stampante dopo la sostituzione.
Cosa ti serve
-
-
-
Apri la stampante spingendo verso l'alto le linguette in plastica sui lati del corpo della stampante.
-
Rimuovi l'ausilio di apertura spingendolo verso la parte anteriore della stampante con uno spudger in nylon.
-
Rimuovi la clip a molla fissata sulla parte superiore della stampante spingendola via dal gancio.
 Chiedi a FixBot
-
-
-
Inserisci il cacciavite Torx T9 nell'incavo della vite e ruota in senso antiorario per rimuovere le due viti da 12 mm che fissano il collettore dello schermo alla stampante.
-
Spingi con una forza minima verso destra per disinnestare il collettore dal corpo della stampante.
-
Solleva il pannello e capovolgilo per rivelare la scheda microcontrollore verde sottostante.
-
-
-
-
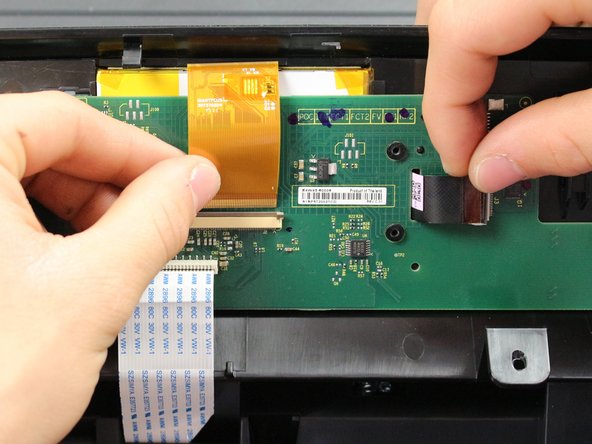
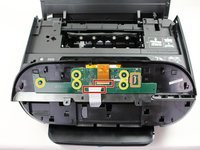
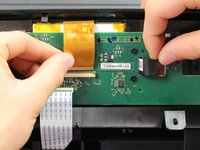
Scollega i due connettori tirandoli delicatamente via dalla scheda.
-
Rimuovi l'ultimo connettore sollevando la linguetta e tirandolo via dalla scheda, tirando contemporaneamente verso sinistra.
-
Rimuovi le cinque viti Torx da 6,5 mm dalla scheda utilizzando il cacciavite Torx T6.
-
-
-
Inserisci lo strumento di apertura in plastica nello spazio tra la scheda verde e il collettore della stampante e spingi verso il basso per sganciare la scheda verde.
-
-
-
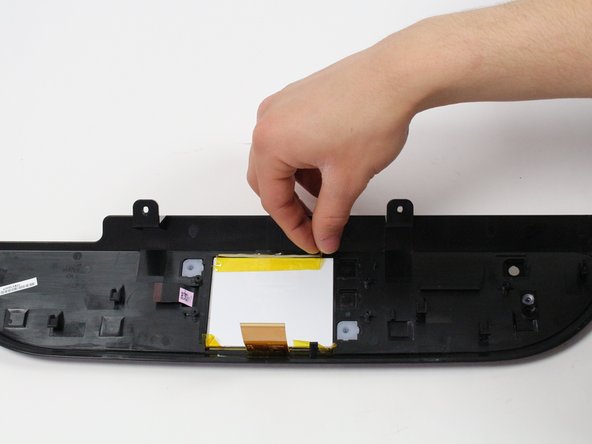
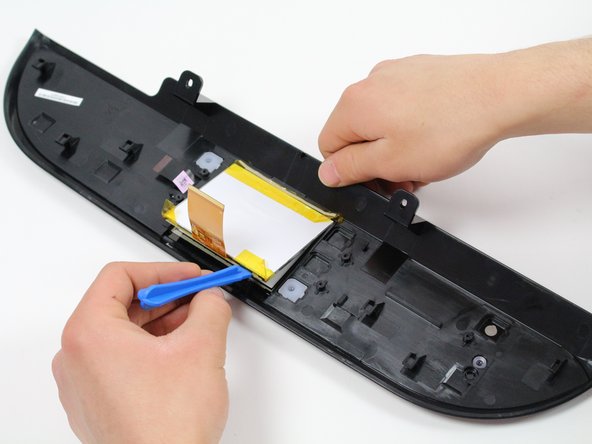
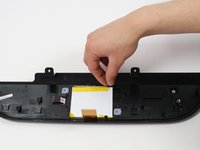
Stacca il nastro che tiene fermo lo schermo.
-
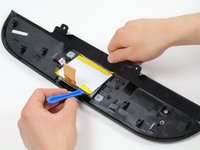
Inserisci lo strumento di apertura in plastica tra il supporto bianco dello schermo e lo schermo stesso per fare leva e staccare il supporto dall'adesivo che lo tiene in posizione.
-
-




Per rimontare il dispositivo, segui queste istruzioni in ordine inverso.
Annulla: non ho completato questa guida.
Un'altra persona ha completato questa guida.

Team

Cal Poly, Team S1-G2, Livingston Winter 2018 Membro di Cal Poly, Team S1-G2, Livingston Winter 2018
CPSU-LIVINGSTON-W18S1G2
3 Membri
45 guide realizzate
