Introduzione
If your HP 14-cf2112wm isn't producing audio through the speakers or the speakers are distorted and you've concluded they have failed, use this guide to replace the speakers. However, first you should try troubleshooting any audio problems you might have using this guide.
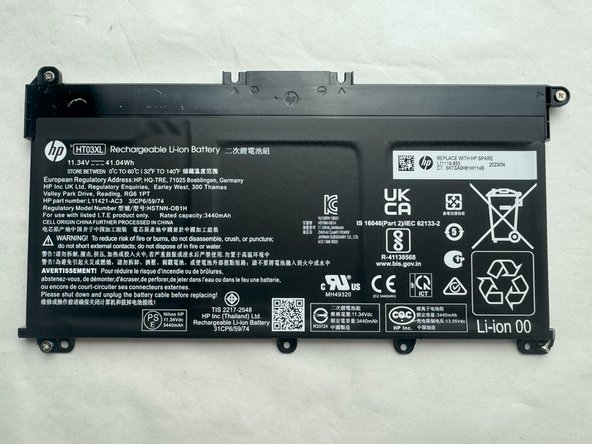
When replacing the speaker, take note of the power rating so you can get the same speakers. Although you can try to upgrade your speakers, it is easier to stick with the same ones since new ones might not fit in your case or have the same connectors.
Before you begin this repair, be sure to power off your laptop and unplug it from the charger.
Cosa ti serve
-
-
-
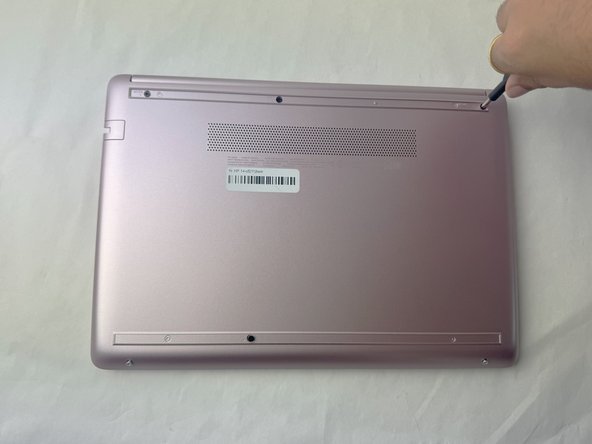
Place your opened laptop on a flat surface.
-
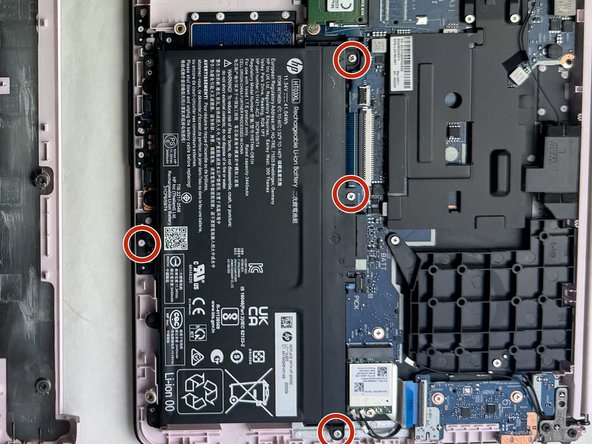
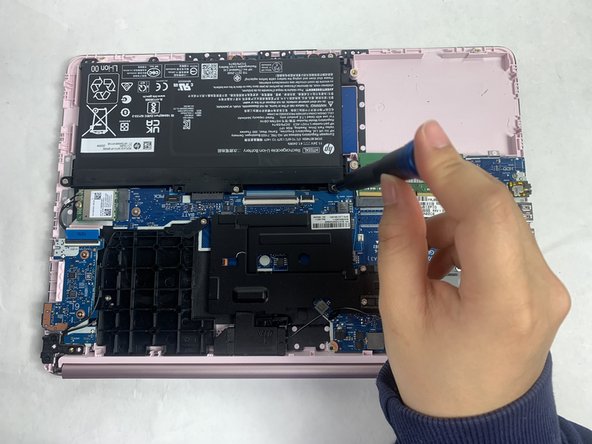
Use a Phillips #1 screwdriver to remove the four Phillips 3.0 mm screws securing the battery.
-
-
-
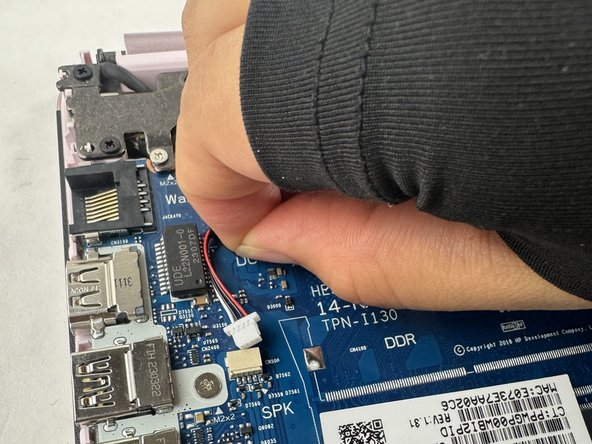
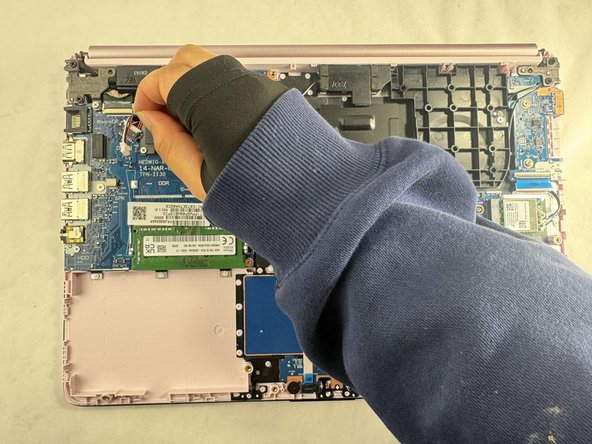
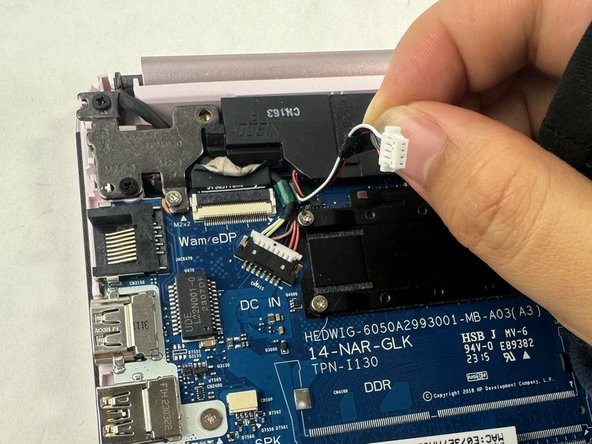
Use your fingers or tweezers to pull out the speaker cable from the slide connector socket on the motherboard.
-
If that doesn't work, use the point of a spudger to push on alternating sides of the connector to "walk" it out of its socket.
-


To reassemble your device, follow these instructions in reverse order. Take your e-waste to an R2 or e-Stewards certified recycler.
To reassemble your device, follow these instructions in reverse order. Take your e-waste to an R2 or e-Stewards certified recycler.
Annulla: non ho completato questa guida.
Un'altra persona ha completato questa guida.

Team

UMass Dartmouth, Team 1-2, Konn Spring 2024 Membro di UMass Dartmouth, Team 1-2, Konn Spring 2024
UMASSD-KONN-S24S1G2
4 Membri
5 Guide realizzate