Salta al contenuto principale
Unisciti alla Community delle riparazioni - Crea un account

Gateway W350I Display Replacement

Cosa ti serve

    1. Gateway W350I Display Replacement, Battery Access: passo 1, immagine 1 di 1
      • Turn the laptop upside down and position it as shown in the image.

      Chiedi a FixBot

      Aggiungi Commento

    2. Gateway W350I Display Replacement, Unlocking the Battery: passo 2, immagine 1 di 3 Gateway W350I Display Replacement, Unlocking the Battery: passo 2, immagine 2 di 3 Gateway W350I Display Replacement, Unlocking the Battery: passo 2, immagine 3 di 3
      • Slide the locking switch towards the open lock picture.

      • Hold the release switch in the unlocked position while simultaneously pushing the battery away from the laptop.

      • Once the laptop is disengaged, completely remove the battery from the laptop.

      Chiedi a FixBot

      Aggiungi Commento

    1. Gateway W350I Display Replacement, Remove Rubber Protectors & Screws: passo 3, immagine 1 di 2 Gateway W350I Display Replacement, Remove Rubber Protectors & Screws: passo 3, immagine 2 di 2
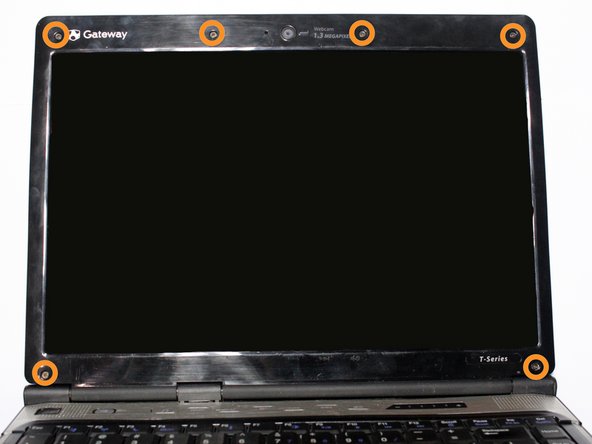
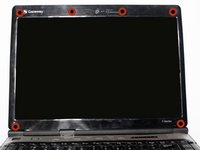
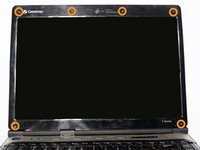
      • Pry the six black rubber protectors out of the screw holes.

      • Remove all six of the 4mm Phillips #0 screws that were covered by the rubber protectors.

      Chiedi a FixBot

      Aggiungi Commento

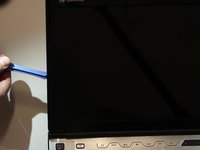
    2. Gateway W350I Display Replacement, Separate Plastic Casing: passo 4, immagine 1 di 2 Gateway W350I Display Replacement, Separate Plastic Casing: passo 4, immagine 2 di 2
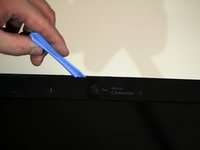
      • Separate the plastic screen casing from the laptop lid by inserting a plastic opening tool. Complete this step around the top and along both sides of the screen.

      Chiedi a FixBot

      Aggiungi Commento

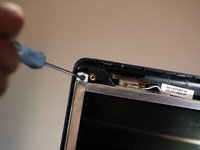
    3. Gateway W350I Display Replacement, Remove Bracket from Laptop Lid: passo 5, immagine 1 di 2 Gateway W350I Display Replacement, Remove Bracket from Laptop Lid: passo 5, immagine 2 di 2
      • Remove the two 4mm Phillips #0 screws located at the top that fasten the screen bracket to the laptop.

      Chiedi a FixBot

      Aggiungi Commento

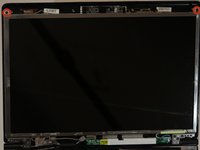
    4. Gateway W350I Display Replacement, Remove LCD Screen from Bracket: passo 6, immagine 1 di 1
      • Separate the bracket and the screen from its original position within the lid of the laptop.

      • Remove the four 4mm Phillips #0 screws on the sides of the bracket that hold the LCD screen.

      Chiedi a FixBot

      Aggiungi Commento

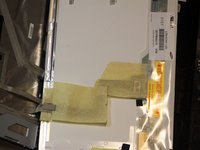
    5. Gateway W350I Display Replacement, Remove Video Cable: passo 7, immagine 1 di 2 Gateway W350I Display Replacement, Remove Video Cable: passo 7, immagine 2 di 2
      • Detach the video cable that is attached to the laptop from the back of the screen.

      • Be careful while removing the video cable as it is very delicate.

      Chiedi a FixBot

      Aggiungi Commento

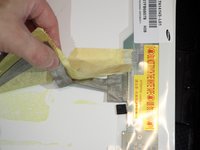
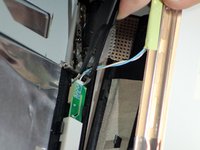
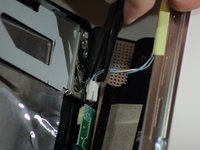
    6. Gateway W350I Display Replacement: passo 8, immagine 1 di 2 Gateway W350I Display Replacement: passo 8, immagine 2 di 2
      • Disconnect the camera connector from the circuit board to completely free the screen.

      Chiedi a FixBot

      Aggiungi Commento

Conclusione

To reassemble your device, follow these instructions in reverse order.

Annulla: non ho completato questa guida.

Altre 3 persone hanno completato questa guida.

Samuel Newton

Membro da: 09/22/14

308 Reputazione

Una guida realizzata

Team

USF Tampa, Team 4-1, Brown Fall 2014 Membro di USF Tampa, Team 4-1, Brown Fall 2014

USFT-BROWN-F14S4G1

3 Membri

20 guide realizzate

1Commento della guida

It was very easy to follow.

Very friendly guide.

stewilli - Rispondi Condividi

Aggiungi Commento

Visualizza statistiche:

Ultime 24 ore: 1

Ultimi 7 giorni: 7

Ultimi 30 giorni: 34

Tutti i Tempi: 1,760