Salta al contenuto principale
Unisciti alla Community delle riparazioni - Crea un account

Gateway MA6 Laptop RAM Replacement

Cosa ti serve

    1. Gateway MA6 Laptop RAM Replacement, Battery: passo 1, immagine 1 di 1
      • To prevent injury, make sure the laptop is unplugged before removing the battery.

      • Make sure the switch in the upper right corner of the laptop is switched to the "unlock" position (toward the unlocked padlock icon).

      Chiedi a FixBot

      Aggiungi Commento

    2. Gateway MA6 Laptop RAM Replacement: passo 2, immagine 1 di 3 Gateway MA6 Laptop RAM Replacement: passo 2, immagine 2 di 3 Gateway MA6 Laptop RAM Replacement: passo 2, immagine 3 di 3
      • Pull the switch on the upper lefthand corner of the laptop towards the unlocked padlock icon.

      • Firmly pull the battery outwards and away from the laptop.

      Chiedi a FixBot

      Aggiungi Commento

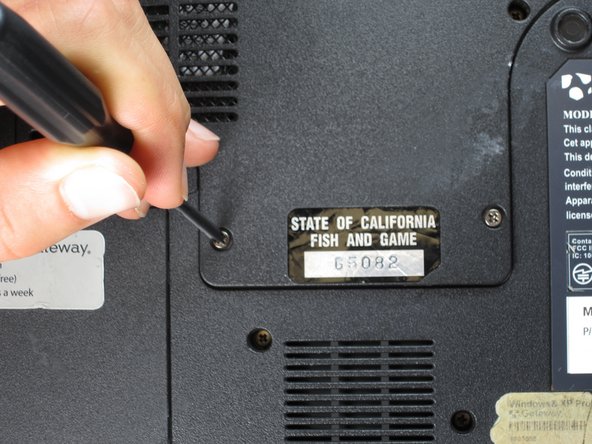
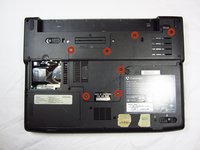
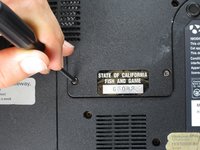
    1. Gateway MA6 Laptop RAM Replacement, RAM: passo 3, immagine 1 di 2 Gateway MA6 Laptop RAM Replacement, RAM: passo 3, immagine 2 di 2
      • Remove the seven 6 mm Phillips #0 screws from the back of the case.

      • Leave all the screws in the back plate and so you don't lose them.

      Chiedi a FixBot

      Aggiungi Commento

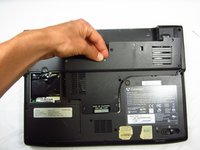
    2. Gateway MA6 Laptop RAM Replacement: passo 4, immagine 1 di 2 Gateway MA6 Laptop RAM Replacement: passo 4, immagine 2 di 2
      • Pull upwards on the top of the back cover to remove it.

      Chiedi a FixBot

      Aggiungi Commento

    3. Gateway MA6 Laptop RAM Replacement: passo 5, immagine 1 di 3 Gateway MA6 Laptop RAM Replacement: passo 5, immagine 2 di 3 Gateway MA6 Laptop RAM Replacement: passo 5, immagine 3 di 3
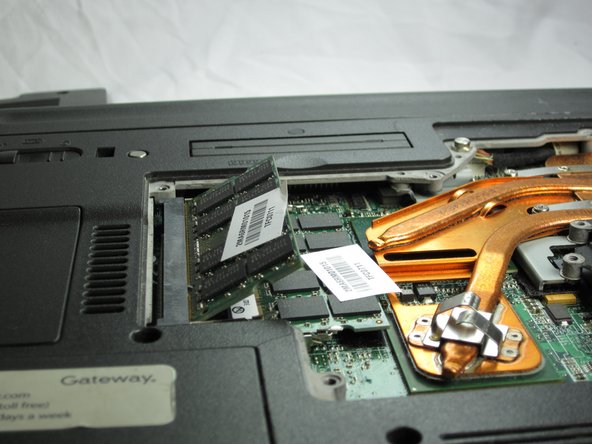
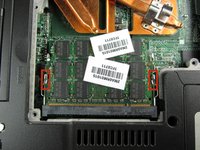
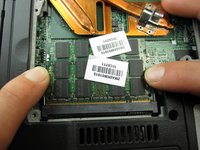
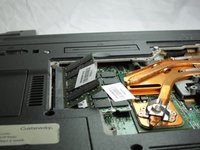
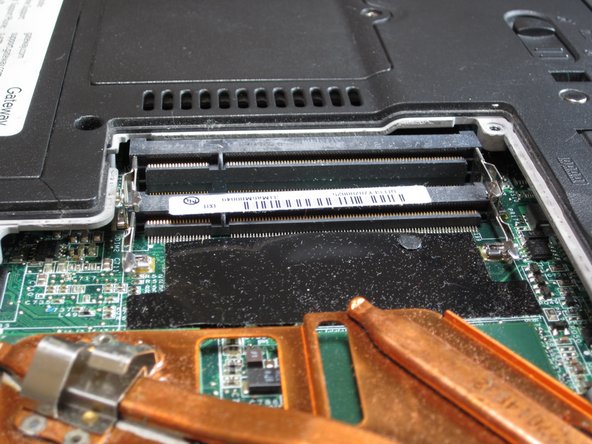
      • Pull outwards on the silver metal pins to release the upper RAM module.

      • The module will automatically lift up 30° after it has been released.

      Chiedi a FixBot

      Aggiungi Commento

    4. Gateway MA6 Laptop RAM Replacement: passo 6, immagine 1 di 2 Gateway MA6 Laptop RAM Replacement: passo 6, immagine 2 di 2
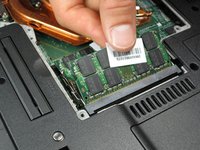
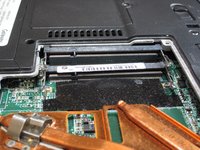
      • Firmly grasp the outer portion of the RAM module, and pull it outward to remove it from the port.

      • Repeat the same process for the lower RAM module.

      Chiedi a FixBot

      Aggiungi Commento

Conclusione

To reassemble your device, follow these instructions in reverse order.

Annulla: non ho completato questa guida.

Team

Cal Poly, Team 6-2, Forte Spring 2014 Membro di Cal Poly, Team 6-2, Forte Spring 2014

CPSU-FORTE-S14S6G2

5 Membri

22 guide realizzate

0Commenti sulla guida

Aggiungi Commento

Visualizza statistiche:

Ultime 24 ore: 0

Ultimi 7 giorni: 7

Ultimi 30 giorni: 34

Tutti i Tempi: 1,568