Salta al contenuto principale
Unisciti alla Community delle riparazioni - Crea un account

Gateway ID49C07U Keyboard Replacement

Cosa ti serve

    1. Gateway ID49C07U Keyboard Replacement, Battery: passo 1, immagine 1 di 1
      • Turn the laptop over so the bottom of the device is facing upwards with the hinge facing away from you.

      Chiedi a FixBot

      Aggiungi Commento

    2. Gateway ID49C07U Keyboard Replacement: passo 2, immagine 1 di 2 Gateway ID49C07U Keyboard Replacement: passo 2, immagine 2 di 2
      • Locate the switch on the top left of the laptop labeled with a padlock symbol.

      • Flip the switch in the direction of the unlocked padlock symbol.

      Chiedi a FixBot

      Aggiungi Commento

    3. Gateway ID49C07U Keyboard Replacement: passo 3, immagine 1 di 1
      • Locate the switch that releases the battery and slide it to the right.

      Chiedi a FixBot

      Aggiungi Commento

    4. Gateway ID49C07U Keyboard Replacement: passo 4, immagine 1 di 1
      • While holding the release switch to the right, pull the battery away from you.

      Chiedi a FixBot

      Aggiungi Commento

    1. Gateway ID49C07U Keyboard Replacement, Keyboard: passo 5, immagine 1 di 1
      • Turn the laptop over and open

      Chiedi a FixBot

      Aggiungi Commento

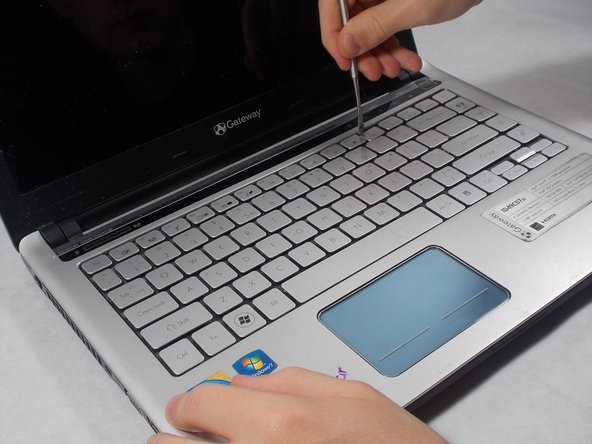
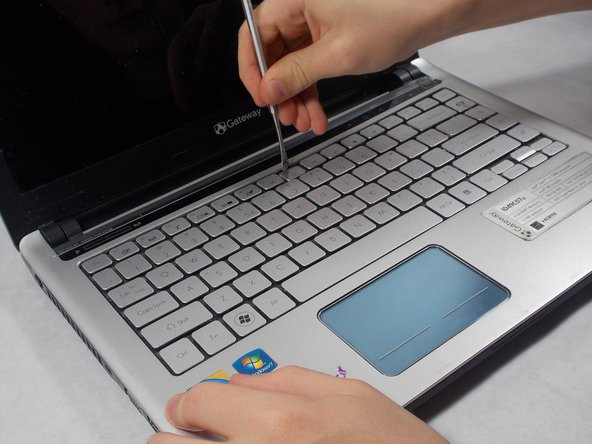
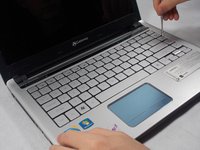
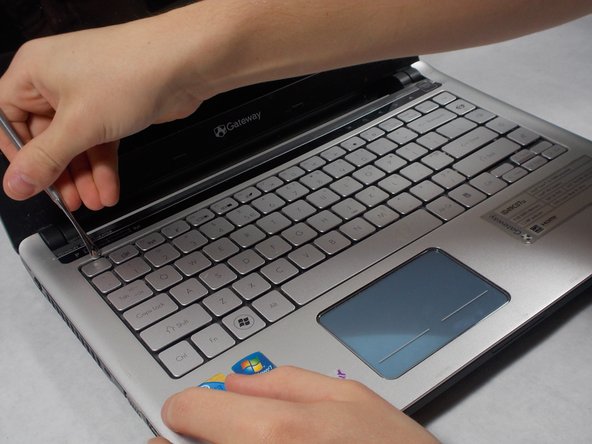
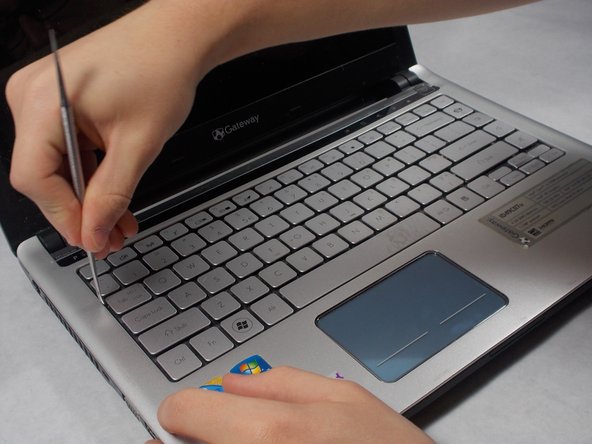
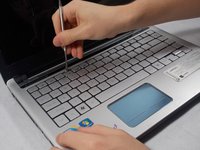
    2. Gateway ID49C07U Keyboard Replacement: passo 6, immagine 1 di 3 Gateway ID49C07U Keyboard Replacement: passo 6, immagine 2 di 3 Gateway ID49C07U Keyboard Replacement: passo 6, immagine 3 di 3
      • Use the small metal spudger to push in each of the clips on the keyboard

      Chiedi a FixBot

      Aggiungi Commento

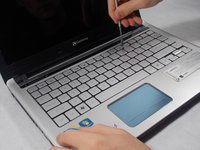
    3. Gateway ID49C07U Keyboard Replacement: passo 7, immagine 1 di 3 Gateway ID49C07U Keyboard Replacement: passo 7, immagine 2 di 3 Gateway ID49C07U Keyboard Replacement: passo 7, immagine 3 di 3
      • Continued

      Chiedi a FixBot

      Aggiungi Commento

    4. Gateway ID49C07U Keyboard Replacement: passo 8, immagine 1 di 2 Gateway ID49C07U Keyboard Replacement: passo 8, immagine 2 di 2
      • Use the small spudger to pick up the corner

      Chiedi a FixBot

      Aggiungi Commento

    5. Gateway ID49C07U Keyboard Replacement: passo 9, immagine 1 di 1
      • Slide keyboard towards the screen

      Chiedi a FixBot

      Aggiungi Commento

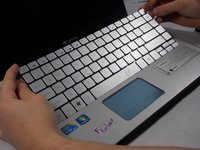
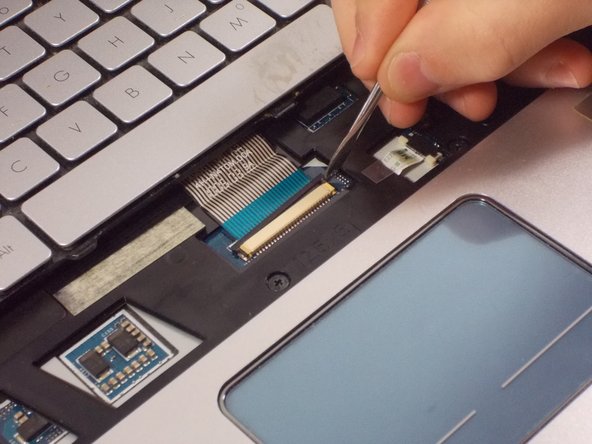
    6. Gateway ID49C07U Keyboard Replacement: passo 10, immagine 1 di 2 Gateway ID49C07U Keyboard Replacement: passo 10, immagine 2 di 2
      • Use the small spudger to slide the cable lock up on both sides of the connector and slide the cable out

      Chiedi a FixBot

      Aggiungi Commento

Conclusione

To reassemble your device, follow these instructions in reverse order.

Annulla: non ho completato questa guida.

Altre 2 persone hanno completato questa guida.

0Commenti sulla guida

Aggiungi Commento

Visualizza statistiche:

Ultime 24 ore: 0

Ultimi 7 giorni: 2

Ultimi 30 giorni: 20

Tutti i Tempi: 839