Introduzione
If your garmin Rino 700 refuses to connect or will not stay connected long to satellites, you may be needing to replace the satellite antenna. Your device may simply be out of range or may not have had enough time to connect but if thats not the case you can replace the satellite antenna following the steps listed below. This repair is needed for circumstances like if your having trouble accessing satellite signals or if your device is out of range and won’t gain signal.
In this guide the only special requirements you will need are a TR6 Torx Security screwdriver, a T5 Torx screwdriver, and a spudger. One hazard with this guide is that you have to apply heat during the last step so do so carefully. For more information on soldering connections, please visit this guide. Going forward, you can see how to prevent these issues on our troubleshooting page: Garmin Rino 700 Troubleshooting
Cosa ti serve
-
-
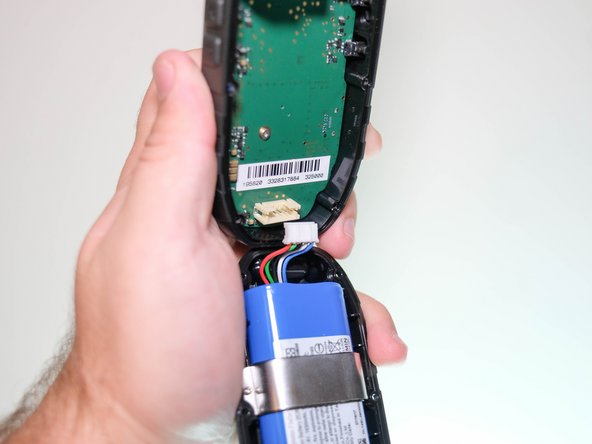
Flip the Garmin Rino 700 over so that the underside is facing up.
-
Using the TR6 Torx Security screwdriver, remove the six 9.5 mm screws on the backside of the device.
-
-
-
-
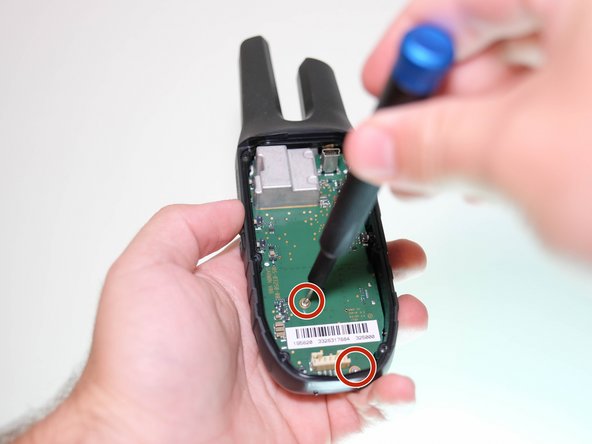
Using the T5 Torx screwdriver, remove the two 6.4 mm screws on the motherboard.
-
-
-
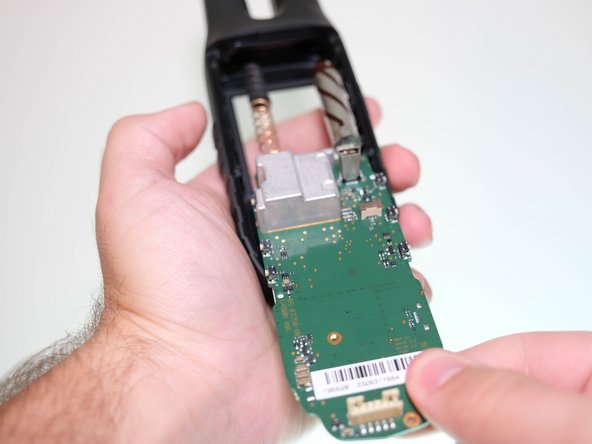
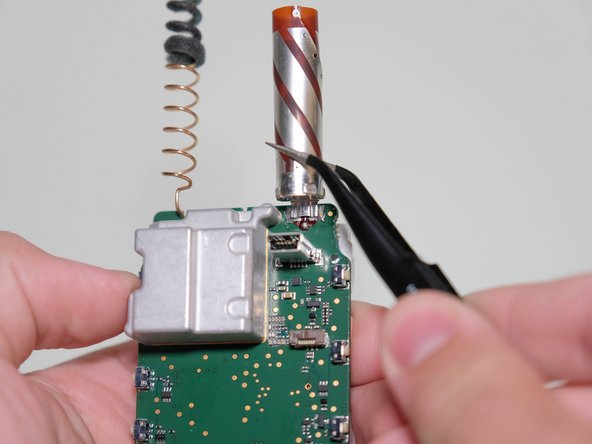
Gently and delicately heat up the solder holding the antenna port to the motherboard.
-
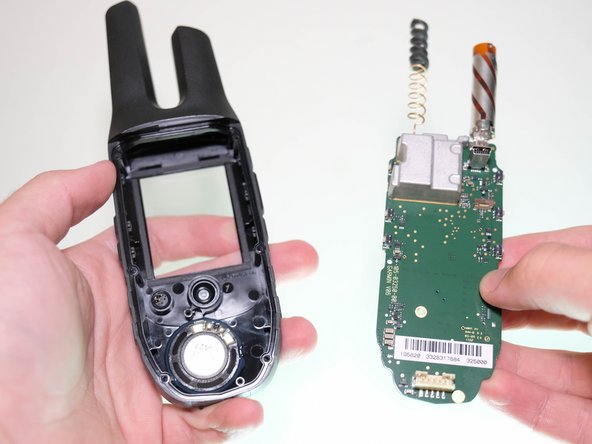
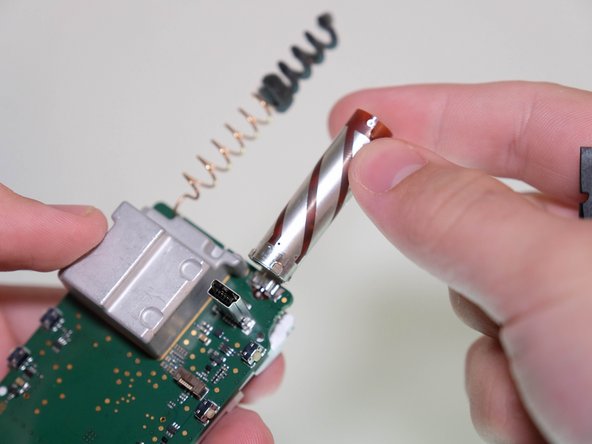
Carefully remove the antenna with the tweezers and set it aside.
-
Refer to the How To Solder and Desolder Connections for a guide on soldering.
-


To reassemble your device, follow these instructions in reverse order.
To reassemble your device, follow these instructions in reverse order.

Team

Clemson, Team 5-5, Hunter Fall 2021 Membro di Clemson, Team 5-5, Hunter Fall 2021
CLEM-HUNTER-F21S5G5
4 Membri
5 Guide realizzate