Questa traduzione potrebbe non riflettere gli aggiornamenti più recenti dalla guida originale. Aiuta ad aggiornare la traduzione o visualizza la guida d'origine.
Introduzione
Questa sostituzione è abbastanza semplice. L'unico attrezzo che ti servirà sarà un cacciavite a croce Phillips #00 e/o un cacciavite a croce Phillips extra lungo #00. Opzionalmente, puoi anche utilizzare uno spudger di nylon per aiutarti ad aprire il case della fotocamera.
Cosa ti serve
-
-
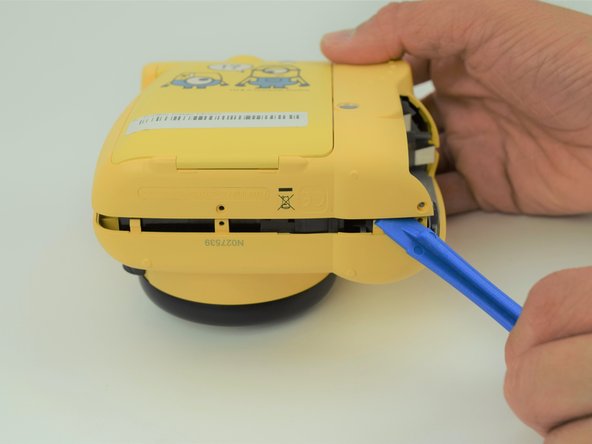
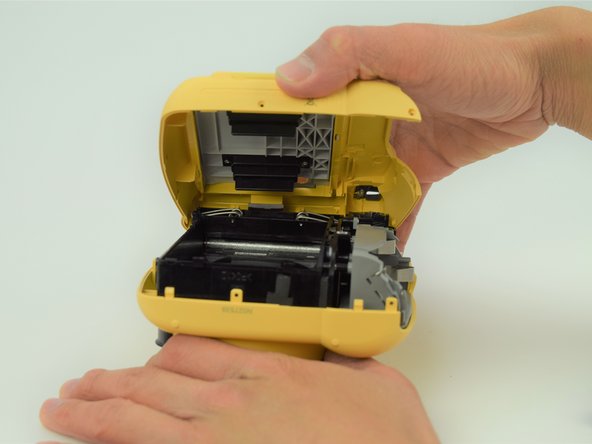
Rimuovi le sei viti a croce Phillips #00 da 4,5 mm dal fondo e dal lato sinistro e destro.
-
-


Per riassemblare il dispositivo, segui queste istruzioni in ordine inverso.
Per riassemblare il dispositivo, segui queste istruzioni in ordine inverso.
Un ringraziamento speciale a questi traduttori:
90%

Questi traduttori ci stanno aiutando ad aggiustare il mondo! Vuoi partecipare?
Inizia a tradurre ›
Team

Cal Poly, Team S18-G6, Livingston Spring 2018 Membro di Cal Poly, Team S18-G6, Livingston Spring 2018
CPSU-LIVINGSTON-S18S18G6
4 Membri
11 Guide realizzate