Salta al contenuto principale
Unisciti alla Community delle riparazioni - Crea un account

Flip Video Ultra Power button Replacement

Cosa ti serve

  1. Flip Video Ultra Power button Replacement, Power button: passo 1, immagine 1 di 1
    • Unlock the battery cover by sliding the switch to the unlock position.

    Chiedi a FixBot

    Aggiungi Commento

  2. Flip Video Ultra Power button Replacement: passo 2, immagine 1 di 1
    • Remove the battery cover by sliding it down the camera.

    Chiedi a FixBot

    Aggiungi Commento

  3. Flip Video Ultra Power button Replacement: passo 3, immagine 1 di 1
    • Remove the batteries

    Chiedi a FixBot

    Aggiungi Commento

  4. Flip Video Ultra Power button Replacement: passo 4, immagine 1 di 1
    • Slide the black upper casing off from the device.

    Chiedi a FixBot

    Aggiungi Commento

  5. Flip Video Ultra Power button Replacement: passo 5, immagine 1 di 2 Flip Video Ultra Power button Replacement: passo 5, immagine 2 di 2
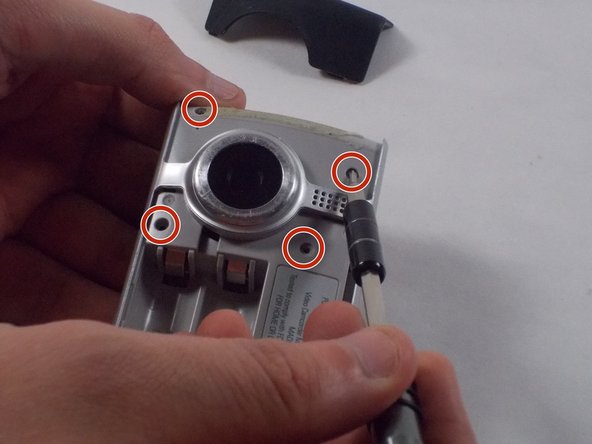
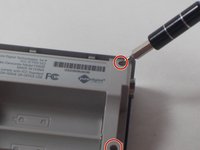
    • Remove the six 1mm screws from the back and upper casing with the Phillips Head screwdriver.

    Chiedi a FixBot

    Aggiungi Commento

  6. Flip Video Ultra Power button Replacement: passo 6, immagine 1 di 1
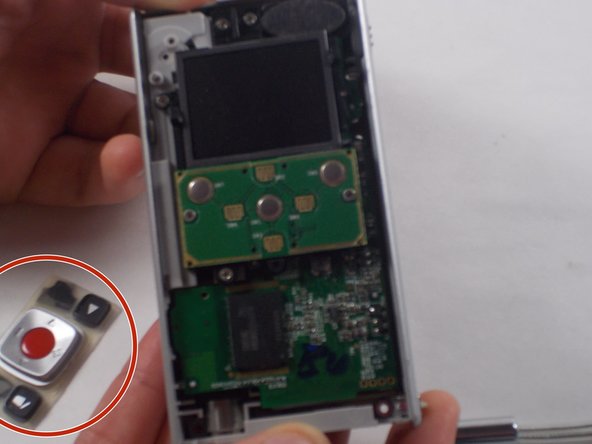
    • Remove the top casing from the bottom to reveal the inner circuit board.

    Chiedi a FixBot

    Aggiungi Commento

  7. Flip Video Ultra Power button Replacement: passo 7, immagine 1 di 2 Flip Video Ultra Power button Replacement: passo 7, immagine 2 di 2
    • When removing the back panel, the rubber buttons will become loose and likely fall off the board. This is normal and can easily placed back on the board once finished.

    • Remove the six 1mm screws with the 1 Phillips head screwdriver.

    Chiedi a FixBot

    Aggiungi Commento

  8. Flip Video Ultra Power button Replacement: passo 8, immagine 1 di 1
    • Gently separate the circuit board from the casing.

    Chiedi a FixBot

    Aggiungi Commento

  9. Flip Video Ultra Power button Replacement: passo 9, immagine 1 di 2 Flip Video Ultra Power button Replacement: passo 9, immagine 2 di 2
    • Unscrew the single 1mm screw from USB housing unit.

    Chiedi a FixBot

    Aggiungi Commento

  10. Flip Video Ultra Power button Replacement: passo 10, immagine 1 di 2 Flip Video Ultra Power button Replacement: passo 10, immagine 2 di 2
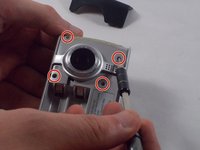
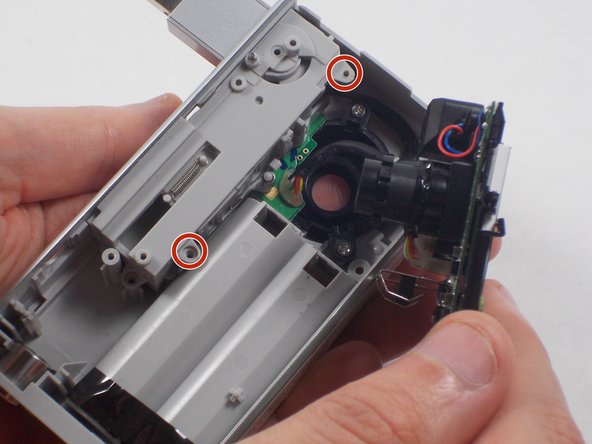
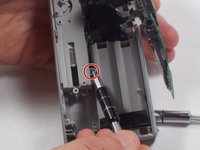
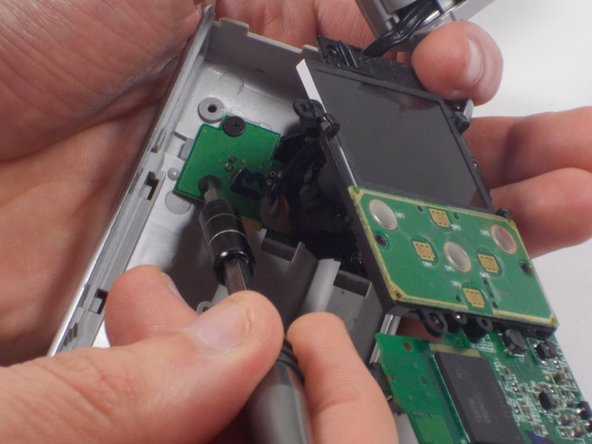
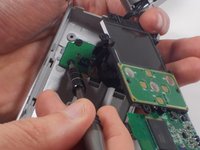
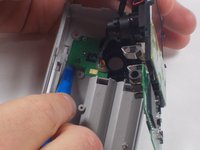
    • Unscrew the 2 1mm screws and gently separate camera wires from plastic casing.

    Chiedi a FixBot

    Aggiungi Commento

  11. Flip Video Ultra Power button Replacement: passo 11, immagine 1 di 1
    • Gently pry out the USB housing unit with the Ifxit Opening Tool.

    Chiedi a FixBot

    Aggiungi Commento

  12. Flip Video Ultra Power button Replacement: passo 12, immagine 1 di 3 Flip Video Ultra Power button Replacement: passo 12, immagine 2 di 3 Flip Video Ultra Power button Replacement: passo 12, immagine 3 di 3
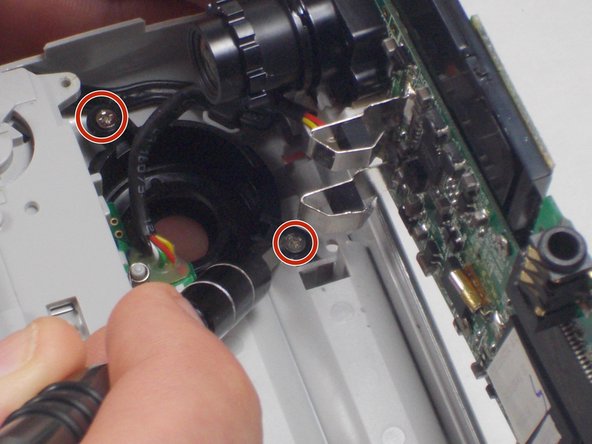
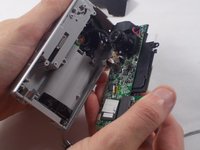
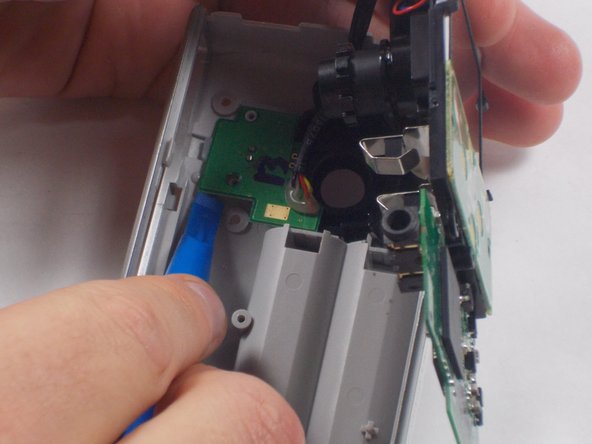
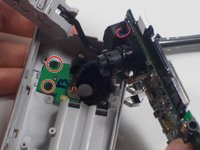
    • Remove the two 1mm screws and separate the circuit board and camera from the plastic casing.

    Chiedi a FixBot

    Aggiungi Commento

  13. Flip Video Ultra Power button Replacement: passo 13, immagine 1 di 1
    • Unscrew the camera housing unit from the plastic case.

    Chiedi a FixBot

    Aggiungi Commento

Conclusione

To reassemble your device, follow these instructions in reverse order.

Annulla: non ho completato questa guida.

Team

UMass Dartmouth, Team 5-7, Martin Fall 2016 Membro di UMass Dartmouth, Team 5-7, Martin Fall 2016

UMASSD-MARTIN-F16S5G7

3 Membri

10 guide realizzate

0Commenti sulla guida

Aggiungi Commento

Visualizza statistiche:

Ultime 24 ore: 1

Ultimi 7 giorni: 2

Ultimi 30 giorni: 24

Tutti i Tempi: 759