Salta al contenuto principale
Unisciti alla Community delle riparazioni - Crea un account

Fender Starcaster Bridge Replacement

Cosa ti serve

  1. Fender Starcaster Bridge Replacement, Loosen the Strings: passo 1, immagine 1 di 3 Fender Starcaster Bridge Replacement, Loosen the Strings: passo 1, immagine 2 di 3 Fender Starcaster Bridge Replacement, Loosen the Strings: passo 1, immagine 3 di 3
    • Start by loosening the strings. This is done by turning the tuning knob until the string has lost tension.

    • Repeat this for all six strings on the guitar.

    Chiedi a FixBot

    Aggiungi Commento

  2. Fender Starcaster Bridge Replacement, Remove the Strings from the Tuning Pegs: passo 2, immagine 1 di 2 Fender Starcaster Bridge Replacement, Remove the Strings from the Tuning Pegs: passo 2, immagine 2 di 2
    • Be mindful of the string ends. They may be sharp and could puncture your skin.

    • It may be necessary to use pliers to remove string ends from the tuning peg.

    Chiedi a FixBot

    Aggiungi Commento

  3. Fender Starcaster Bridge Replacement, Remove the Strings from the Bridge: passo 3, immagine 1 di 3 Fender Starcaster Bridge Replacement, Remove the Strings from the Bridge: passo 3, immagine 2 di 3 Fender Starcaster Bridge Replacement, Remove the Strings from the Bridge: passo 3, immagine 3 di 3
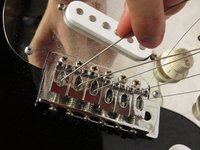
    • After removing the strings from the tuning pegs, slide the strings through the bridge and out of the back of the guitar.

    • If the twists in the string ends are in the way, use wire cutters to snip them off. This will allow the heavier strings to pass through the bridge easier.

    Chiedi a FixBot

    Aggiungi Commento

  4. Fender Starcaster Bridge Replacement, Bridge: passo 4, immagine 1 di 2 Fender Starcaster Bridge Replacement, Bridge: passo 4, immagine 2 di 2
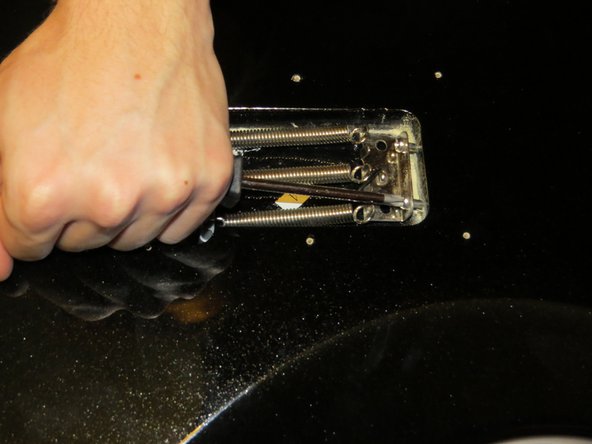
    • On the back of the guitar, remove the plate covering the spring cavity. In the spring cavity, reduce the tension on the bridge springs by first loosening the retainer screws a bit.

    Chiedi a FixBot

    Aggiungi Commento

  5. Fender Starcaster Bridge Replacement: passo 5, immagine 1 di 3 Fender Starcaster Bridge Replacement: passo 5, immagine 2 di 3 Fender Starcaster Bridge Replacement: passo 5, immagine 3 di 3
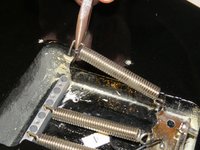
    • To remove the springs from the bridge, grip the end with pliers and pull up.

    • It is safe to use the body of the guitar for leverage.

    Chiedi a FixBot

    Aggiungi Commento

  6. Fender Starcaster Bridge Replacement: passo 6, immagine 1 di 3 Fender Starcaster Bridge Replacement: passo 6, immagine 2 di 3 Fender Starcaster Bridge Replacement: passo 6, immagine 3 di 3
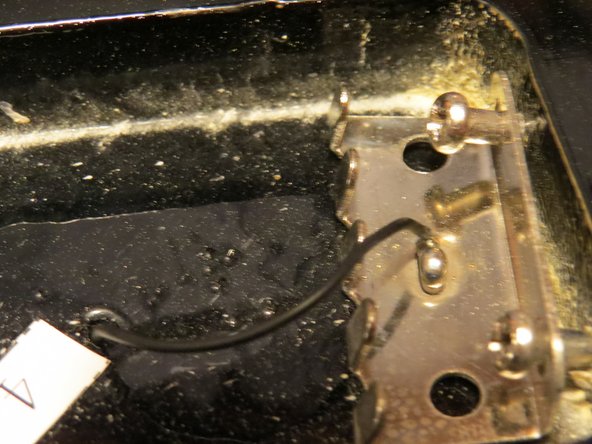
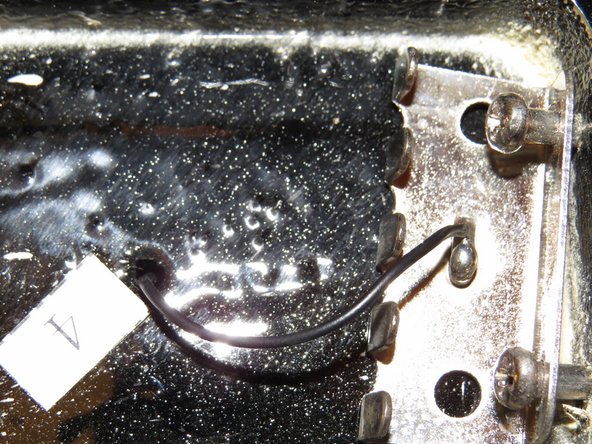
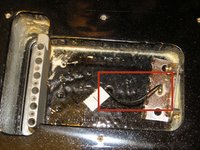
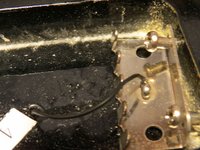
    • Be aware that the ground wire for the electronics of the guitar is routed through the body and soldered to the spring retainer.

    Chiedi a FixBot

    Aggiungi Commento

  7. Fender Starcaster Bridge Replacement: passo 7, immagine 1 di 3 Fender Starcaster Bridge Replacement: passo 7, immagine 2 di 3 Fender Starcaster Bridge Replacement: passo 7, immagine 3 di 3
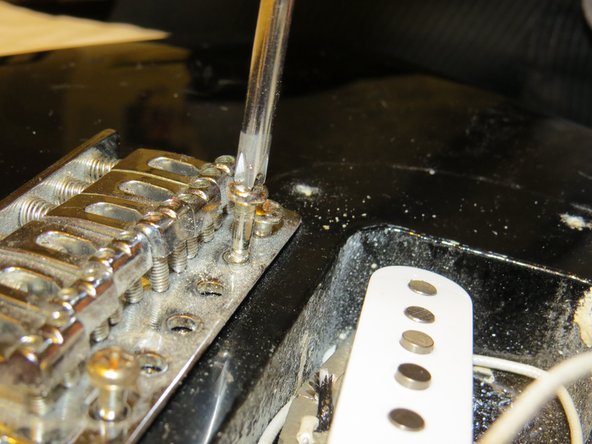
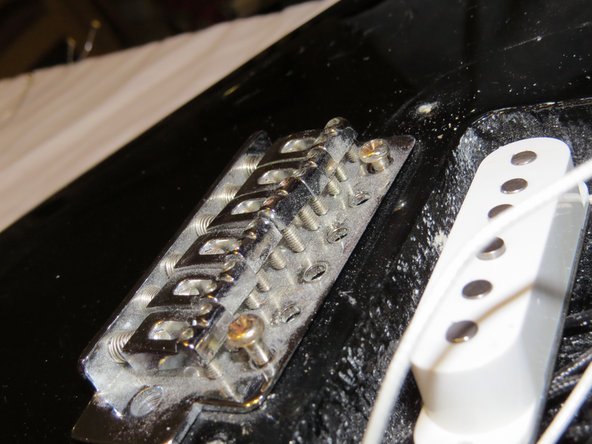
    • Remove the screws from the front of the bridge.

    • It may be helpful to only loosen the outer screws as you remove the inner screws, in order to prevent damage to the guitar.

    Chiedi a FixBot

    Aggiungi Commento

  8. Fender Starcaster Bridge Replacement: passo 8, immagine 1 di 1
    • With all six screws removed, lift up on the bridge to remove it from the body.

    Chiedi a FixBot

    Aggiungi Commento

Conclusione

To reassemble your device, follow these instructions in reverse order.

Annulla: non ho completato questa guida.

Altre 2 persone hanno completato questa guida.

0Commenti sulla guida

Aggiungi Commento

Visualizza statistiche:

Ultime 24 ore: 3

Ultimi 7 giorni: 7

Ultimi 30 giorni: 56

Tutti i Tempi: 3,019