Questa traduzione è stata generata automaticamente e non è stata ancora revisionata da una persona. Parli questa lingua? Dai un’occhiata.
Cosa ti serve
-
-
-
Usa un cacciavite a croce Phillips per rimuovere le quattro viti da 21,7 mm che fissano il pannello posteriore al telaio.
 Chiedi a FixBot
-
-
-
Una volta rimosse le viti, usa uno strumento di apertura o uno spudger per fare leva e aprire la parte superiore del pannello posteriore. Potresti incontrare un po' di resistenza, ma alla fine si staccherà.
-
-
-
Una volta separata la parte superiore, usa la mano per rimuovere il pannello posteriore dall'unità.
-
-
-
-
-
Ci saranno due cavi neri che collegano la staffa di montaggio superiore alla scatola del riverbero nella parte inferiore dell'unità. Etichetta il cablaggio per evitare di invertirlo durante il rimontaggio, quindi scollega i cavi dalla scatola del riverbero.
-
-
-
-
Etichetta e scollega i due cavi rossi che collegano la staffa di montaggio all'altoparlante, estraendoli dai nodi.
-
-
-
Usa un cacciavite a croce Phillips #1 per svitare le quattro viti da 36,4 mm che fissano la staffa di montaggio alla parte superiore dell'amplificatore.
-
-
-
Estrai la staffa di montaggio dal telaio. Potrebbe essere incastrata molto saldamente; in tal caso, utilizza uno strumento di apertura in plastica o uno spudger per farla leva e staccarla dalla parte anteriore.
-
-
-
-
-
Segna, prendi nota o ricorda la disposizione del cablaggio.
-
Rimuovi i quattro terminali femmina scollegati dai terminali dell'interruttore.
-
-
-
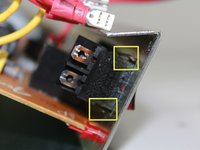
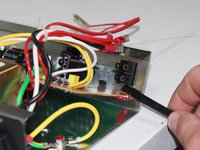
Usando l'estremità piatta di uno spudger, spingi verso l'interno una delle clip di bloccaggio a cuneo.
-
Inclina parzialmente la scatola dell'interruttore in modo che la clip rimanga premuta.
-
Ripeti l'operazione per l'altro lato dell'interruttore
-
-
-
Assicurati che entrambe le clip di bloccaggio siano premute attraverso l'apertura. Potrebbe essere necessario qualche tentativo.
-
Rimuovi delicatamente l'interruttore.
-
-


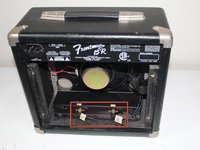
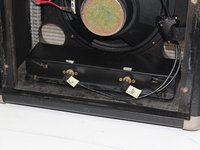


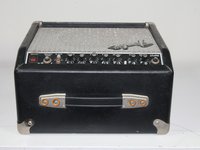
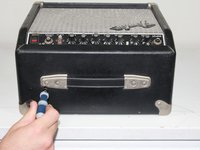
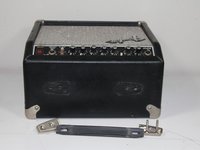

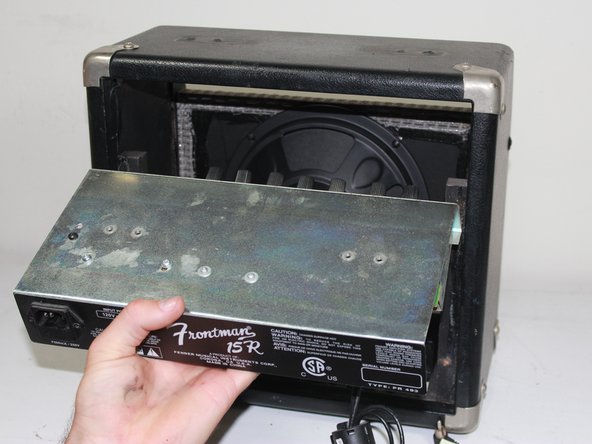
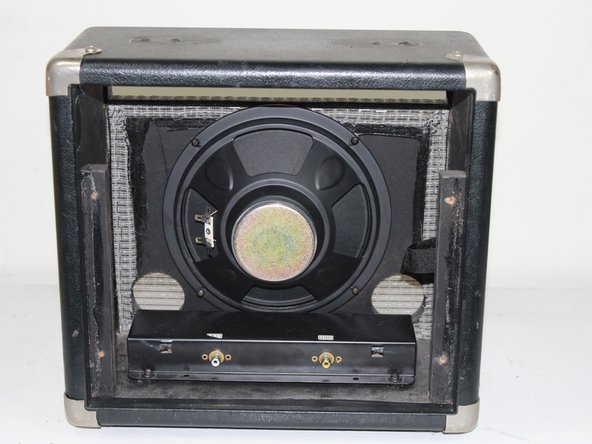
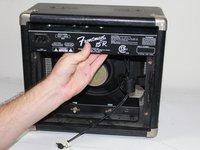
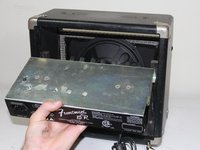
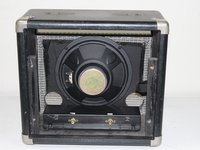


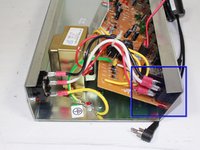
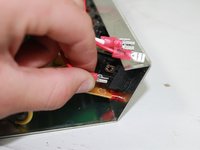




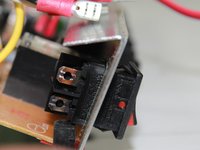

Una volta rimosso il vecchio interruttore di accensione, installa quello nuovo seguendo la guida al contrario.
Annulla: non ho completato questa guida.
Un'altra persona ha completato questa guida.

Team

Cal Poly, Team 24-30, Regan Fall 2012 Membro di Cal Poly, Team 24-30, Regan Fall 2012
CPSU-REGAN-F12S24G30
5 Membri
63 guide realizzate
