Introduzione
This guide shows the removal of the shafts in the Fellowes T7CM.
Cosa ti serve
-
-
-
Check to make sure the shredder is not plugged in to any electrical outlet.
-
Remove the shredder from the catch basket and place the silver side down on a flat surface.
-
Place the catch basket aside as you will not be needing it for the rest of the disassembly.
 Chiedi a FixBot
-
-
-
Flip the shredder silver side down and place on a flat even surface.
-
Remove the manufacturer's label in order to gain access to the hidden screw hole.
-
Locate all five of the case screws and remove them with a Phillips-Head screwdriver. The screws are located within the five marked circles in the photo. The size of the screws are 18 mm in length and head diameter of 5 mm.
-
-
-
Once all of the screws are removed, slowly pull apart the casing.
-
If the casing is not separating, gently wiggle the top part of the casing from the bottom part of the casing.
-
-
-
Open the casing as shown to prevent tangling or damaging the wires.
-
Take note to how the trigger assembly is attached before removal.
-
The trigger assembly is one part and should come off all together with little to no force applied.
-
Remove the trigger assembly.
-
-
-
-
-
-
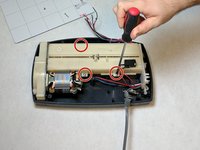
Remove the three screws holding the internal case to the external case. The screw length is 18 mm and the head diameter is 5 mm.
-
Remove the internal case.
-
-
-
Remove the feeding sensor by unscrewing the single screw holding it. The screw length is 10 mm and the head diameter is 6 mm.
-
This step may be unnecessary, but it will prevent the sensor from being damaged.
-
-
-
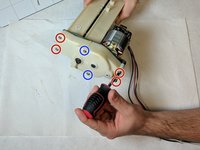
Remove the six screws on the gearbox.
-
Remove the gearbox cover to expose the gears.
-
The screw length is 34 mm and the head diameter is 7 mm.
-
The screw length is 26 mm and the head diameter is 7 mm.
-
-
-
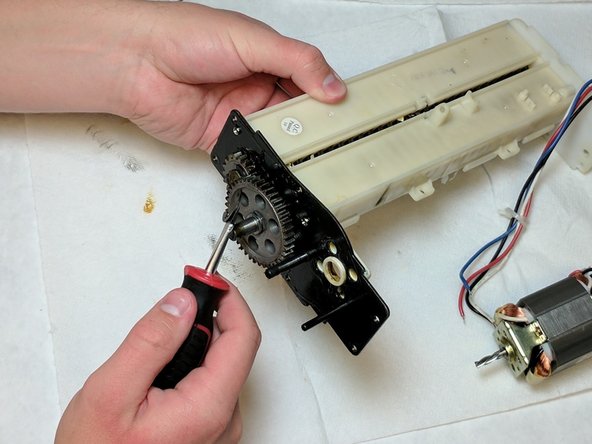
Remove the gears.
-
The larger gear located in the middle may require a screwdriver to pry off.
-
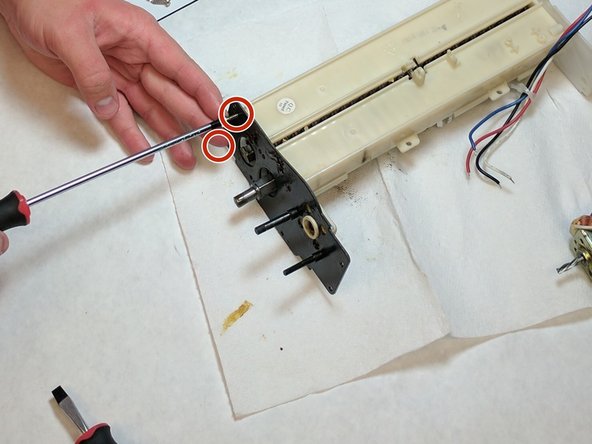
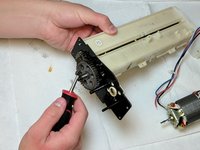
Remove the gear holder by unscrewing two screws that are holding it in place. The screw length is 14 mm and the head diameter is 5 mm.
-
-
-
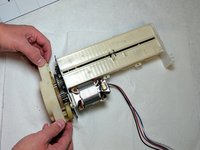
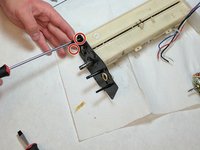
Remove the pin in order to pull the casing off of the shafts.
-
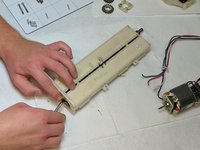
Remove the casing in order to expose shafts.
-
-
-
-
-
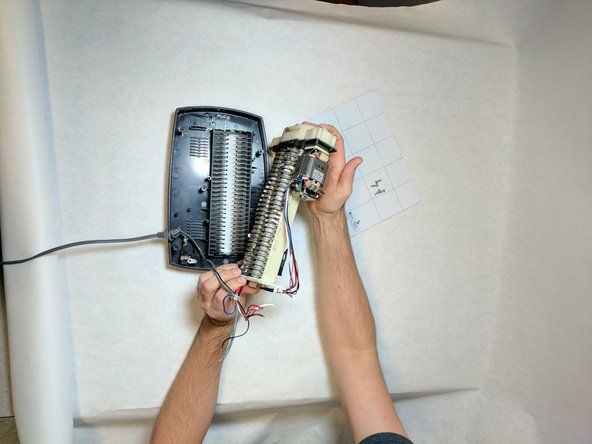
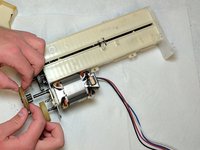
Remove the metal attachment that holds the two shafts together.
-
-
-
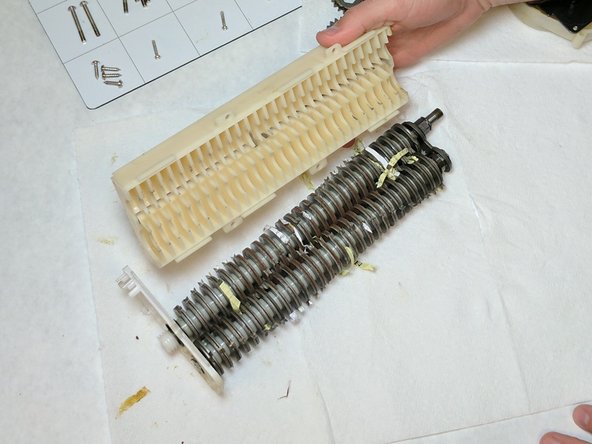
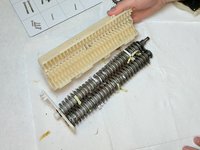
The shafts can now be pulled apart and any obstructions located between or on each of the shafts can be removed.
-
-








To reassemble your device, follow these instructions in reverse order.
Annulla: non ho completato questa guida.
Altre 3 persone hanno completato questa guida.

Team

IUPUI, Team 2-2, Baechle Fall 2016 Membro di IUPUI, Team 2-2, Baechle Fall 2016
IUPUI-BAECHLE-F16S2G2
4 Membri
16 guide realizzate
