Introduzione
If your Epson VS250 projector is having image display issues then this might be the right guide for you. The lamp is essentially the most important component in the projector and without it you wouldn’t be able to display images onto a screen. The Epson VS250 projector has a status light for the lamp and this is useful for indicating that a problem has occurred. It can even warn you if the lamp needs to be replaced ahead of time. This guide will help assist you in replacing the lamp.
Cosa ti serve
-
-
Place the projector on a flat surface.
-
Orient the projector so that the the word "Epson" is facing you.
-
Use Phillips #1 screwdriver to loosen the 10 mm screw on the top right corner of the projector.
 Chiedi a FixBot
-
-
-
Slide the cover to the right and lift the cover up and out to remove.
-
-
-
-
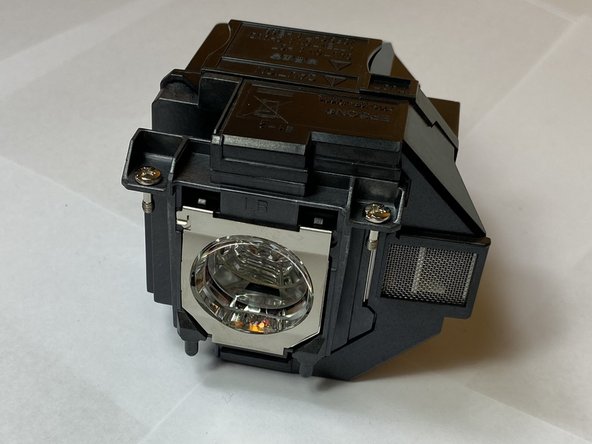
Use a Phillips #1 screwdriver to loosen the two 10 mm screws that hold the lamp in place.
-
-
-
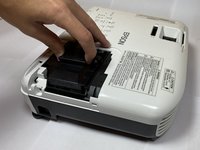
After loosening both screws, remove the lamp from the projector by pulling it up and out.
-


To reassemble your device, follow these instructions in reverse order.
Annulla: non ho completato questa guida.
Un'altra persona ha completato questa guida.

Team

Clemson, Team 4-2, Hunter Fall 2021 Membro di Clemson, Team 4-2, Hunter Fall 2021
CLEM-HUNTER-F21S4G2
5 Membri
5 guide realizzate
