Introduzione
If your Epson VS240’s bulb is burnt out or misaligned, use this guide to replace or realign the bulb. You will need a new bulb if your current light has burnt out or has had damage. A compatible bulb is a projector ELPL 88 bulb. You will only need a Phillips head screwdriver for this repair. In the case that the bulb to your Epson VS240 is damaged, please proceed with caution as some broken glass may pose a danger depending on damages.
Cosa ti serve
-
-
-
Unplug the device and let it cool for an hour.
-
Place the device on a flat surface.
 Chiedi a FixBot
-
-
-
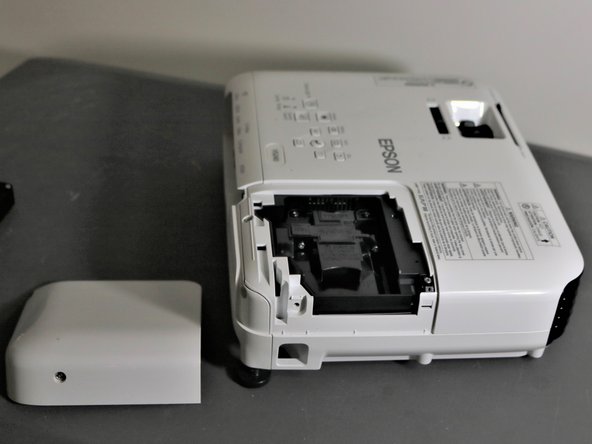
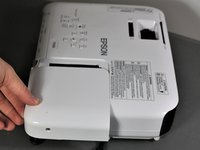
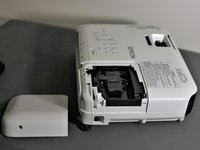
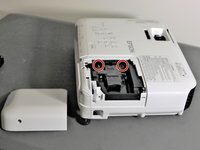
Using the Phillips #2 screwdriver, loosen the single screw securing the lamp cover.
-
-
-
-
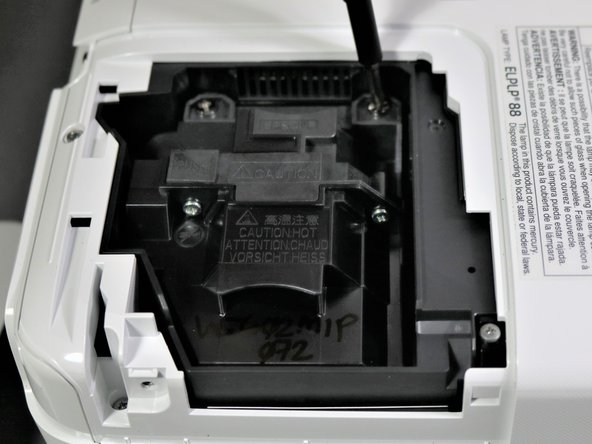
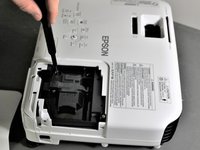
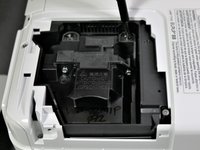
Use the Phillips #2 screwdriver to loosen the screws attaching the bulb to the projector.
-
-
-
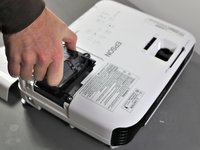
Once the bulb has been loosened, grab the raised section of the bulb and carefully lift the bulb up and away from the device.
-
-





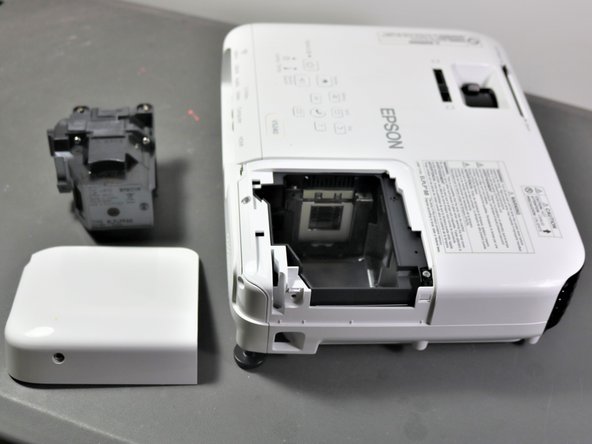
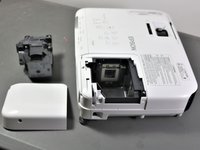
To reassemble your device, follow these instructions in reverse order.
Be gentle when inserting the new bulb. If you feel any resistance when inserting the replacement bulb, chances are that you inserted it the wrong way. This is a common mistake. Turn it around, making it face the right direction, before again inserting it into the device.
Be careful when screwing components back into the device since over-screwing can result in damage to the pieces.

Team

Clemson, Team 5-3, Hunter Fall 2021 Membro di Clemson, Team 5-3, Hunter Fall 2021
CLEM-HUNTER-F21S5G3
5 Membri
18 guide realizzate
1Commento della guida
I replaced the bulb in the projector, but it still won't operate, and when I removed and reinstalled a bulb in my other projector, it does the same thing now, How do I fix it even with a replacement bulb?
